Preparing a house for pest treatment takes two to three hours of work and one phone call. That call gets you the pest professional’s preparation instructions, which always override anything generic, because the right preparation depends on the pest, the product and the rooms being treated. After that, the job is straightforward: clear access, clean away food and crumbs, and get people, pets and aquariums out of the way.
Most people get the order wrong. They clean a room that will not be treated and leave a blocked baseboard in a room that will. This guide walks through the prep in the order a technician would want it, so the first visit actually fixes the infestation instead of becoming a paid return trip.
Table of Contents
- What You Need
- Step-by-Step: How to Prepare a House for Pest Treatment
- Before Treatment: How to Prepare a House for Pest Treatment
- Step 1: Secure Food, Medicine, and Personal Items
- Step 2: Clear Access and Move Furniture
- Step 3: Clean the Treatment Areas
- Step 4: Protect People and Pets
- Step 5: Cover or Remove Items That Could Absorb Treatment
- Step 6: Prepare the Exterior and Entry Points
- Step 7: Finish With a Final Safety Check
- Common Mistakes
- Tips for a Smoother Pest Treatment
- Frequently Asked Questions
- How far in advance should I prepare my house for pest treatment?
- Do I need to clean my house before pest treatment?
- Should I move furniture before a pest treatment appointment?
- What should I do with pets and children during treatment?
- How long must I stay away after pest treatment?
- Can I put food back in the cabinets immediately after treatment?
- Conclusion
What You Need
Gather these before you start moving anything. It saves the half-finished mess of a kitchen half-cleared when you discover you ran out of containers.
- The treatment instructions — from your pest professional, in writing if you can. Most companies send a prep sheet by email or text.
- Sealed containers — plastic bins with lids, sturdy bags with ties, or the original boxes with tape over the seams.
- Cleaning supplies — a vacuum with a crevice attachment, a mop, and surface cleaner. Skip the strong chemicals.
- Labels and markers for the bins, plus painter’s tape for sealing appliances and aquariums.
- Gloves and a flashlight, and a phone or camera to photograph each room before you touch it.
- Pet and medication plans — where the animals go, and who takes the pets out if you work during the day.
- Access confirmed — a cleared path to the treatment area, keys for a lockbox if you will not be home, and gates unlocked.
Also find the product label or safety data sheet for anything already stored in the home that concerns you. Reading it before treatment beats guessing afterward.
Step-by-Step: How to Prepare a House for Pest Treatment
Before Treatment: How to Prepare a House for Pest Treatment
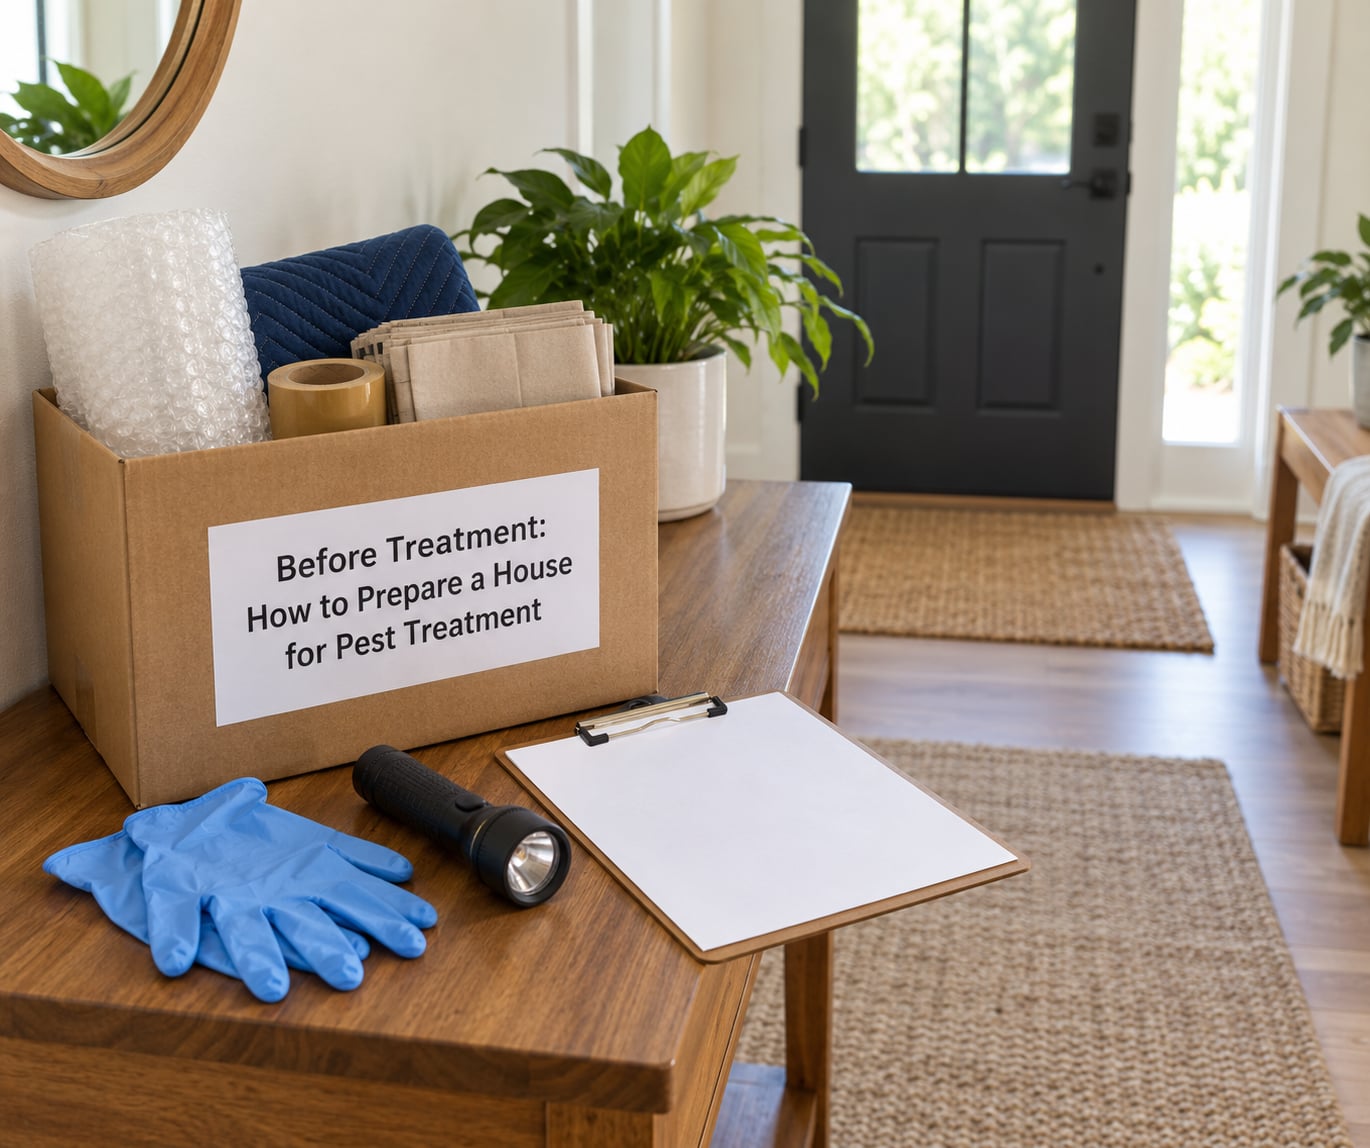
Confirm five things before you move a cushion: which pest is being treated, which rooms are in scope, how the treatment is applied, how long it will take, and what the re-entry rule is. Ask whether preparation is required or simply appreciated, because the two are very different things.
That last question matters more than people expect. On r/AskNYC, the recurring complaint in exterminator threads was not the price. It was arriving on service day with no idea what needed to be cleared.
If the answer is vague, ask for the prep sheet in writing before the appointment. A technician who cannot tell you what to move is guessing about the job too.
Step 1: Secure Food, Medicine, and Personal Items
Remove food, medicine, utensils, baby supplies and toiletries from every treatment area, not just the kitchen. A technician treating a bathroom or bedroom will treat the cabinet in that room, and that cabinet usually holds exactly what should not be there.
Bag open packages before you box them. Someone who has never heard of your pantry will not know that a half-used bag of rice is dry goods, not trash. Label every bin by room so putting things back takes ten minutes instead of an evening.
Move refrigerated and temperature-sensitive items to the fridge or a cooler with ice packs. Kitchen appliances are the awkward part: ask whether they need to be pulled out, and if so, wrap them in plastic sheeting and tape the seams before they move.
Step 2: Clear Access and Move Furniture
Technicians work along baseboards, in cracks and in corners. That means everything needs to be roughly 12 inches off the wall, and the tight spots under beds and inside closets need to be reachable, not just the walkway to the room.
Reddit users preparing for an exterminator describe the standard workaround: bag and box everything, then stack the boxes in the centre of a covered room or in the garage. Keeping items off the floor also cuts the risk of stepping on a dropped contact lens and reaching for the mop a week early.
Skip anything heavy enough to strain your back. Leave appliances and large cabinets where they are and tell the technician. You will save your spine and you will get a cleaner explanation of what could not be reached.
Step 3: Clean the Treatment Areas
Yes, clean before the visit. Vacuum carpets, along baseboards, under furniture and in the back corners of cabinets, then mop hard floors in the rooms that will be treated. Vacuuming removes eggs and larvae that hide in fibers, and crumbs on the floor draw pests away from the bait stations the technician places.
Use your usual cleaner. Strong chemicals mixed together are a hazard, and bleach or ammonia on a surface that will receive a residual product creates a cleanup problem later.
Empty the trash completely and take the bin out of the house. Wipe down counters, the rear of the stove and any other surfaces where grease collects. Fix or note standing water and leaks, since damp corners attract ants and cockroaches back within days of treatment.
Step 4: Protect People and Pets
People and pets leave the house before treatment starts, or stay out of the treated rooms for the re-entry window the technician gives you. Most targeted interior treatments are short, and many households stay home in a room the technician is not working in. Fumigation and tenting are different, and those mean everyone out.
Empty or cover food and water bowls. Move pet bedding, toys, litter boxes and the pet’s favorite cushion somewhere the technician will not be working. Aquarium, bird cage and reptile enclosure need the most attention, and this is the single most common injury in fish kills I have read about in homeowner forums.
Shut off the air pump, remove the filter and media, then wrap the tank completely in plastic sheeting and tape every seam. Move the covered tank into a room that will not be treated. Repeat the seal for bird cages, and never rely on a glass door alone.
Tell the technician if anyone in the household is pregnant, has asthma or other respiratory sensitivities, or has a chemical sensitivity. That conversation changes which product gets applied, and companies are used to having it.
Step 5: Cover or Remove Items That Could Absorb Treatment
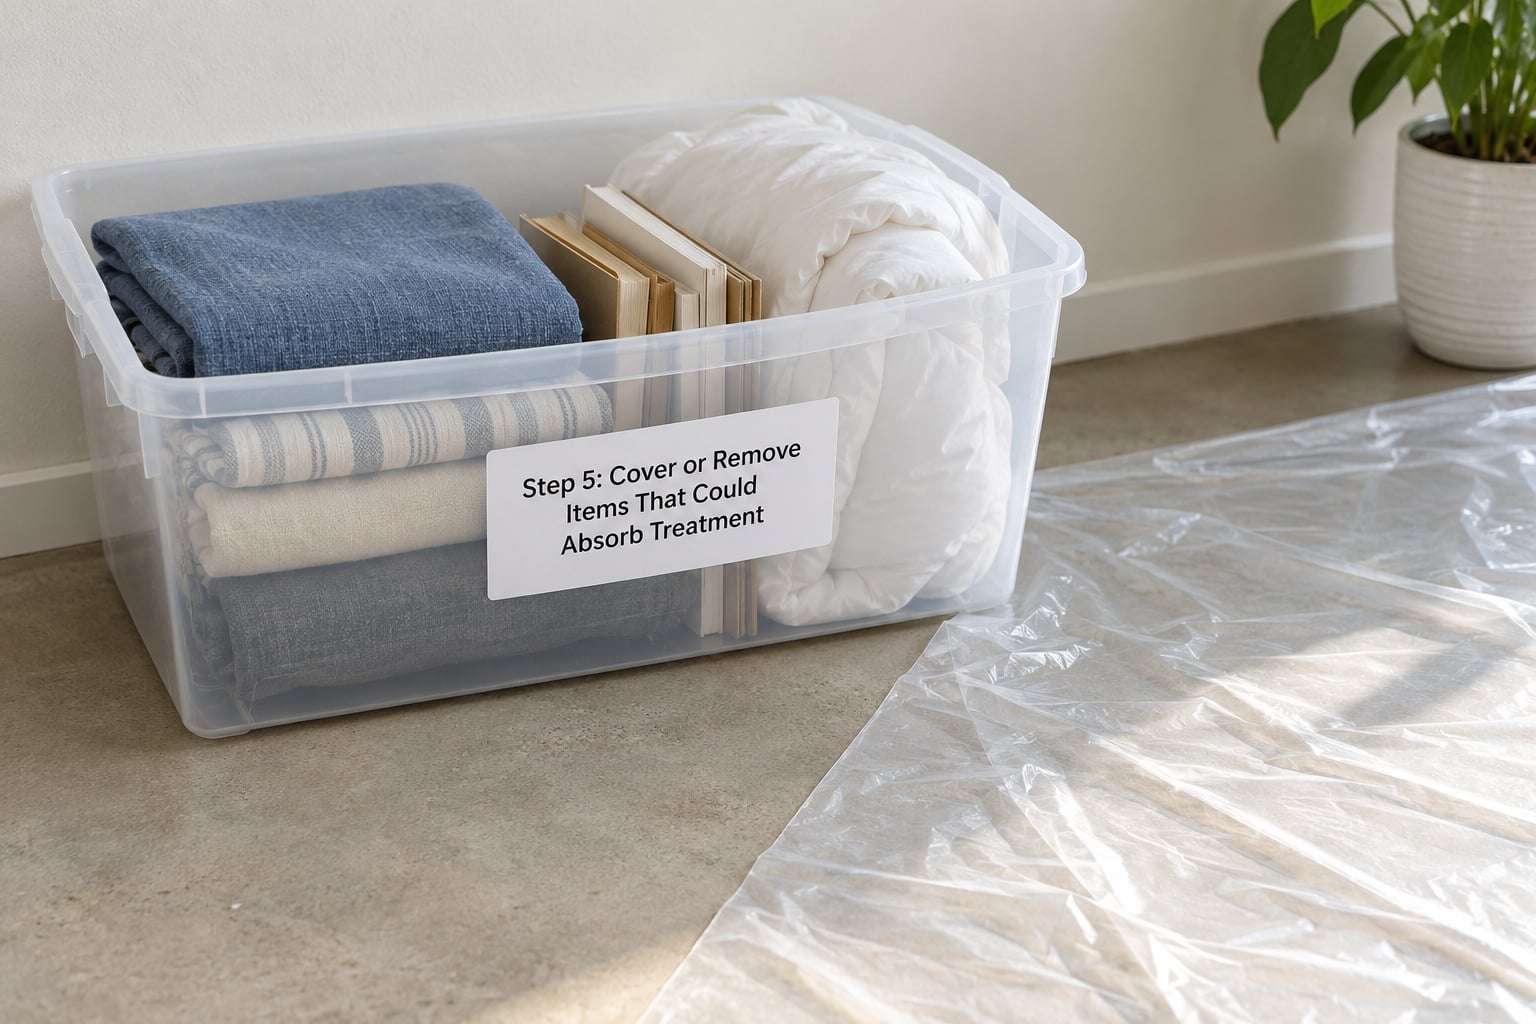
Porous materials soak up product and hold it for months. That matters most for space treatments like termite fumigation, where the technician usually wants clothing, bedding, curtains, cardboard, paper, upholstery and unsealed wood out of the building entirely.
Bag them and move them to a vehicle, a storage unit or an outdoor container, following the instructions you were given. For a standard interior treatment, the technician will usually tell you which rooms need items removed and which do not.
Dishes and laundry follow the same rule of thumb: anything that touches skin or food belongs in a sealed bag or bin. If you are unsure whether a fabric item stays, ask rather than guessing.
Step 6: Prepare the Exterior and Entry Points
For an exterior perimeter treatment, move planters, toys, garden hoses, recycling bins and pet waste away from the foundation. Trim vegetation that touches the wall, because stems bridge the treated band back to untreated soil. Close windows and doors so the interior application stays where it was put.
Note where you have seen activity before the technician arrives: entry points, pipes, gaps at the door jambs, the kick plate, the area behind the appliance. Pointing out the hot spots takes a minute and directs the work. Photograph any evidence you find, but leave it in place, because the technician may want to inspect it.
Put the bins outside and clear the path from the street to the door. A technician carrying equipment through a hallway full of your things loses time you are paying for.
Step 7: Finish With a Final Safety Check
Walk each treated room once more. People and pets are out of the space, food and medicines are sealed, cabinets and drawers are closed, the baseboards are visible, and the access path is clear.
Tell the technician about anything you could not move, any room you missed, and any household member with a health concern. Then ask for the re-entry window and the cleaning instructions in writing.
One last thing: agree on what happens after. Households that skip prep instructions often get a return visit charge, so it pays to know the plan before the truck leaves.
Common Mistakes
Moving everything without asking. Emptying the entire house when only the kitchen and bathroom are in scope is a wasted afternoon, and it sets you up to move everything back in a hurry. Ask for the room list first.
Using the wrong cleaner. Bleach, ammonia and oil-based products on a surface that will take a residual treatment leave you with a film that traps dirt and can react with the product later.
Leaving pet items accessible. A dog bed in the hallway or a cat bowl on the porch means the animal walks through fresh product. Remove them the day before, not an hour before.
Blocking access. A cleared path is not the same as access to baseboards. Furniture still pressed against the wall means the technician skips that stretch.
Discarding evidence. Throwing away dead insects before the visit removes the single best clue about where the infestation lives. Photograph them instead.
Assuming re-entry timing is universal. Re-entry times depend on the product and the ventilation. A four-hour window for one treatment does not apply to the next one, and the label and the technician’s instructions do.
Cleaning treated surfaces too soon. Residual product works for weeks after the technician leaves. Wiping or mopping it off in the first few days ends the treatment early and explains a lot of repeat visits.
Tips for a Smoother Pest Treatment
- Photograph every room before you start. After the visit you will want to know exactly what was where.
- Label bins by room rather than by contents, because you will unpack them in a hurry.
- Keep the product label and safety data sheet accessible for the week after treatment.
- Follow the technician’s directions over any generic advice online, including this guide.
- Write down the date, product, rooms treated and re-entry window when the service is complete. The next visit depends on that record.
- Ask about the follow-up interval before the technician leaves, not after.
- Expect to still see pests for several weeks afterward. Residual treatments work on a delay, and sightings in the first few weeks are common rather than a sign the treatment failed.
Frequently Asked Questions
How far in advance should I prepare my house for pest treatment?
Start the day before for a standard interior treatment. That gives you time to buy containers and labels, seal food, move furniture and photograph each room without rushing. For termite fumigation or tenting, expect to need two to three days because nearly every fabric, paper and cardboard item has to leave the building. If the appointment is within 24 hours, do the food, access and pet steps first and ask the company what they can work around.
Do I need to clean my house before pest treatment?
Yes, clean the rooms that will be treated. Vacuum carpets, along baseboards, under furniture and inside cabinets, then mop hard floors and wipe counters. Cleaning removes eggs and larvae hiding in fibers and clears crumbs that would pull pests away from bait stations. Keep it to your usual cleaner, empty the trash out of the house entirely, and avoid mixing any two chemicals together.
Should I move furniture before a pest treatment appointment?
Move lightweight furniture, rugs, decorations and stored boxes about 12 inches away from walls, and clear closets and under-bed space so baseboards and cracks are reachable. Leave heavy appliances and large pieces alone and tell the technician, since moving them yourself is a lifting risk and a common source of delay. Many companies box your belongings for you, so ask before doing it yourself.
What should I do with pets and children during treatment?
Move pets, pet bedding, bowls, toys and litter boxes out of the treatment area the day before, and take children elsewhere for the duration of the visit and the re-entry window. Aquariums need the most care: switch off the air pump, remove the filter media, cover the tank in plastic sheeting and tape every seam, then move it to a room that will not be treated.
How long must I stay away after pest treatment?
It depends on the product and the room, and only the label or your technician can tell you. Many targeted interior treatments dry within a few hours and allow re-entry the same evening, while some require the home to be empty for four hours or longer, and fumigation means staying out for a full day. Ask for the re-entry window in writing before the technician leaves so everyone in the household knows the rule.
Can I put food back in the cabinets immediately after treatment?
Only once the cabinets and counters are dry and the technician says it is safe. Food goes back in sealed containers rather than open packages, and inside treated cabinets many companies ask you to use a dry rag or the vacuum rather than soapy water, so you do not wipe away the residual product. When in doubt, wait for the re-entry window to pass and then ask the company.
Conclusion
Start with the phone call. Get the pest professional’s preparation instructions in writing, then work through food, access, cleaning, pets and porous items in that order, and finish by confirming the re-entry window. Skipping the call is what turns a single visit into two.