A termite inspection is a visual, non-invasive check of your home’s interior and exterior, covering the foundation, slab edges, crawl space, attic, trim, doors, windows and every point where wood meets soil. The inspector looks for live termites, mud tubes, frass, swarmer wings and existing damage, then documents everything in a written report with findings and recommendations.
That is the whole job, and it is worth doing carefully. Termite damage runs into the billions of dollars in the United States every year, by the National Pest Management Association’s estimate, and most of it stays hidden inside walls until the repair bill gets large. Homeowners insurance generally does not cover termite damage, so the inspection is often the only early warning you get.
Here is the process in the order it actually happens, including what an inspector cannot see and how to read the report when it arrives.
Table of Contents
- What You Need
- Step-by-Step: What a Termite Inspection Includes
- 1. Review the Inspection Scope and Access
- 2. Check the Exterior and Perimeter
- 3. Inspect Moisture-Prone Interior Areas
- 4. Look for Termites, Tubes, and Wood Damage
- 5. Examine Accessible Crawl Spaces and Basements
- 6. Inspect the Attic and Upper Interior Areas
- 7. Check Structural Elements and Wood-to-Soil Contact
- 8. Document Findings and Estimate the Next Steps
- What the Inspector Cannot See
- Subterranean vs. Drywood Inspections
- Common Mistakes
- Frequently Asked Questions
- Conclusion
What You Need

Most of the work happens before the inspector knocks on the door. A blocked crawl space or a packed garage means an area simply cannot be examined, and it gets noted as inaccessible on the report rather than checked.
- Clear access to the crawl space hatch, attic hatch and any sub-slab access points
- All areas of the home emptied or thinned out, especially closets, storage rooms and utility spaces
- Stored items, planters, firewood, mulch and dense shrubs pulled back a foot or two from the siding
- Garage and shed doors unlocked, with stored material moved off the walls
- Any paperwork from a past treatment, a warranty certificate or a previous inspection report
- Knowledge of where plumbing enters the home and where you have seen damp wood, bubbling paint or a swarm of wings
Move pets, secure valuables and decide whether you want to be home. Inspectors work alone with tools and a flashlight, and most of them are glad to talk you through what they find at the end.
Step-by-Step: What a Termite Inspection Includes
A typical inspection on a single-family home takes 45 to 90 minutes, and a large or heavily furnished property can run longer. Here is the sequence:
- Review the scope and access with the inspector
- Check the exterior and perimeter
- Inspect moisture-prone interior areas
- Look for termites, tubes and wood damage
- Examine accessible crawl spaces and basements
- Inspect the attic and upper interior areas
- Check structural wood and wood-to-soil contact
- Document findings and explain next steps
1. Review the Inspection Scope and Access
The visit starts with a conversation, not a flashlight. The inspector confirms which areas are included, whether the report is being prepared for a lender or escrow, and what access you have arranged.
This is also where limitations get stated out loud. A finished garage, a locked storage room or a crawl space filled with stored furniture narrows the inspection, and you want that noted rather than discovered later.
2. Check the Exterior and Perimeter
Outside is where subterranean termites usually make contact. Inspectors walk the foundation line looking at soil grade, landscaping beds, planters, decks, fences, porch columns, sheds, exterior trim, siding, doors and window openings.
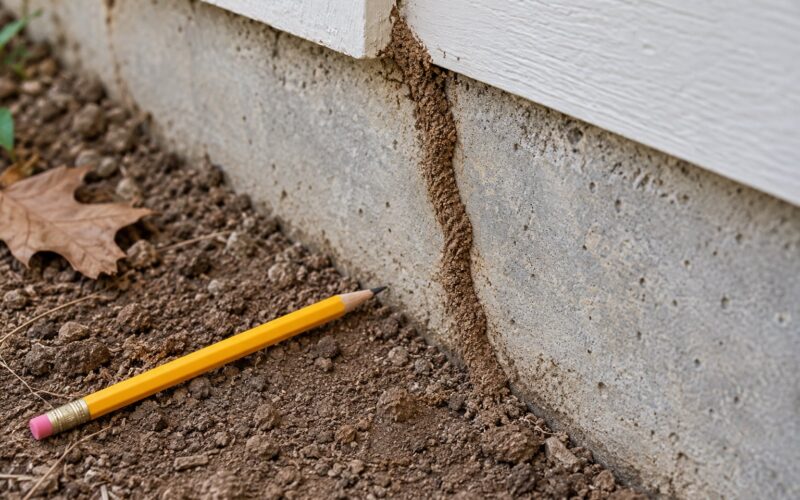
They check whether the soil is too high against the wood, whether mulch or a raised bed has been piled up near the siding, and whether water runs off the roof or down the wall toward the foundation. Mud tubes, often called shelter tubes, get flagged whenever they appear on a foundation wall or pier.
3. Inspect Moisture-Prone Interior Areas
Bathrooms, kitchens, laundry rooms and utility areas come next. Termites need moisture and a wood food source, so a dripping supply line or a persistently damp corner matters more than a dry closet.
Inspectors look under sinks, around tubs and shower pans, at toilet supply lines and behind appliances. They check baseboards, door and window facings, sills and jambs for swelling, soft spots or paint that has started to bubble.
4. Look for Termites, Tubes, and Wood Damage
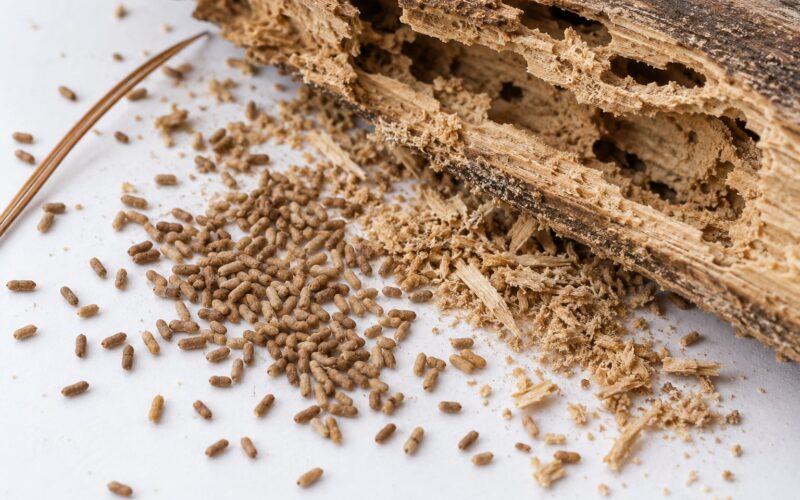
The signs an inspector searches for are specific. Live termites and workers show up near moisture. Shed skins and small piles of wings, called frass, sit near an entry point. Mud tubes are narrow shelter structures termites build along surfaces they travel on.
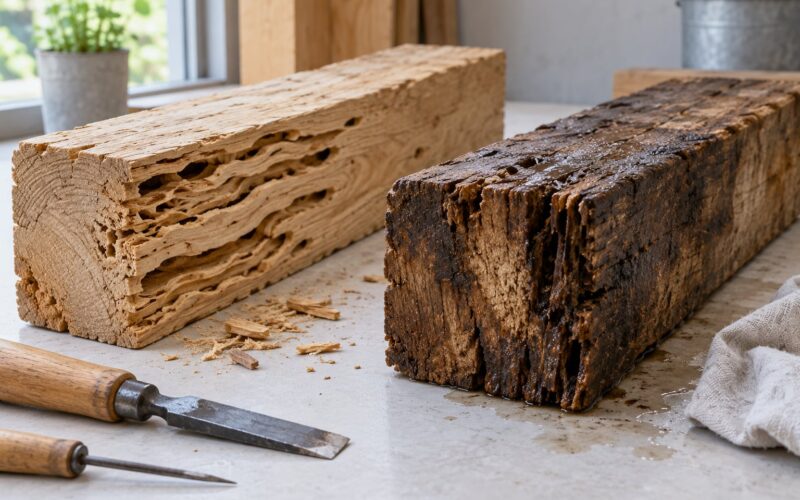
Wood gets checked with a pick tool or a small probe, and sometimes with a sounding test, tapping for the hollow or dead sound of consumed material. Damaged wood often feels soft, has lost its grain pattern, or sits behind a floor that dips slightly underfoot.
5. Examine Accessible Crawl Spaces and Basements
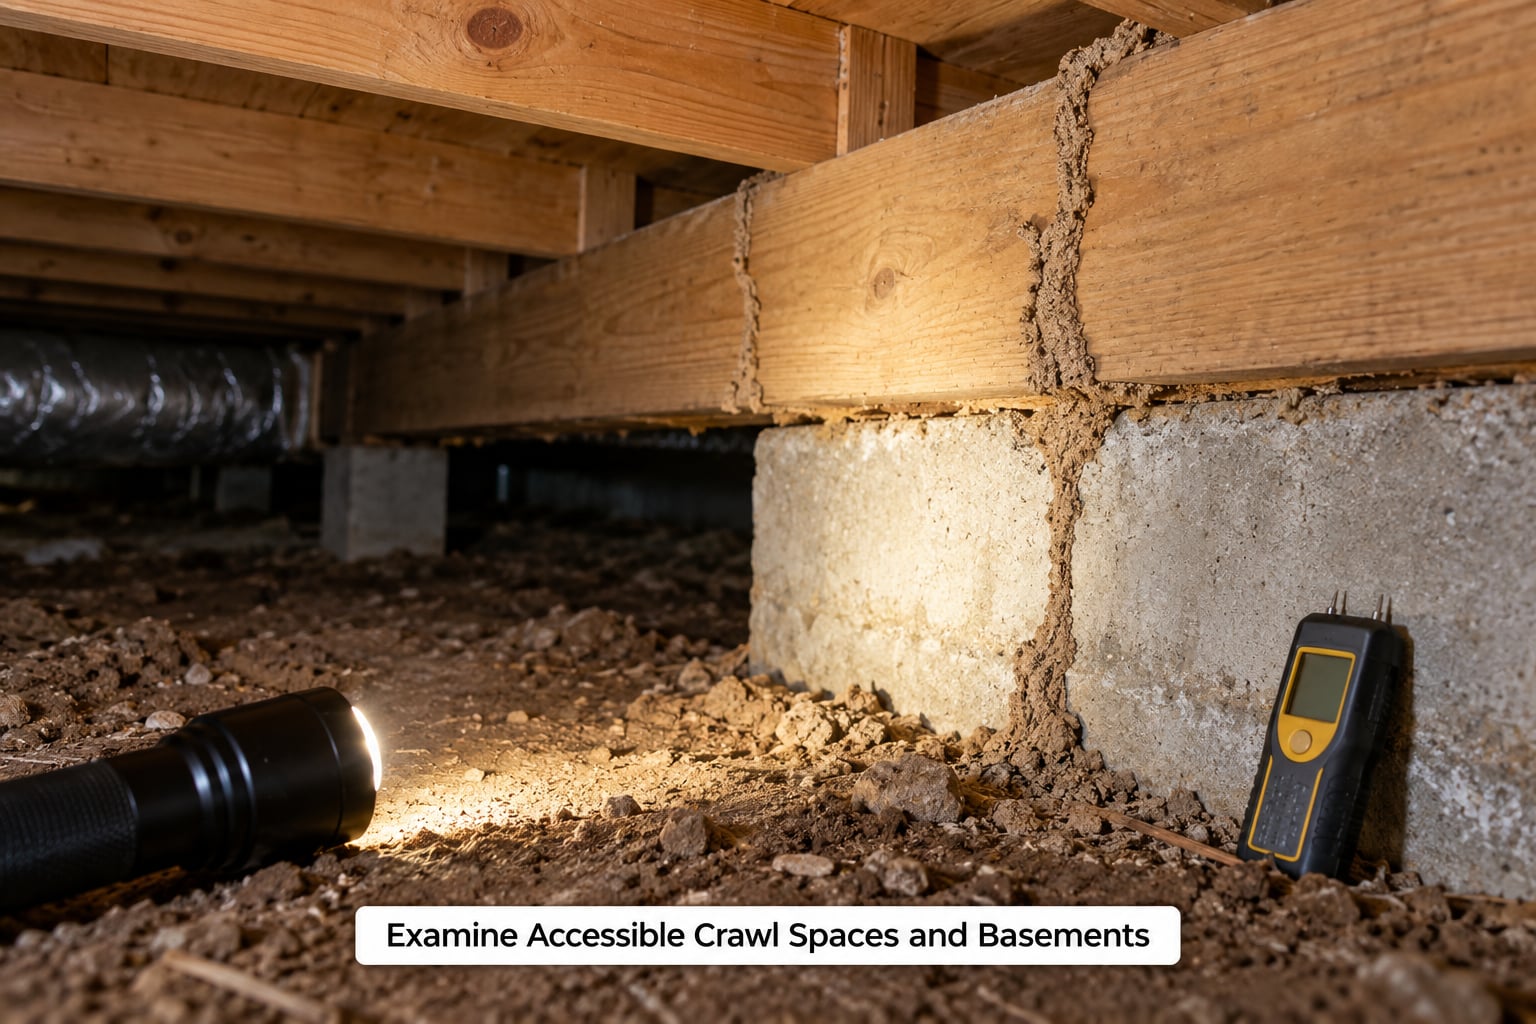
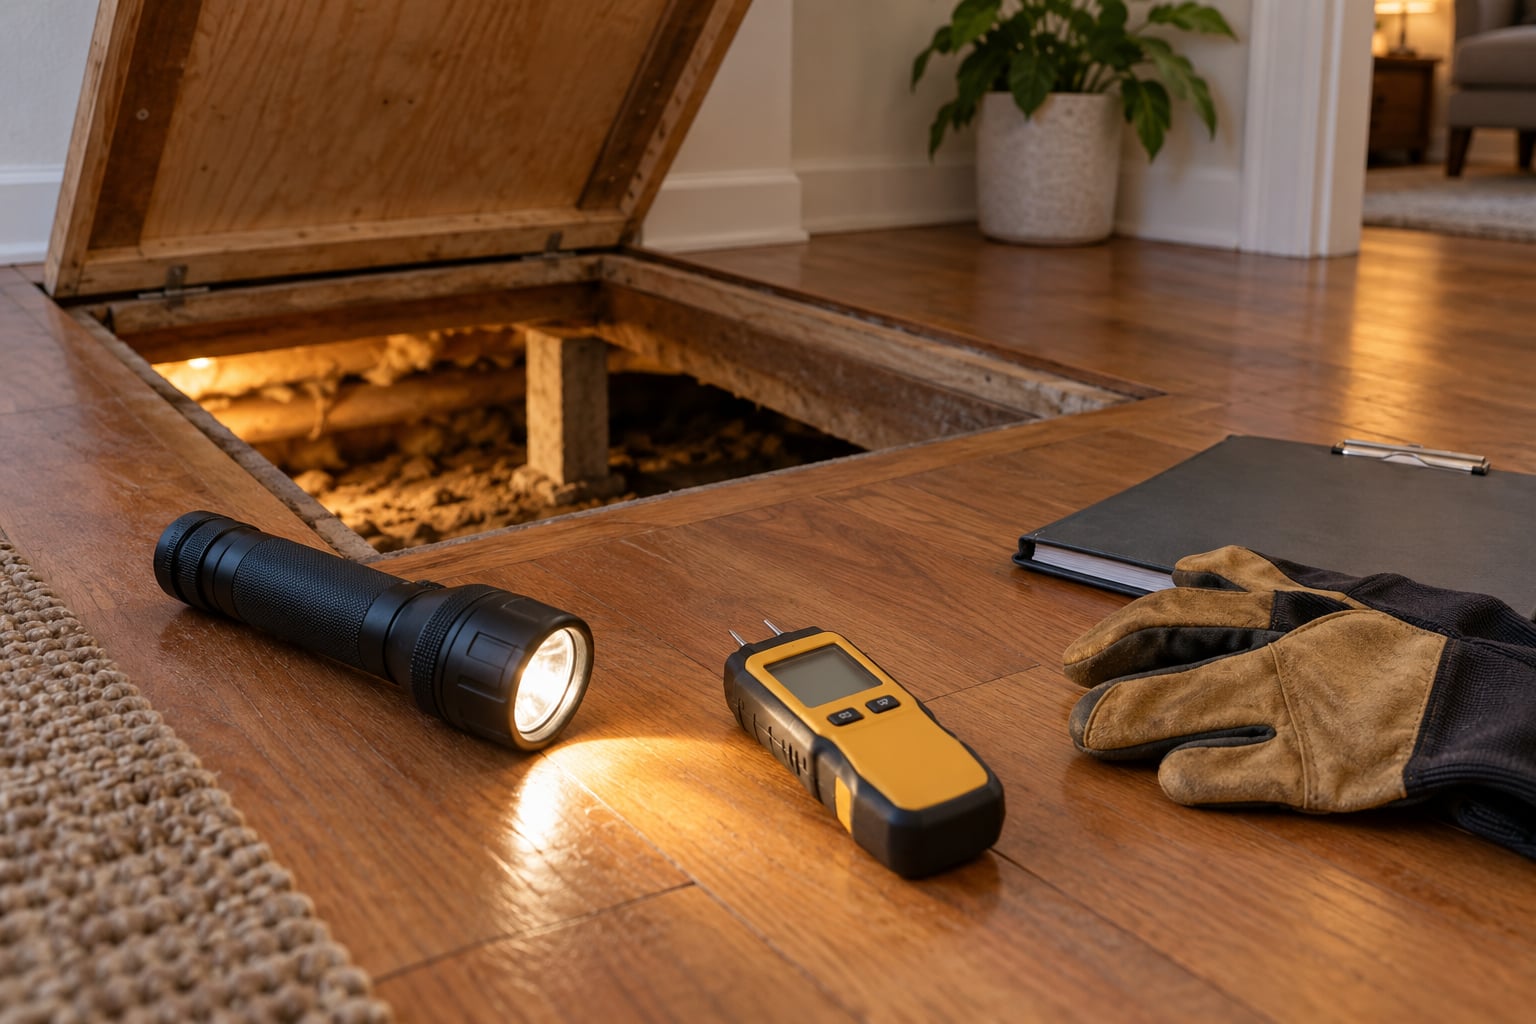
Crawl spaces get the closest look because subterranean colonies work down there. Inspectors examine joists, beams, posts, subfloor and the foundation wall, often probing suspect wood and running a moisture meter across damp or dark areas.
They note wood-to-soil contact, standing water, poor ventilation, open vents facing the wrong way and pipes or wiring running through the space. In a basement, the same list applies to rim joists, posts and the base of finished walls.
6. Inspect the Attic and Upper Interior Areas
The attic check covers sheathing, roofline framing, eaves, soffits and vents. Inspectors look for damaged wood, damp insulation, blocked ventilation and roof leaks that would make the space attractive to a colony.
Upstairs inside the home, closets along exterior walls, upstairs bathrooms and the trim around windows get a closer pass than interior hallways do.
7. Check Structural Elements and Wood-to-Soil Contact
The last physical pass covers the wood that actually carries the house: porch columns, posts, beams, decking, fencing, planters and any lattice or trim resting on the ground. Wood-to-soil contact is the single most common condition that invites an infestation, because it gives termites a direct highway between their colony and your framing.
Decks and outbuildings deserve the same attention as the house. A fence post with termites in it is a real finding even when nothing structural is at stake, and it tells you where the colony is coming from.
8. Document Findings and Estimate the Next Steps
The inspection ends with a written report, usually a wood-destroying organism, or WDO, report. It lists each finding with its location, a photograph, and a classification: no visible evidence, evidence of former activity, possibly active, or active infestation with damage noted.
Condition issues get separated out from pest findings. Conducive conditions such as a leaking pipe or poor ventilation matter because fixing them removes the reason termites showed up, and often prevents a return after treatment.
What the Inspector Cannot See
This is the part most homeowners want skipped, and it should not be. A non-invasive inspection cannot open walls, move floor finishes or reach inside a cabinet wall, so an unseen colony inside a partition can sit behind a report that reads clear.
Only two things close that gap. Termite dogs and moisture-meter surveys can locate activity hidden in structure, and drilling for treatment opens the wall where a problem was already confirmed. Neither happens during a standard visual inspection.
Subterranean vs. Drywood Inspections
Subterranean termites travel through soil and enter through mud tubes, joints in the foundation and wood touching ground, which is why the crawl space and perimeter take most of the inspection time. Drywood termites live inside the wood itself and enter through cracks in paint, roof edges and vents, which is why the attic, eaves and upper trim get careful attention.
Alates, the winged swarmers you may find in either case, come out in warmer months for subterranean species. Drywood swarming tends to be scattered and local rather than concentrated. One Reddit r/Termites reader reported a second inspector disputing a first inspector’s mud tube call entirely, which is a good reminder to get a second opinion before treating anything you cannot verify.
Common Mistakes
Treating every sign as proof of live activity. A mud tube, old frass pile or set of wings can mean a colony that died out years ago. Ask which classification the report gives and whether the finding is active, possibly active, or former.
Skipping the interior because the exterior looked fine. Drywood termites and interior colonies never touch the perimeter, and moisture problems behind baseboards are invisible from outside.
Leaving the moisture problems alone. Treatment without fixing drainage, leaks or ventilation is a repair that comes back. Treat the conducive conditions as part of the job.
Reading a clear report as zero risk. Clear means no visible evidence on the day, not a guarantee. Keep doing the annual inspection, especially in the first year or two after treatment.
Buying treatment on the spot. Pressure to sign before you have read the report is a warning sign on its own. Read it, compare quotes and, in a purchase, use it as negotiating leverage.
Skipping the license check. Structural pest control licensing varies by state, but a state license number should appear on the paperwork. If it does not, that is your answer.
Frequently Asked Questions
What should a termite inspection include?
A termite inspection covers the exterior perimeter, foundation and slab edges, wood-to-soil contact, decks and outbuildings, every accessible interior room including moisture-prone areas, the crawl space, and the attic. The inspector looks for live termites, mud tubes, frass, swarmer wings and wood damage, then hands you a written report with photos and a finding classification for each area.
Do termite inspectors go in every room?
They go in every room they can access, and they spend the most time in bathrooms, kitchens, laundry rooms and utility spaces where moisture and wood meet. Rooms emptied of stored items get a proper look. Closets and areas packed with belongings, locked storage rooms and finished garages are commonly skipped, and any space that could not be examined is normally listed as inaccessible on the report.
How long does a termite inspection normally take?
Most single-family home inspections take 45 to 90 minutes. Larger properties, heavy furniture, a full crawl space and a wet attic all add time, and a first visit with documentation can run closer to two hours. Ask for an estimate when you book so the inspector can plan, and consider the length a good sign: a thorough inspection of the crawl space and attic takes patience.
How many termites are considered an infestation?
There is no count threshold. A single termite matters only as evidence that others are nearby, so reports classify findings by activity level rather than numbers: no visible evidence, evidence of former activity, possibly active, or active infestation. What gets written on paper is the classification, the location and any damage, and that is what should drive your decision.
How do I read a termite inspection report?
Start with the findings summary and look for one of four classifications per area: no visible evidence, evidence of former activity, possibly active, or active infestation. Damage noted and repair recommended means structural work, not just treatment. Check that every area you own appears in the report and that inaccessible spaces are listed, since those carry no finding at all.
Conclusion
Schedule the inspection with a licensed inspector, clear access to every crawl space, attic, garage and storage area, and fix or note the moisture problems you already know about. Then read the written report carefully, especially the classification language and any area listed as inaccessible, before you decide on treatment. Get the findings and the options in writing.