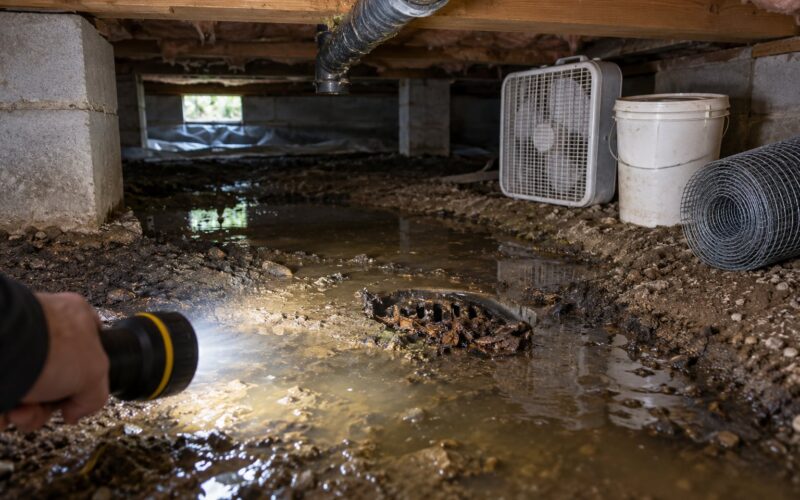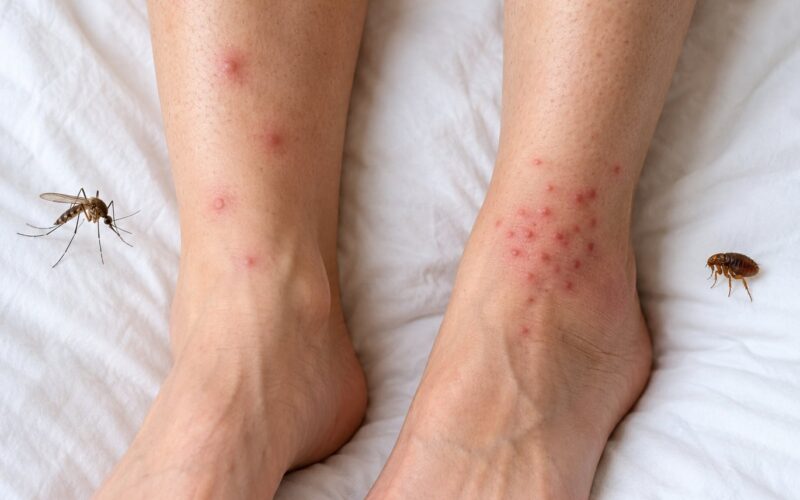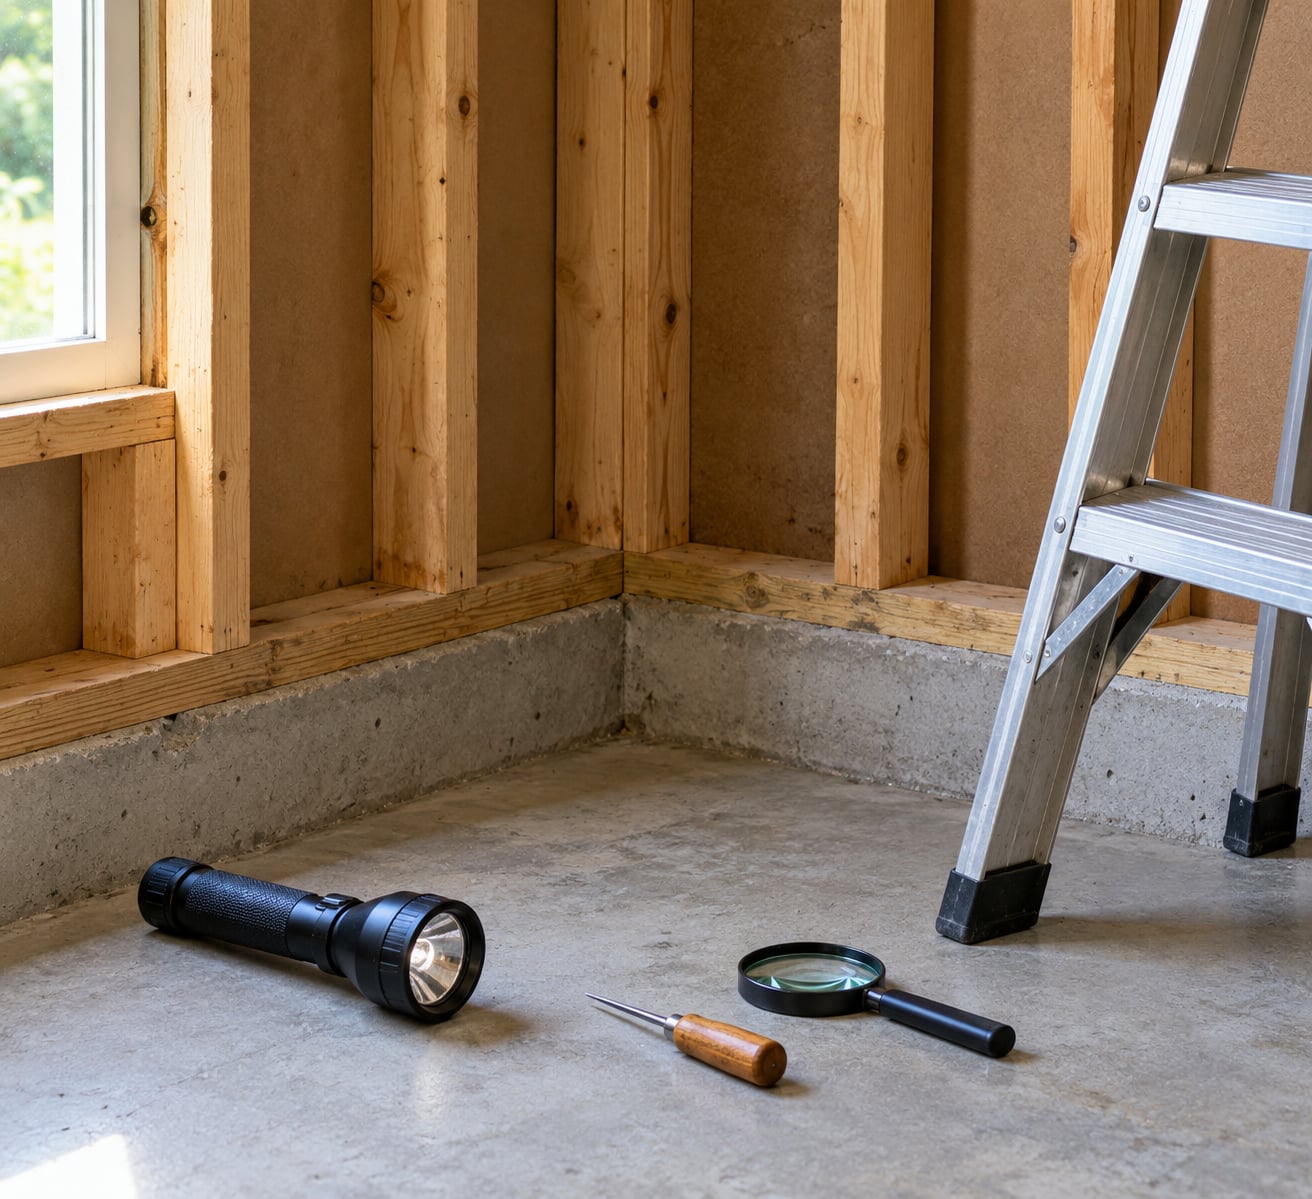
To find termite damage in a wall, start at the outside and work inward: check trim and siding for mud tubes, tap baseboards and window sills for hollow areas, probe soft wood with an awl, and compare every suspicious spot against nearby healthy material. Most signs people find turn out to be moisture or rot, so a careful comparison matters more than a fast verdict.
You can get through a full wall in about ten minutes with a flashlight and a screwdriver. The catch is that termites hollow wood from the inside out, so a wall can look fine and still be gutted behind the drywall. This guide walks through a room-by-room inspection that stays non-destructive, then explains the point where guessing stops being useful and a licensed pest professional should take over.
Last reviewed for 2026.
Table of Contents
- What You Need
- Step-by-Step: How to Find Termite Damage in a Wall
- 1. Check the exterior and visible wall edges first
- 2. Look for mud tubes and shelter tubes
- 3. Inspect wood for galleries, softness, and hollow areas
- 4. Compare suspicious areas with healthy wood
- 5. Map moisture problems and nearby conditions
- 6. Look for warning signs inside the room
- 7. Know when to stop and call a pest professional
- Common Mistakes
- Frequently Asked Questions
- Conclusion
What You Need
The whole job fits in a toolbox. Bigger equipment is optional, and the most common mistake is buying a tool before knowing what it tells you.
- Flashlight with a bright, narrow beam. A headlamp frees up your other hand, and side lighting rakes across surfaces so dents, galleries, and paint bubbles cast shadows instead of hiding them.
- Magnifying glass or a hand lens. Frass pellets, kick-out holes, and small mud tubes are a fraction of the size of a pencil eraser.
- Screwdriver, awl, or flat probe. You tap with the handle to listen and press the tip gently to test for softness.
- Notepad and pen or phone. Location, size, and a photo per finding. Evidence is easy to lose and harder to describe from memory later.
- Moisture meter — optional but useful. A pin-type model reads wood and drywall moisture content and immediately separates a damp spot from a dry one.
- Small mirror and thin flashlight — optional. Useful for checking behind baseboards and inside dark wall cavities without moving anything.
- Stable ladder if you are checking eaves, soffits, or upper trim. Have someone steady it.
What you should not do is open the wall, pull trim loose, or drill exploratory holes. If a wall is load-bearing, cutting into it can be dangerous, and termite-damaged framing is exactly the kind of member that should not carry a renovation by guesswork. Treat removal of drywall or structural trim as professional work.
Step-by-Step: How to Find Termite Damage in a Wall
Work from the least destructive checks to the closest examination. Most signs show up at edges and openings, not in the flat middle of a wall, so the order below is roughly the order in which you are likely to find something.
1. Check the exterior and visible wall edges first
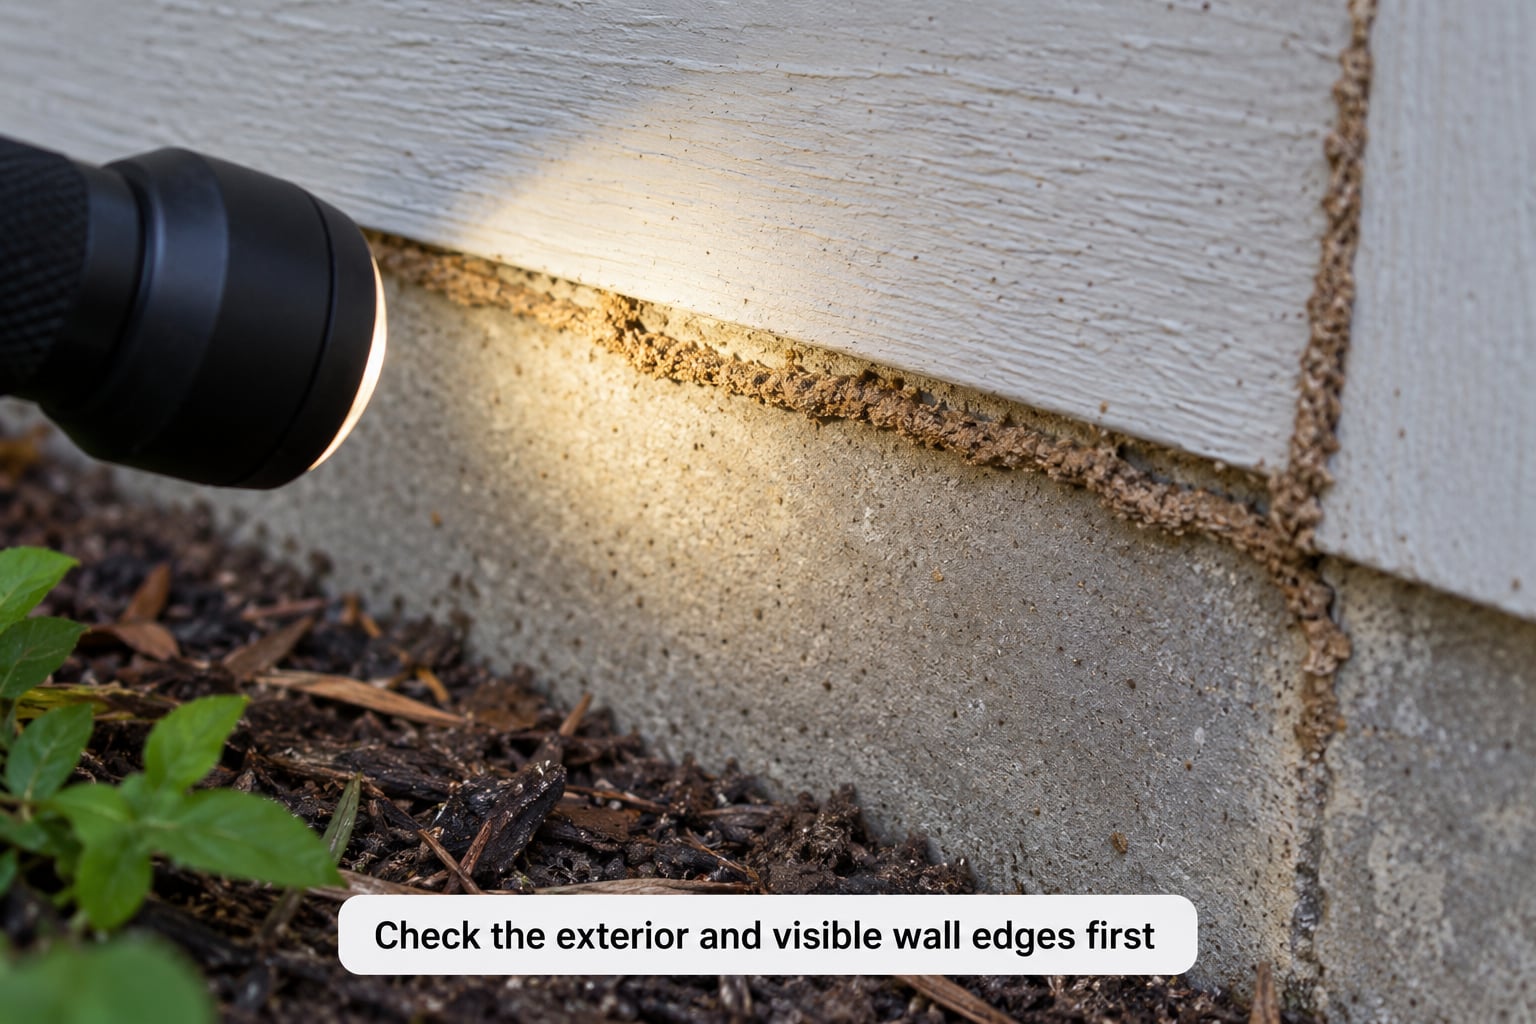
Exterior trim, siding, window and door frames, and eaves are where you can see the most with the least effort. Look for mud tubes, soft or sunken wood, peeling paint with no obvious water source, and any place where wood meets soil or mulch.
Run your hand along the bottom edge of trim and the joints where trim meets siding. A mud tube looks like a narrow line of packed soil, usually brown or grey, running along a seam, around a pipe penetration, or up from the base of the wall. Tubes often branch where they hit an obstacle, and fresh tubes are darker and more firmly attached than old ones.
Note the position and photograph it, then leave it in place. Breaking or scraping a mud tube destroys the evidence a technician may use to judge whether activity is current, and homeowners on home-inspection forums repeatedly note that sealed-off tubes only create uncertainty about what was underneath.
2. Look for mud tubes and shelter tubes
Subterranean termites build these shelter tubes to travel between soil and a food source while staying humid. That is why the most productive places to look are the places where wood, moisture, and ground are close together.
Check along foundation edges, cracks in concrete or stucco, plumbing and hose penetrations, around window and door openings, around downspout splash zones, and where decks, steps, or planters sit against the wall. Look upward too. Tubes run several feet up a wall when the colony is established, and a tube on the second story tells you more than one at grade level.
Telling an active-looking tube from an old one is suggestive, never conclusive. Tubes that are damp, recently rebuilt, or sealed over a break usually point to ongoing activity; tubes that are dry, crumbly, and unrepaired usually date back to an earlier season. Appearance alone does not prove termites are present now, which is why documenting and calling beats breaking the tube to check.
3. Inspect wood for galleries, softness, and hollow areas
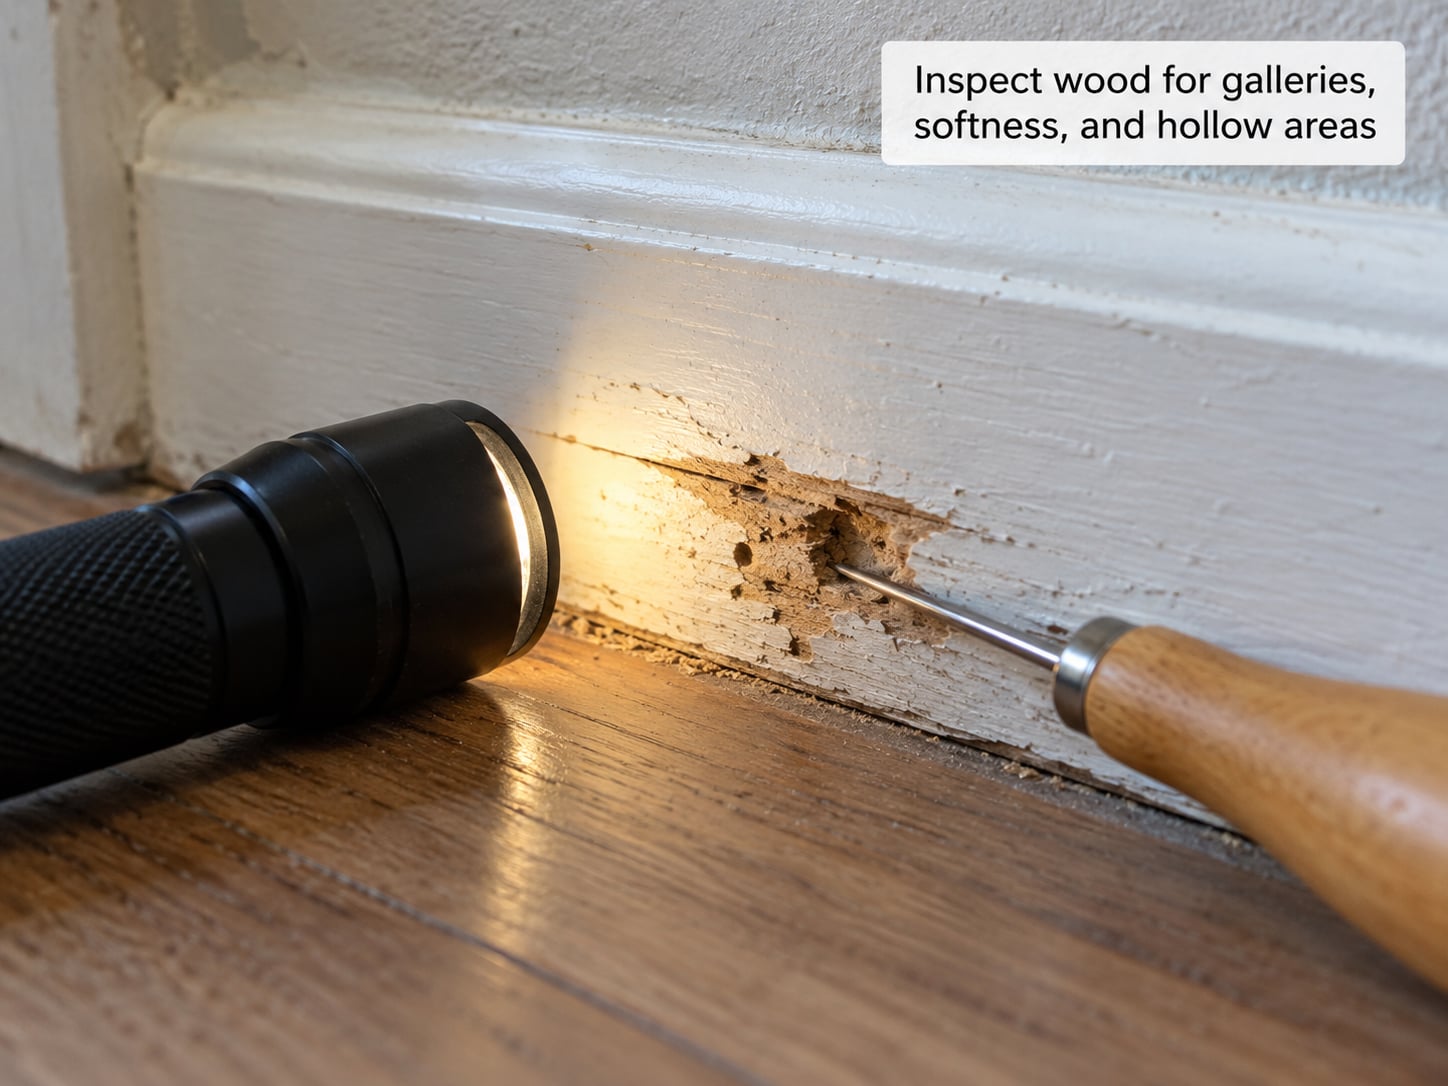
Accessible wood is where you can actually test something. Baseboards, window sills, door jambs, and the face frames around cabinets all give you a surface to work with.
First, sound it. Tap the wood with the flat of a screwdriver handle and then with your knuckles, moving along the length in six-inch increments. Healthy wood gives a dull, flat thud. A hollow, deeper, almost drum-like tone usually means the interior has been eaten away. Tap lightly. Force knocks chips out of weakened material and can split the face.
Second, press it. Push the awl or screwdriver tip into a suspect spot with light, steady pressure. Healthy wood resists. Wood that sinks in with little resistance, dents under a fingernail, or feels spongy has lost its density. Probe near a knot, a seam, or an end grain, where damage often appears first.
Third, look at the surface. Termite galleries are smooth tunnels that follow the grain, often packed with sticky, lined with dirt, and leaving the outer skin of wood looking normal. Paint that blisters and peels in sheets with no water source underneath is a classic flag, because the moisture often comes from the wall cavity rather than a leak you can see.
One important caveat: a hollow spot can represent a very small hidden area. A wall that sounds hollow at one point may be fine everywhere else, and a wall that sounds solid may still hide damage in a spot you never tapped. A tap test tells you where to look closer, not how much damage exists.
4. Compare suspicious areas with healthy wood
This is the step that prevents most false alarms. Take the suspect spot and put it next to an undamaged piece of the same material, ideally on the same wall.
Compare colour, texture, density, sound, and moisture. Termite-eaten wood is often lighter inside than outside, hollow-sounding, and dry to the touch even in a humid wall. Water-damaged or rotten wood is dark, stained, crumbly, and damp. Surface mould tells you there is sustained moisture. Paint that will not adhere usually means water behind the wall, not insects in it.
Homeowners on home-improvement forums describe this confusion constantly: peeling paint in layers, a strip of baseboard that crumbles, and drywall that feels brittle at the bottom edge. On their own those signs are ambiguous. The differences show up when you hold the damaged area next to sound material of the same age and check for a matching moisture source, a matching water stain, or a matching plumbing or roof problem above it.
Termites need cellulose, and they usually travel from damp ground. A dry wall cavity with no soil contact and no damp framing is far less attractive to subterranean termites than a baseboard sitting in a damp, soil-adjacent corner. That single fact resolves a surprising number of cases.
5. Map moisture problems and nearby conditions
Dampness explains more wall damage than termites do. Before deciding what you have found, record where the water is coming from and how far it spreads.
For every damp or soft area, note three things: the location, the extent, and the likely source. Sources include a plumbing leak inside a wall, a failed supply line to a sink or toilet, condensation on a cold window frame, a roof or flashing problem that runs down a stud bay, a downspout dumping water at the foundation, a sprinkler head aimed at the siding, or mulch piled against the wall.
Mark the affected area on your notepad and note which wall cavities sit above it. Then look up. A stain on the second floor with no water source downstairs is often a roof problem, not a termite problem, and the difference matters enormously for repair. If you have a moisture meter, take a reading in the suspect area and again in healthy wood nearby, and record both numbers so the comparison survives the night.
Wood-to-soil contact deserves its own check. Any wood, trim, or siding touching the ground gives termites a direct highway into the structure. Break that contact, and you have removed one of the biggest reasons a colony keeps coming back.
6. Look for warning signs inside the room
Interior clues are the ones most people notice last, because they appear slowly.
Bulging or peeling paint on a wall with no visible leak, swollen or buckled baseboards, a sagging or bowed section of drywall, doors and windows that stick or no longer close, and small holes scattered across a drywall face are the usual suspects. Frass, the small pellet-like droppings termites eject, collects at the base of a wall, inside a baseboard groove, on a windowsill, or on a surface below a hole. Ants or mud along an interior wall in a ground-floor room is worth a note, since it points back to the exterior conditions you checked in step one.
Seasonal changes reveal what is hidden. A window that binds in wet weather and frees up in dry weather is a moisture story as often as an insect one. A wall that bulges more after heavy rain is telling you about water, not termites.
None of these signs is a diagnosis on its own. Homeowners searching these symptoms after moving a bookshelf find degraded drywall backing with a papery, dust-like residue, and there is no way to tell from the photo alone whether termites, moisture, or age produced it. When you find something like that, photograph it in place with a ruler or coin for scale before you clean it up. Vacuuming away frass before an inspection removes evidence that cannot be recovered.
If you do get a wall open during a renovation, the inside tells the story clearly: paper facing eaten away from the drywall leaving a smooth, layered surface, pinholes drilled outward, galleries eaten along the grain of the framing, mud tubes running along studs, and frass packed in the base of the cavity. That is a technician’s evidence, not yours, which is another reason to leave the opening to a professional.
7. Know when to stop and call a pest professional
Stop inspecting and make a call when any of these are true.
- Softness or hollow sound spreads across a large area rather than one point.
- Shelter tubes look damp, intact, or recently rebuilt, especially on an interior wall.
- The damage sits somewhere you cannot reach or see without moving trim, drywall, or stored belongings.
- Moisture problems keep coming back after you address the obvious source.
- Trim, framing, or a header looks weakened, cracked, or sagging.
- You simply cannot tell what caused the evidence, which is the most common and most reasonable reason to call.
A licensed termite inspection uses a Termite Inspection Report, and it can include a moisture meter, a probe, an awl, a borescope through an existing small hole, and termite-alike inspection of the attic, crawl space, and garage. Borescopes matter because they let someone look inside a wall cavity without removing the drywall.
Be honest about the limits. Even a professional visual inspection only sees the accessible portion of the structure, which is exactly why people online describe inspections as covering a small fraction of the house. What you get is not certainty, but a documented, species-aware picture of the conditions that are visible and a clear plan for what happens next. Do not let anyone drill, demo, or apply treatment without a proper diagnosis first. Spraying a product you bought yourself can scatter a colony and make a later professional treatment harder and more involved.
Common Mistakes
Assuming every mud tube means an infestation today. Tubes persist long after a colony moves on or is treated. Treat the tube as evidence worth documenting and a good reason to ask for a professional look, not as proof on its own.
Mistaking rot or a leak for termite damage. Fix: run the comparison from step 4 and hunt for a moisture source before concluding anything. Dark, damp, crumbly material with a water source above or behind it is a water problem until proven otherwise.
Cleaning up before you document. Vacuuming, mopping, or trimming away a small hole destroys the frass and the scale of the damage. Photograph first, with something of known size in frame.
Tapping too hard. A hard tap chips weakened wood and can split a baseboard, and it makes the sound test useless. Light taps, close to the surface, in short passes.
Cutting into a wall to see what is inside. That is how a small inspection becomes a structural repair. If you are going to open the wall for a renovation anyway, photograph the studs, the insulation, the face of the drywall, and the bottom of the cavity before you cover it back up.
Leaning on paint or sound alone. Bubbling paint has a dozen causes, and a wall can sound solid where the damage sits between studs. Use several signals together.
Waiting for a swarm to confirm the problem. Swarmers mean a colony is mature and nearby, not that damage is confined. A colony can be working in your wall for years before you see a single wing.
A few habits make the whole inspection better. Start each room at the same point so nothing gets skipped. Work low to high, since most signs sit near the floor. Label every photo with the room and the wall. Check again after rain, because damp conditions reveal more, and set a recurring reminder so a slow change does not go unnoticed for another season.
Frequently Asked Questions
How can I tell if termites are in my walls?
Look for a cluster of signs rather than one clue. Mud tubes on trim or near the foundation, hollow-sounding baseboards and window sills, soft wood under an awl, peeling paint with no water source, pinholes in drywall, frass pellets at the base of a wall, and doors or windows that stick all point the same direction. Finding two or three together is far more meaningful than finding one, and no single sign confirms an active infestation.
Is there a device that can detect termites in walls?
No device proves there are termites inside a wall. A moisture meter tells you if framing is damp, a borescope through a small existing hole shows the surface of studs and drywall, and an awl or probe tests wood density. Even these tools only reveal what the instrument touches or sees, which is why a licensed inspection combined with a documented surface review remains the reliable approach.
What does a termite-infested wall look like?
From the outside it often looks normal, because termites hollow wood from the inside out and leave the outer skin intact. Once opened, the drywall paper facing is eaten away to a smooth layer, small kick-out holes appear on the drywall face, the framing shows smooth galleries running along the grain, and mud tubes line the studs. Outside the wall, tubes run along trim seams and there is frass at the baseboard.
How do I tell termite damage apart from water damage?
Termite damage is typically dry, light in colour inside, hollow sounding, and paired with mud tubes, galleries along the grain, or frass. Water damage and wood rot are damp, dark, stained, crumbly, and almost always traceable to a source such as a leak, condensation, roof runoff, or soil contact. If you cannot find the water, or the material is dry and hollow, treat the termite possibility as live and get a professional to look.
Are old mud tubes a sign of active termites?
Not by themselves. Old tubes are dry, crumbly, and left unrepaired; tubes that are damp, recently rebuilt, or sealed over a break suggest current activity. Even a repaired tube only tells you the colony was working at some point. Break the tube yourself and you lose the evidence entirely, so record it and let a licensed inspector judge what it means.
Is it possible to hear termites in the wall?
Rarely, but yes. Soldiers of some species knock their heads against wood, producing faint ticking or clicking in a quiet room at night, often when conditions are damp. The sound is easy to confuse with a settling house, pipes, or a small night insect, so treat it as a supporting clue only. It never rules termites in or out on its own.
Conclusion
To find termite damage in a wall, do four things in order: photograph every suspicious spot before you touch it, hunt for the moisture source behind any damp or peeling material, inspect accessible wood and exterior edges with a flashlight and a light tap, and then book a licensed inspection the moment the cause or the extent stops being obvious.
Confirmation beats guessing every time. A mud tube, a hollow baseboard, and a blister of paint are clues, not a verdict, and most of them turn out to be rot or a leak. Ten minutes of careful notes per room gives you something a professional can act on, and keeps you out of a wall you should not be opening.