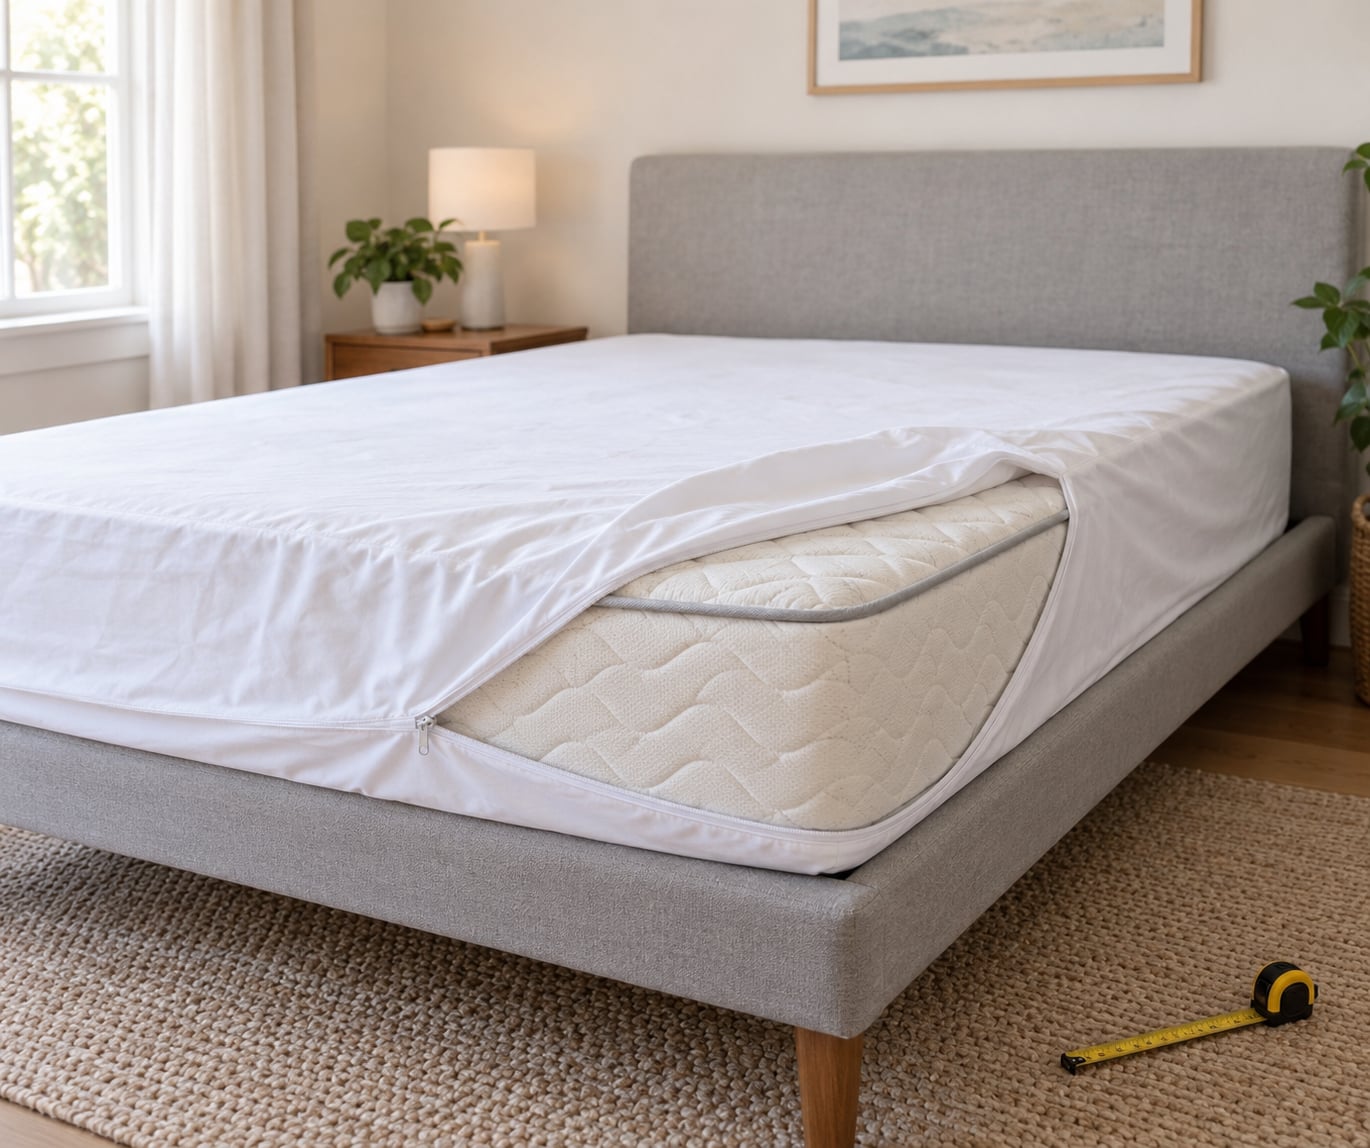
To use a mattress encasement correctly, you strip the bed bare, wrap the cover over all six sides of the mattress, and zip it fully shut so no gap remains anywhere along the closure. A mattress encasement is a zippered cover that seals the top, bottom, and every side of a mattress, trapping bed bugs and dust mites inside and keeping new ones out.
Most people install one in about 15 minutes, then quietly undo the seal the next morning when they make the bed. That single detail is why so many people assume the product does nothing. An encasement is only a barrier while it is closed, and the installation has to be tight enough that the fabric has no slack for a bed bug to exploit.
I have watched people wrestle a king mattress into a cover that was half an inch too shallow, zip it with the fabric bunched at one corner, and declare the whole thing a failure. The cover was fine. The method was not. This guide walks through the whole process the way pest control technicians describe it: measure at the deepest point, seal the perimeter completely, and keep it closed for the full inspection period.
What You Need
You need three things: the encasement itself, a measuring tape, and about 20 clear minutes. Everything else is optional but helpful.
The encasement is the part people get wrong. A fitted sheet-style mattress protector is not the same product, and a fitted encasement that is not genuinely bed bug proof is just another sheet. Look for encasements that state they are bed bug proof on the packaging or product page, wrap the full bottom panel, and have a zipper with a wide, tightly interlocking coil and a stop at both ends.
Before anything else, confirm the size. Measure your mattress at three points and take the largest number in each category, because manufacturers round sizes generously and mattress depth is the dimension people underestimate most.
| What to measure | How to measure it | What the number means |
|---|---|---|
| Depth | Measure from the highest point of the top crown to the lowest point of the bottom crown, at the center of the mattress | The encasement must be at least this deep, plus an inch of slack for a snug fit |
| Length | Measure the top surface from the head end to the foot end | Match or exceed the mattress length |
| Width | Measure side to side across the middle of the top surface | Match or exceed the mattress width |
| Box spring (if you use one) | Measure length, width, and depth the same way | You need a separate encasement for the box spring |
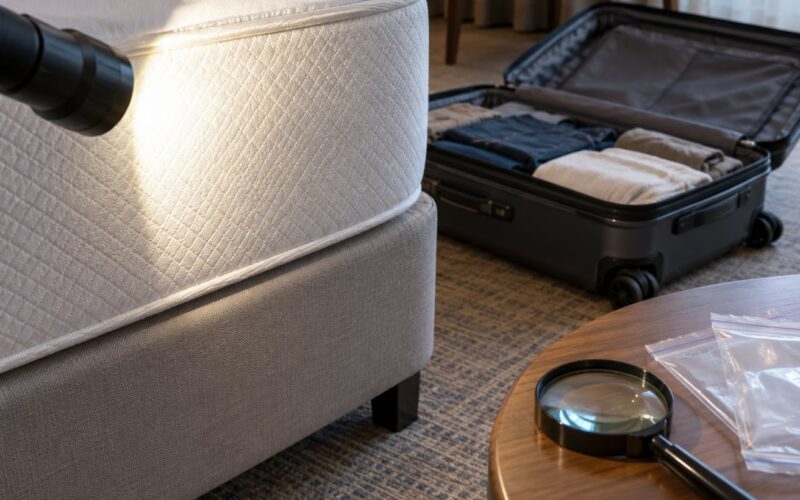
Other useful items: a flashlight for inspecting seams, a small brush for debris, painter’s tape if you need to mark the encasement position on the floor, and a second person for anything larger than a queen. Fitting a king encasement alone is genuinely hard, and that is not a you problem. It is a two-person job.
One more check before you start. If a specific model needs a high-profile mattress, match that requirement. A low-profile encasement stretched over a 14 inch mattress will bunch at the corners and can split at the zipper, which is exactly the failure people on mattress forums report with cheap covers.
Step-by-Step: How to Use a Mattress Encasement Correctly
Four steps, in this order. Skipping ahead to the zip is the most common error, and it is the one that matters most.
1. Prepare the mattress and surrounding area
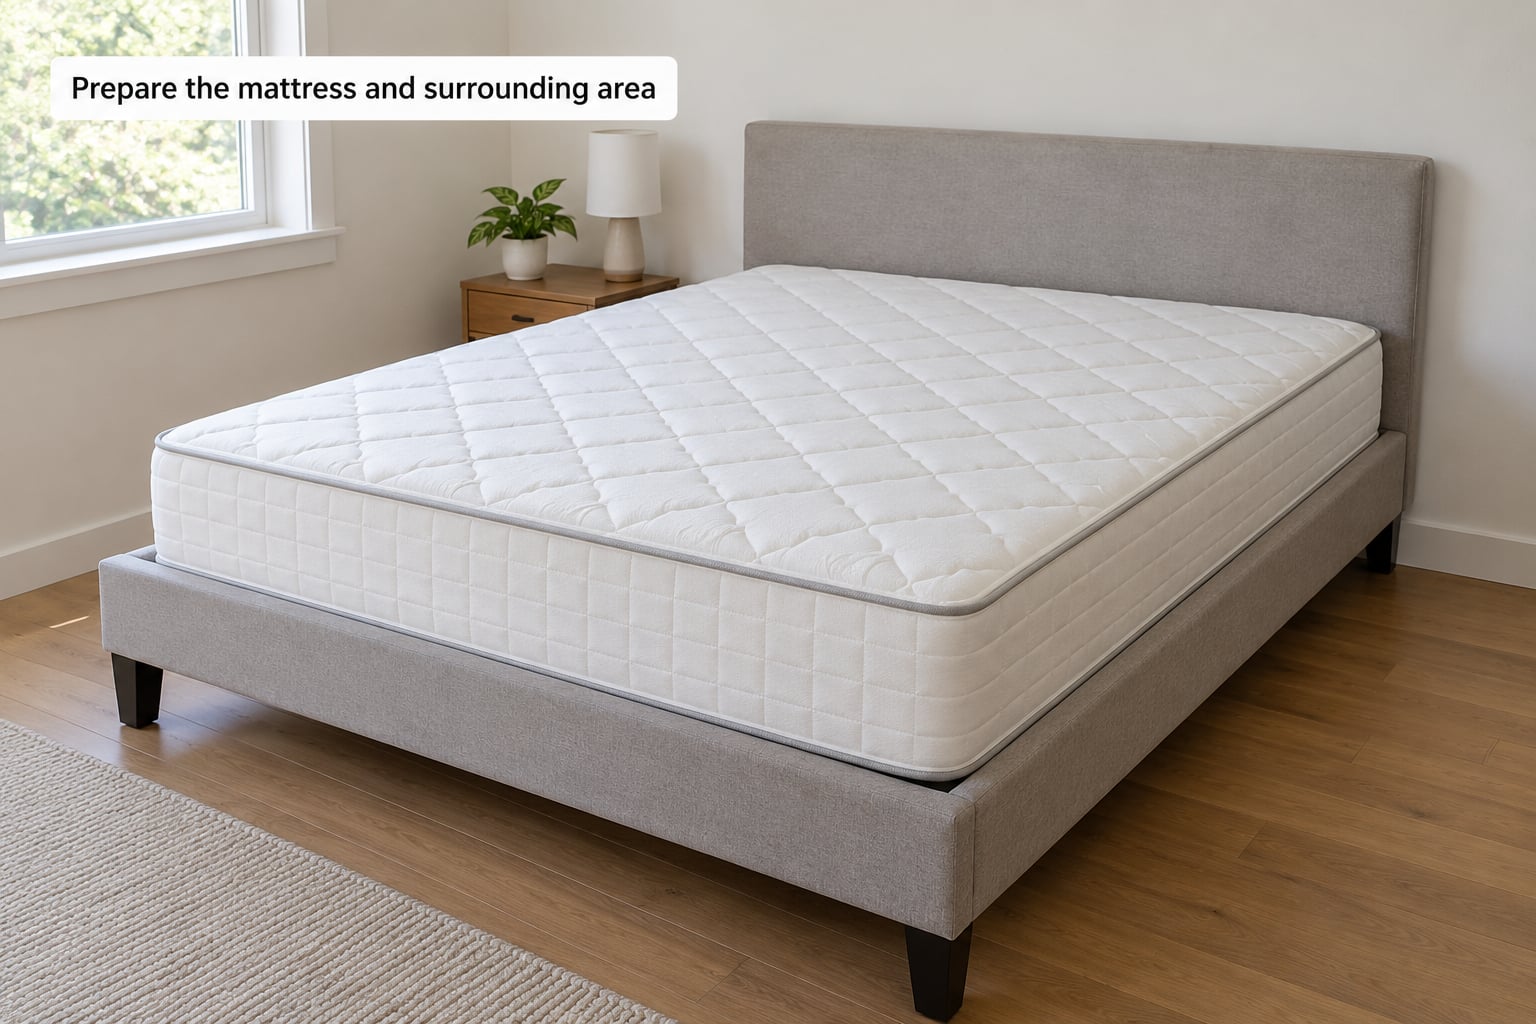
Strip every sheet, blanket, pillow, and mattress pad off the bed. Work on a bare mattress, and vacuum it before you cover it rather than after, because once the encasement is on you cannot reach the surface underneath.
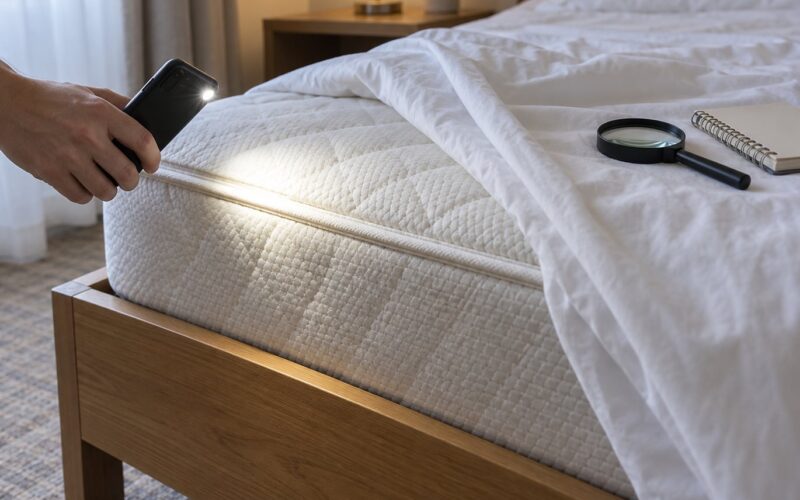
Inspect the seams, piping, tufting buttons, and the fold along the mattress edge. Those are the places bed bugs settle, and the piping is exactly where an encasement zipper runs. Bed bugs are attracted to carbon dioxide and heat, so they concentrate on the side of the mattress facing an open room, which is usually not the side you inspect first.
Clear the floor and the area around the bed. Pull nightstands, rug edges, and anything within a few feet of the frame away so you can work and so you can see the perimeter later. If you have confirmed bed bugs, do not shake bedding, blow dust, or move upholstered furniture into another room. That spreads them. The family member on the r/Bedbugs forum who shook a comforter outdoors ended up with bugs in a second bedroom within a week.
Move the mattress itself only if you can do it without hard-setting it down. Bed bugs hibernate in seams and crevices, and repeatedly bumping a mattress is a good way to push them into fresh hiding places.
2. Choose the correct encasement and position it
Unzip the encasement completely before it goes anywhere near the mattress. Most encasements have a zipper that runs around three sides plus part of the fourth, and the panel with the zipper is the top panel. Some are labeled; others are identified by the folded side or by the placement of the zipper pull.
Lay the encasement open on the bare mattress with the top panel facing up, lining up the corners so the elastic is even on all four sides. If the elastic grabs unevenly in one corner, reach under and smooth the mattress surface before pulling that corner down.
Work one corner at a time, the way you would put a fitted sheet on. Tuck the encasement over the corner, then work down both sides with your palms, keeping the fabric smooth and pulling the excess elastic into the seam. Do it fast enough that the elastic does the work, and slow enough that you do not overstretch it.
Move around the bed rather than around the mattress. The far corners are the hardest to reach and the most likely to be left loose. If the cover is tight enough to barely get your hand under at the corner, the fit is right.
3. Seal the zipper and all edges
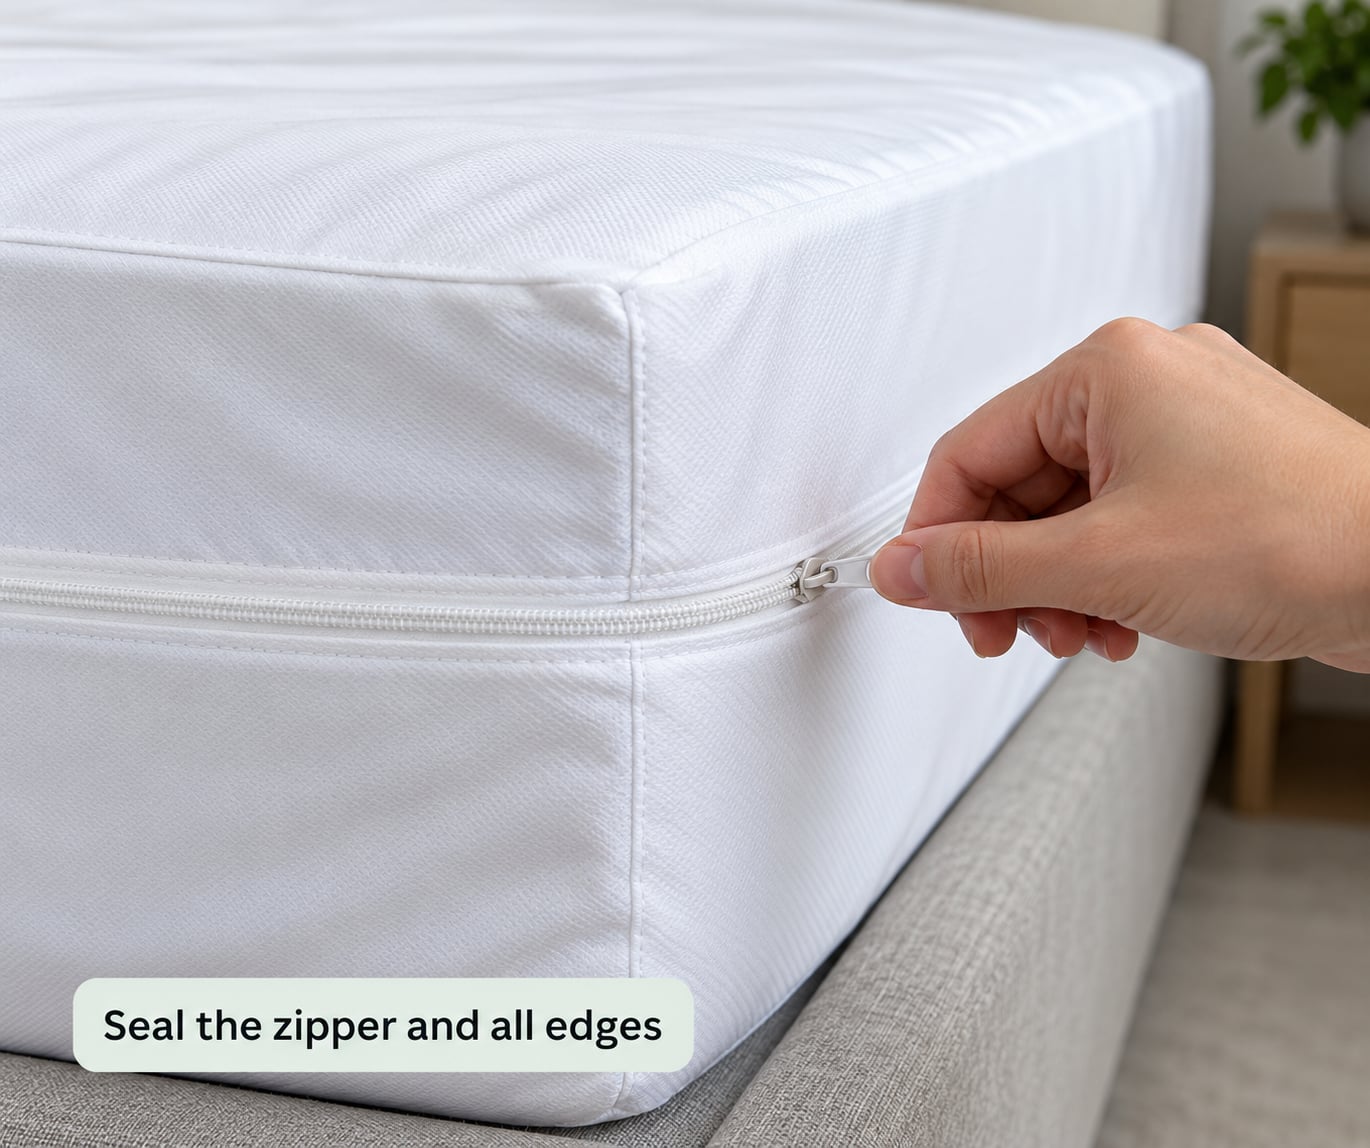
Zip the closure from one end to the other in a single steady pass, not in small back-and-forth tugs. Small tugs can leave a misaligned coil that looks closed but gapes under tension. Push the two zipper tapes together with your thumb as you travel, and run a fingertip along the finished seam to feel for bumps.
Then close the zipper stop at the end. On many encasements, a slider at the head end locks the zipper shut so a curious hand or a shifting mattress cannot open it back up. If yours has one, engage it and test that the slider does not move.
Smooth the fabric around the entire perimeter. Encasements are designed to be taut, with no slack, because a bed bug needs almost nothing to hide in. Wrinkles along the side panel, a loose corner, and a small gap where the closure meets the seam are all openings. Run your hand along the full length of the zipper, around every corner, and across the bottom panel.
Check the bottom. Lift the corner of the fitted bottom panel and confirm it is stretched flat under the mattress with no ruched fabric. People skip this step because it is under the bed, and it is where a lot of installs fail.
Make the bed last. Put the fitted sheet on over the encasement, and that is where a mattress protector, if you use one, goes as well. Nothing goes between the mattress and the encasement.
4. Keep using a mattress encasement correctly during treatment
An encasement is a monitoring tool as much as a barrier. Every inspection tells you whether the seal is holding. Check the zipper, the corners, the piping line, and the mattress surface on a fixed schedule, and write the date down. Most people settle on once a week, with a look any time you notice someone sitting on the bed or a luggage bag on the mattress.
Look for three things: a zipper that no longer meets itself, a fabric tear or worn spot, and anything new on the surface. A small brown speck near the piping is worth investigating. Fresh stains along seams and mattress handles are the signs entomologists look for first, and a flashlight angled across the surface makes them easier to see than overhead light.
Keep it closed. Do not unzip to put fresh bedding on the bottom, do not remove it for laundering while an infestation is active, and do not store anything on the mattress. The encasement works by keeping a known population inside a sealed space where it has no food source and eventually dies. Every time you open it, you give whatever is inside a fresh opportunity.
Nothing on the mattress goes into storage until the inspection period is over. That is why a treated bedroom can look like a garage. Upholstered furniture, headboards, nightstands, baseboards, and nearby rugs all need attention too, and professionals who work bed bug treatments regularly inspect the frame, the box spring, and the surrounding floor rather than treating the mattress as the whole job.
If the infestation is active, treat the rest of the room. Users on r/pestcontrol pair the encasement with bed leg traps, careful vacuuming of seams and edges, and professional service when the population is established. Encasement alone is not a treatment. It is one component of an integrated plan, and it is the component most often skipped.
Encasement or protector: which one goes where
These get confused constantly, and a fitted protector is not a substitute for a sealed encasement.
| Feature | Mattress encasement | Mattress protector |
|---|---|---|
| Coverage | Top, bottom, and all four sides, fully zippered shut | Top and sides, sometimes the bottom, usually not sealed |
| Bed bug protection | Yes, when the label states it is bed bug proof and the zipper stays closed | No, fabric is thin and gaps are common |
| Dust mite barrier | Strong, because the barrier is complete | Partial on the top surface only |
| Waterproof | Often, but not always | Usually, and usually the main reason people buy one |
| Best used for | Bed bug treatment, allergies, and asthma | Spills, stains, and everyday wear |
| Goes on | Directly over the bare mattress | Over the encasement, under the sheet |
Running both is fine and common. The layer order from the bottom up is mattress, encasement, protector if you want one, then your fitted sheet.
Common Mistakes That Ruin an Encasement
Almost every bed bug encasement failure comes down to one of seven things. Each one has a simple fix.
Using the wrong size
A cover that is too shallow for the mattress will not seal. If the fabric is stretched past its give when you zip it, the seam is under permanent tension and the zipper teeth eventually separate. Measure the depth at the center of the mattress, not at the edge, and buy the encasement that matches your depth range. When a size falls between two options, go with the deeper one.
Leaving a gap at the closure
The gap usually shows up at the corner where the zipper ends, because that is where the fabric gathers. Zip fully, engage the stop, then press the last inch of the closure closed with your thumb. If the zipper will not run past a point, stop and pull the fabric flat. Forcing the slider is how teeth break.
Not inspecting the zipper
The zipper is a moving part and it takes the most handling. Check it weekly during any treatment period. If the slider no longer locks, or the two tapes no longer interlock completely, replace the encasement. It is not repairable, and a zip that opens an inch at one end lets a bed bug out to a fresh hiding place.
Cutting or modifying the encasement
People trim fabric, snip tags, or cut around a fitted-sheet corner to make it fit. Every cut is an opening, and trimming a tag near the zipper weakens the seam exactly where it needs strength. If it does not fit, exchange it for the right size.
Taking it off too early
This is the most expensive mistake. An encasement needs to stay sealed through the entire inspection period, and pest control professionals commonly recommend keeping one on for at least 18 months after the last confirmed activity. Removing it after a few weeks undoes the entire investment and lets any survivors back into a home that looks clean.
Treating it as a standalone fix
Bed bugs live in box springs, bed frames, headboards, nightstands, baseboards, outlets, and neighboring rooms. Sealing the mattress is step one of a room-wide strategy, not the strategy. Heat treatments, targeted insecticide application, and careful inspection of every nearby surface are what actually clear an infestation. Encasing everything you own without treating the room just traps them where they are.
Skipping the box spring
The box spring is one of the most common hiding places in a bedroom, and it is right under the mattress. If your bed has one, encase it separately. Community advice on the r/Bedbugs forum lands on the same point: encase the mattress and the box spring, then inspect every other piece of furniture in the room.
What about heat and memory foam?
A concern people raise often is that an encasement will make a foam mattress hot. A non-breathable membrane over memory foam or latex can trap heat and make the surface feel firmer and warmer, particularly with a thick profile. Polyurethane-coated and knitted fabric encasements are more breathable than coated vinyl, and bed bug proof models are usually built from tighter woven fabric. If heat is your main concern, buy breathable fabric and check the material listing before purchase, not after.
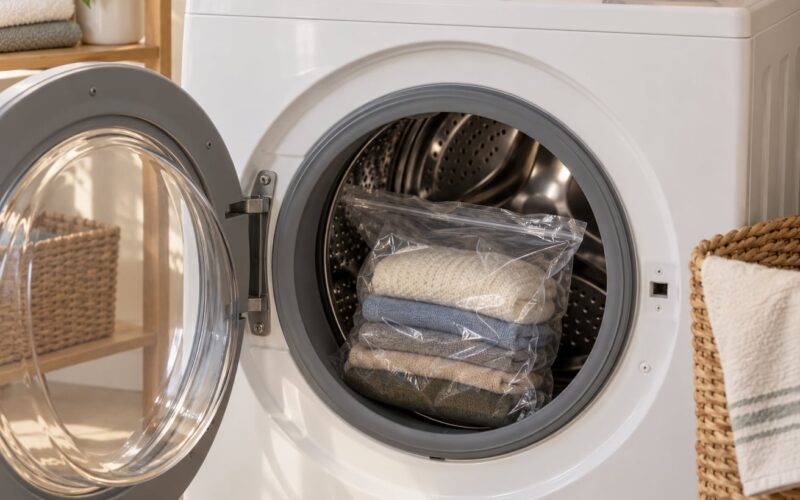
Washing is the other recurring question. Check the care label first, because the membrane type decides the method. Polyurethane and polyester encasements are generally machine washable on a gentle cycle with mild detergent and should be line dried or tumble dried on low, and you keep the zipper closed with a bag or a strap during the cycle so the teeth do not snag. Fully waterproof vinyl covers are usually wipe-down only, and heat can degrade the coating. Washing a bulky wet encasement in a home machine is also the reason many people never bother. If your encasement is not washable, wipe it with a damp cloth and a mild solution instead, and vacuum the underside.
Frequently Asked Questions
Can you still get bed bugs with a mattress encasement?
Yes, because an encasement only protects the mattress. Bed bugs live in box springs, bed frames, headboards, nightstands, baseboards, and neighboring rooms, and they can enter from clothing, luggage, or secondhand furniture. Use a bed bug proof encasement, encase the box spring too, and inspect every nearby surface as part of a room-wide plan.
How long do you leave a mattress encasement on?
Keep it sealed for the whole inspection period after treatment, and many pest control professionals recommend at least 18 months after the last confirmed activity. A bed bug can survive a long time without feeding, so removing the cover too early lets survivors back into a home that appears clean.
Do mattress encasements really work?
They work when they are the right size and fully sealed. The fabric is tight enough that a bed bug cannot pierce it, so anything trapped inside eventually dies without a food source. They fail when gaps, loose corners, or a broken zipper leave an opening, or when the cover is treated as a substitute for treating the room.
Do you put a mattress protector over a mattress encasement?
You can, and many people do. The order from the bottom up is mattress, encasement, then protector, then your fitted sheet. The protector handles spills and everyday wear while the encasement handles bed bugs and dust mites. Never put anything between the mattress and the encasement, because that breaks the seal.
Can bed bugs go through a mattress encasement?
No. Bed bugs cannot pierce intact encasement fabric, and a properly sealed encasement is a physical barrier. What they can do is travel in on clothing, luggage, or used furniture, or squeeze through a gap where the zipper meets a corner. That is why the closure and the corners are the two places to inspect.
How do I wash a bed bug encasement?
Check the care label first. Polyurethane and polyester covers are usually machine washable on a gentle cycle with mild detergent, closed up in a bag during the cycle so the zipper teeth do not snag, then line dried or tumble dried on low. Vinyl and coated covers are generally wipe-down only, since heat degrades the membrane.
Conclusion: What to Do First
Start by measuring your mattress at its deepest point and buying a bed bug proof encasement that matches, including one for the box spring. Then install it on a bare mattress and close the zipper completely.
After that, treat it as a sealed system: inspect the zipper, corners, and seams on a schedule, keep it shut, and treat the rest of the room. If you have confirmed bed bugs, an encasement on its own will not clear the infestation, so put together an integrated plan that covers the frame, the box spring, and the surrounding furniture.