To get rid of rats in a crawl space, you do three things in order: kill the rats already living under the house with snap traps set along their travel routes, seal every opening bigger than a quarter inch so none come back in, then remove the food, water, and clutter that made the space worth living in. Skipping any one of the three means you will be dealing with the same problem next season.
Here is the short version of the whole plan:
- Get the crawl space ready. Gear up with a respirator, gloves, and a headlamp before you go in.
- Confirm it is rats, not mice. Dropping size and the width of the entry gap tell you which animal you are dealing with.
- Map the activity. Find the runways, rub marks, burrows, and gnawed wiring before you set a single trap.
- Remove the existing rats. Pre-bait wooden snap traps, set them perpendicular to the wall with the trigger facing it, and check daily.
- Seal entry points. Every gap over a quarter inch gets steel wool and caulk, hardware cloth, or mortar.
- Clean up droppings and urine trails wet. Never sweep or vacuum them dry.
- Monitor for two quiet weeks before you call it finished.
I updated this guide for 2026. The order matters more than anything else in it, and the first two steps are the ones most people skip and later regret.
Table of Contents
- What You Need
- Step-by-Step
- Step 1: Work safely and confirm you have rats
- Step 2: Map the activity before trapping
- Step 3: Pre-bait, then set snap traps on the runways
- Step 4: Seal every entry point while the space is empty
- Step 5: Remove the attractants
- Step 6: Clean droppings and urine trails the wet way
- Step 7: Monitor for two quiet weeks
- Common Mistakes When You Get Rid of Rats in a Crawl Space
- Frequently Asked Questions
What You Need
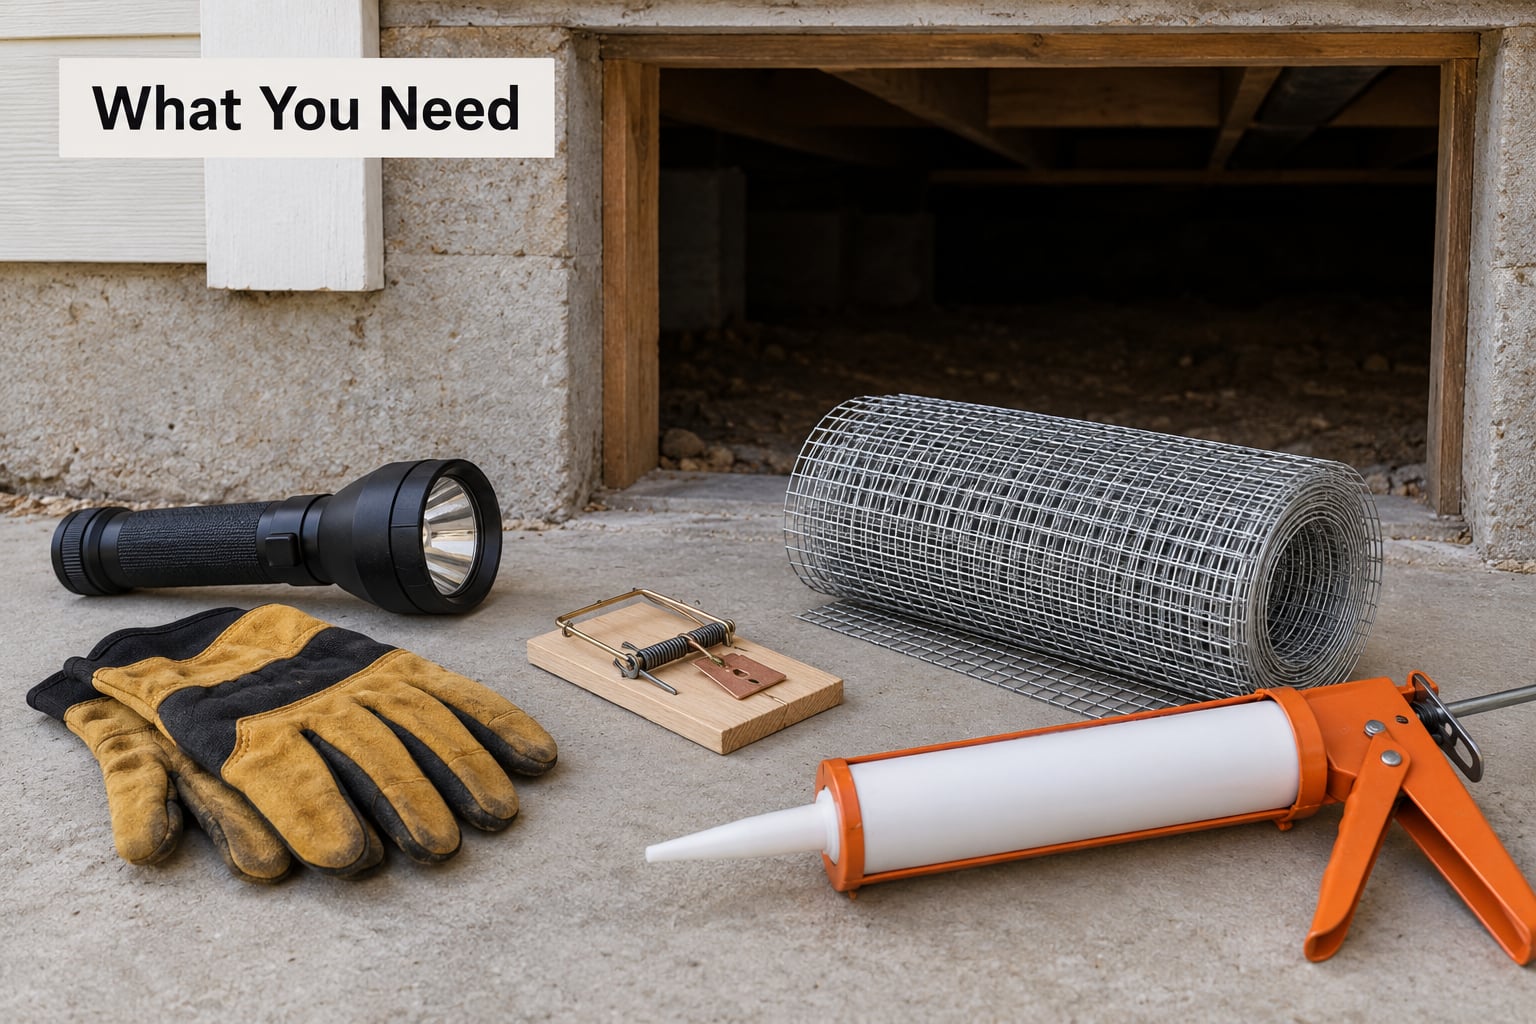
A rat problem in a crawl space is a sanitation job as much as a trapping job, so your gear list is mostly protection and cleanup supplies. The list below is what I would buy before the first trip under the house.
Personal protective equipment
- An N95 or P100 respirator. Rat urine and dried droppings carry hantavirus in aerosol form, and a regular dust mask will not filter it.
- Rubber or nitrile gloves, plus a change of clothes and shoes you can wash or bin afterward.
- A headlamp, not a handheld flashlight. You will need both hands.
- A respirator-rated vacuum or, better, a wet cleanup method. Never use an ordinary shop vac on droppings.
Trapping supplies
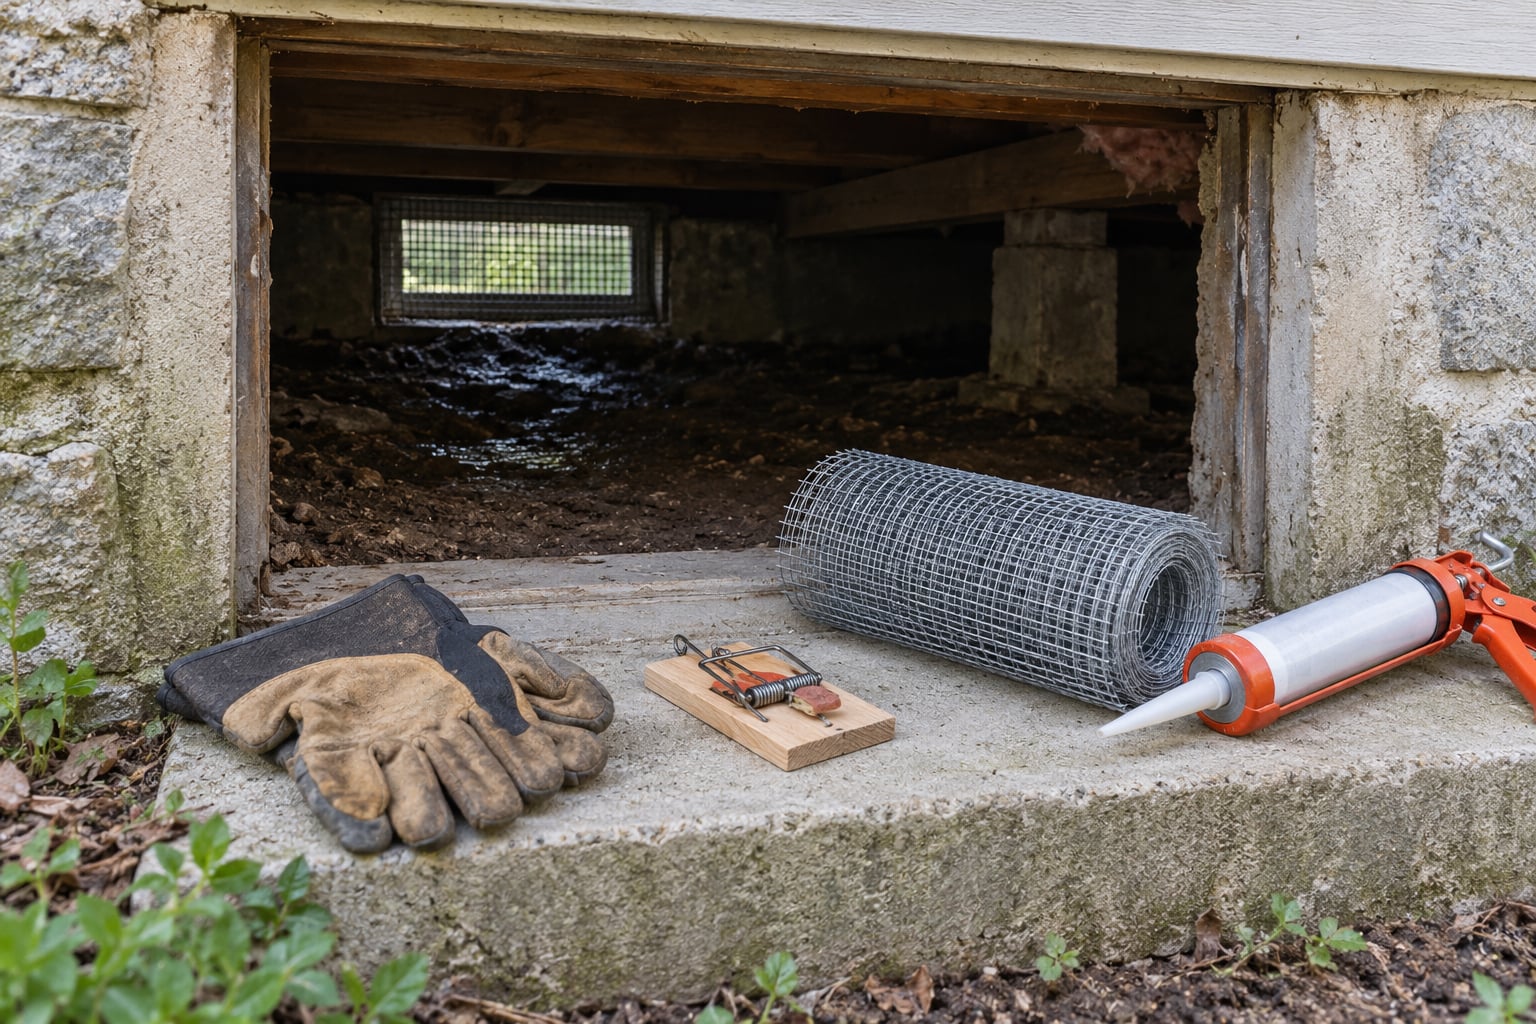
- Wooden snap traps. Rats are neophobic and distrust new plastic objects, so the old wooden rat traps outperform plastic ones.
- Pid Peanut butter or a similar thick paste. Loose grain baits get carried away and cached.
- A milk crate or small box to set over each trap if skunks, opossums, or pet squirrels share the space.
- Extra traps. Set more than you think you need.
Exclusion and sealing materials
- Stainless steel wool and polyurethane caulk for gaps around pipes, wires, and vents.
- Quarter-inch galvanized hardware cloth or 26-gauge expanded metal for larger openings.
- Metal flashing and mortar for foundation cracks and brick weep holes.
- Hardware cloth laid flat on the ground over hot spots where rats are digging straight up. This is the single step most homeowners omit, and it is the one that stops repeat burrowing.
Cleanup supplies
- A spray bottle of disinfectant and a second one of degreaser for urine trails.
- Paper towels, a stiff broom for the soil, and sealed bags or buckets to carry waste out.
- Trash bags that seal. Do not set rodent waste by the curb for a week.
When a licensed pest professional is the right call: burrows that disappear into the footing in ways you cannot reach or seal, a large dog or cat that will get into the space, standing water or an exposed live electrical line you are not comfortable working around, a rental or a closing deadline, or two failed DIY attempts. Rats burrow further than most homeowners expect, and an exclusion job done wrong can push them into the living space instead.
Step-by-Step
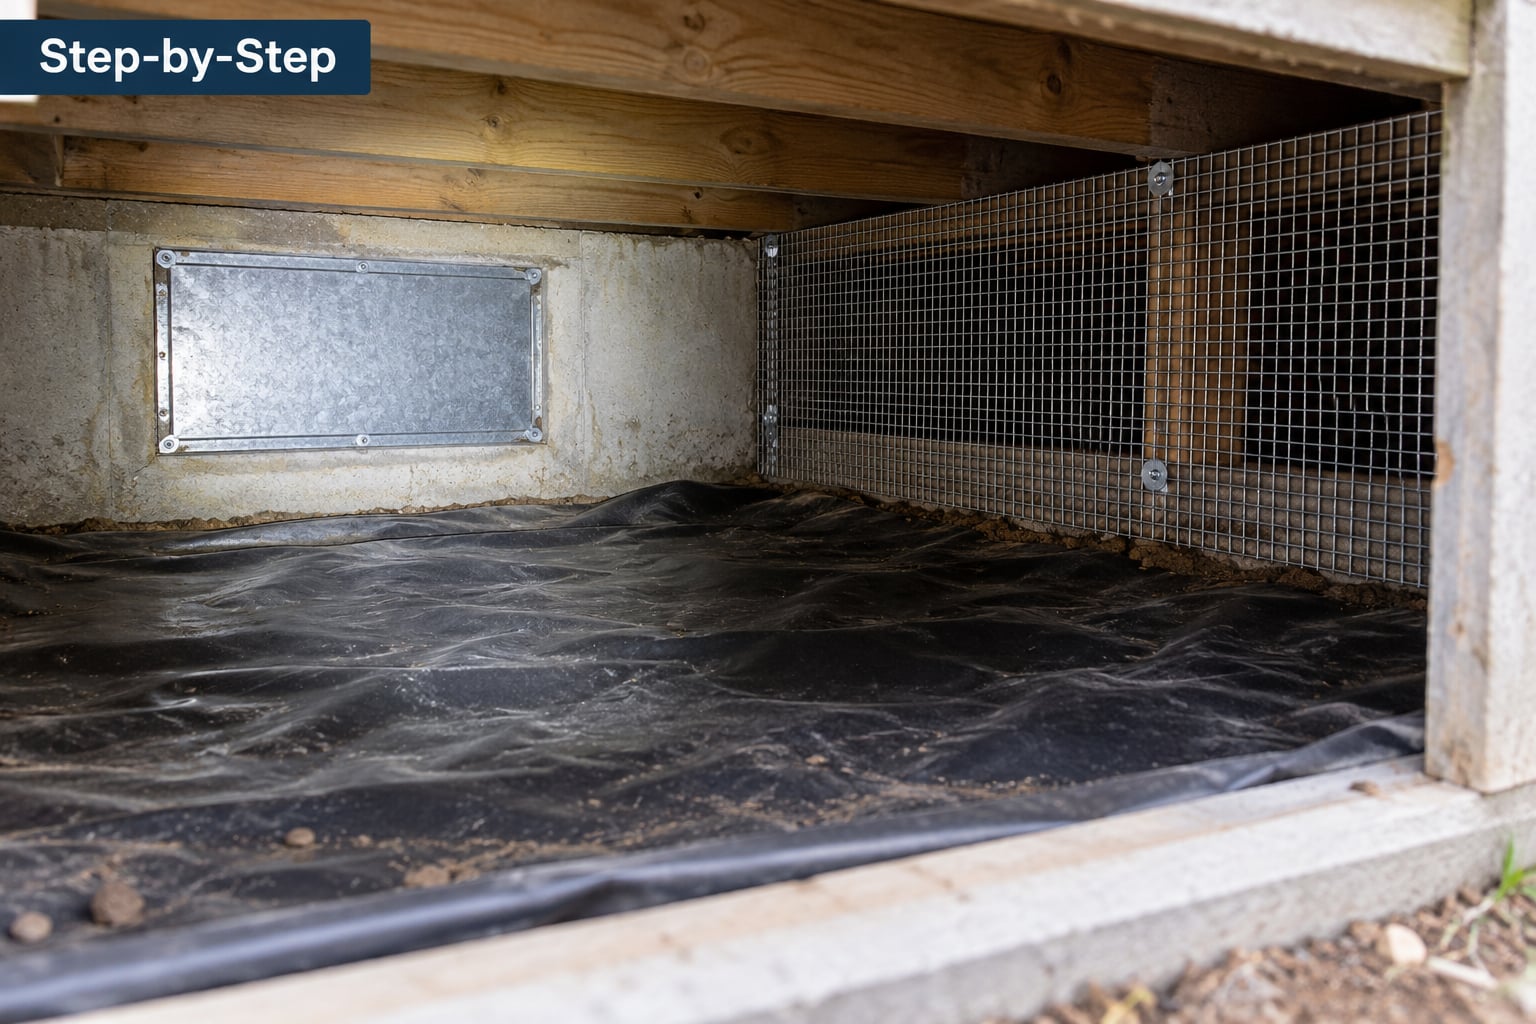
Work through these steps in the order given. Rat removal fails most often because people seal the space first and accidentally trap a colony inside, or trap first and never seal at all.
Step 1: Work safely and confirm you have rats
Tell someone you are going under the house and when you expect out. Carry a phone, wear the respirator, and get out if you hit standing water, a live wire, a gas smell, or a joist that feels soft under your hand.
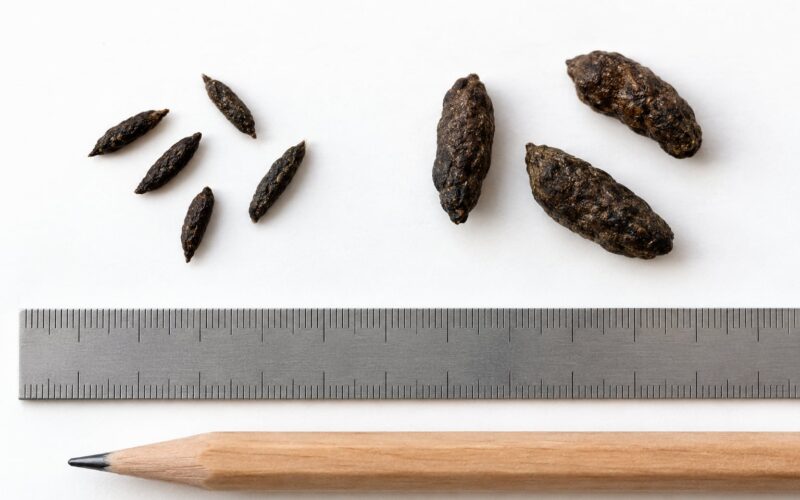
Confirm the animal before you spend money. Rats pass through gaps the size of a quarter inch, mice pass through a dime. Droppings tell the same story: rat droppings are capsule-shaped, roughly half an inch to three-quarters of an inch long with blunt ends; mouse droppings are small, pointed at both ends, and about an eighth of an inch long.
| Sign | Rats | Mice |
|---|---|---|
| Dropping size | 1/2 to 3/4 inch, capsule-shaped | About 1/8 inch, pointed ends |
| Entry gaps they fit through | 1/4 inch | Dime, about 1/8 inch |
| Sound at night | Rattling, heavy scratching | High squeaking |
| Damage | Gnawed wiring, torn insulation, burrows | Small chew marks, no burrows |
| Dropping quantity | Scattered, heavy, new ones appear | Dense pile along a wall run |
Step 2: Map the activity before trapping
Stand still in the crawl space for a few minutes in the dark and listen. Scratching and squeaking tell you where the rats are that night, and that is where the traps go.
Then look for physical evidence. Fresh droppings are dark and soft and have a musky smell; old ones are pale, dry, and crumble. Rub marks are dark greasy streaks along the foundation walls and along the rat’s main run, because rats mark the same path repeatedly. Burrows at the base of the foundation, torn or chewed insulation, and gnawed wiring all tell you which way they travel and where they come in.
You succeeded at this step if you can point to at least two active runways or one runway with fresh droppings. If you cannot find any fresh sign, you may have an old infestation that is already gone.
Step 3: Pre-bait, then set snap traps on the runways
For the first two nights, set traps with the springs unset and put a small blob of peanut butter on the trigger plate. Leave them alone. This is pre-baiting, and it works because trap-shy rats need a couple of nights to trust a new object in a familiar spot.
On night three, set them for real. Place each trap perpendicular to the wall or joist with the trigger end facing the wall, since rats travel edges and rarely cross open ground. Put a pea-sized amount of peanut butter on the trigger and behind it on the base, and check every morning. Wear gloves when handling a catch and bag it or bury it away from the house.
Set more traps than seems reasonable. The usual guidance is at least six to twelve across an active area, doubled when droppings are heavy. You will know trapping is working when you go several days without a catch and without any new droppings appearing.
Homeowners on r/HomeImprovement and r/Virginia independently report the same result: wooden snap traps along the wall with peanut butter outperformed everything else they tried. DIYers also use 50-gallon drum traps set in a hole on their side, which works only if the drum is deep enough that a rat cannot reach the rim and jump out.
Step 4: Seal every entry point while the space is empty
This is the step that ends the infestation, and the moment to do it is after the active rats are gone and before you place fresh traps or do cleanup. Use this table as your inspection checklist, working around the entire foundation.
| Entry point | Typical gap | What to use |
|---|---|---|
| Foundation and sill plate | 1/4 inch | Steel wool plus polyurethane caulk |
| Plumbing or drain pipe | 1/4 inch | Stainless steel wool and sealant or mortar collar |
| Utility and wire penetrations | 1/4 inch | Steel wool, caulk, or metal flashing plate |
| Foundation vents and soffit vents | Open by design | 1/4 inch hardware cloth cut and screwed in place |
| Overgrown yard drain or yard vent | Open pipe | Hardware cloth cap or hinged flap |
| Brick weep holes | 3/8 inch | Mortar plug or mesh plus mortar |
| Burrow holes in soil along the footing | 2 inch or more | Hardware cloth buried flat plus stone or pavers on top |
Do not block ventilation. If your crawl space needs air to control moisture, cover the vent openings with mesh rather than sealing them shut, or you will trade a rat problem for a mold problem. Success here means you can run your hand along the foundation and find no gap that feels like it would fit a finger.
Step 5: Remove the attractants
Rats moved in for three reasons: food, water, and shelter. Clear all three outside the house, where you can actually control them.
- Store pet food and birdseed in sealed metal containers, never in open bags on the ground.
- Take trash cans out regularly and keep lids tight; a garage can is worse than nothing.
- Pull fruit that has fallen from trees, and clean out the gutters in the fall.
- Move firewood, lumber, boxes, and stacked fencing at least a few feet away from the foundation.
- Trim shrubs off the foundation wall so nothing bridges up to an entry point.
- Fix standing water and dripping condensate lines, because rats drink far less often than people assume.
You have done enough when you could walk the perimeter at night with a flashlight and find nothing edible, nothing wet, and nothing stacked against the wall.
Step 6: Clean droppings and urine trails the wet way
Do not wait for this. Old droppings lose infectivity over time, but the mess, the odor, and the parasites remain, and cleanup gets much harder once you have sealed everything up.
Put on gloves and the respirator, mist the droppings and urine trails with disinfectant until the surface is wet, leave it for several minutes, then wipe or scoop them up and seal them in bags. Break down any grease or rub marks with a degreaser, because that scent marks the run for the next rat. Never dry sweep and never use an unprotected vacuum. Keep working until the soil under the runways is clean down a few inches, and check the vapor barrier for holes the rats chewed through.
Step 7: Monitor for two quiet weeks
Runway cameras, a motion-sensor light, or simply checking the traps and the runways every two or three days all work. You are looking for two consecutive weeks with no new droppings, no burrows, and no night noise.
If you find fresh droppings after a lull, you missed an entry point. Trace it with the light and seal it. Rats that tunnel straight up from the soil are the usual reason for that, which is why the flat hardware cloth on the ground matters so much.
Common Mistakes When You Get Rid of Rats in a Crawl Space
Almost every failed DIY attempt comes down to one of these. Each has a straightforward correction.
- Sealing everything before the rats are gone. This traps a live colony inside your house. Trap and monitor the activity down first, then seal.
- Trapping without ever sealing. You will catch a few rats and inherit a new one next season. Exclusion is the fix that ends it.
- Setting traps in open floor. Rats hug edges. Move the trap so the trigger end faces the wall or joist, and put more traps along the actual runs.
- Skipping pre-baiting. New objects scare rats. Leave bait on unset traps for two nights before arming them.
- Using rodenticide indoors. This is the most common and most damaging mistake. A poisoned rat crawls off and dies in a wall void, subfloor, or sealed cavity, and the carcass smell can last months. It also carries a secondary poisoning risk for dogs, cats, wildlife, and anyone touching a trap. Traps kill where the rat is found.
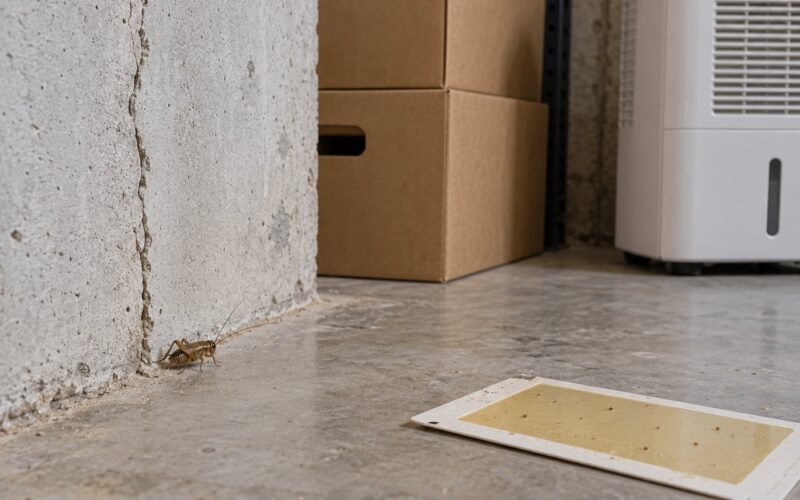
- Relying on glue boards. They rarely kill anything, and trapped rats suffer. At best, use a glue board briefly as a monitoring tool and remove it the same morning.
- Spraying peppermint oil or scattering mothballs. These fade within days. At most they are a short-term nudge while you set real traps.
- Blocking the vents. Sealing off the airflow to keep rats out raises humidity in the crawl space and invites mold. Mesh over the opening is the answer.
- Sweeping droppings dry. This aerosolizes hantavirus and sends the smell deeper into the soil. Wet, always.
- Sealing a gap while an animal is still living behind it. Check for nests, kittens, or trapped animals before you close anything up.
What to do after the space is clear
- Inspect the entry points and the traps monthly, and again before storms and before winter.
- Check the crawl space at night with a flashlight for new droppings during the first warm weeks of spring.
- Keep the ground swappable: bark, gravel, or pavers over hardware cloth work better than bare soil.
- If your crawl space was never encapsulated, consider it after the rats are gone. A sound vapor barrier and controlled moisture removes the damp, sheltered conditions rats prefer.
Frequently Asked Questions
Is it safe to get rid of rats in a crawl space yourself?
It is safe with the right gear, and most homeowners do it successfully. Wear an N95 or P100 respirator, rubber gloves, and a headlamp, and go with a second person who knows you are down there. Turn back if you find standing water, exposed wiring, or a gas odor. Never work alone, and keep pets and children out of the house entirely while you are setting traps.
How long does it take to remove rats from a crawl space?
Most DIY removals take two to four weeks from the first trap to the last catch. Pre-baiting adds two nights at the start, and the final two weeks are quiet monitoring rather than active work. A heavy infestation with several entrances takes longer because new rats keep appearing until every gap is sealed. If you are still catching a rat every three or four days after three weeks, an entry point is still open.
Should I seal the crawl space before setting traps?
No. Trap and confirm the space is quiet first, then seal. Sealing first can trap a live colony inside your house and make the problem worse. Forum homeowners agree that finding and closing every entrance is the most critical step, but it belongs after the active population is removed and before the final cleanup. Seal while the space is still open and easy to work in.
How do I safely clean rat droppings in a crawl space?
Put on a respirator and gloves, mist the droppings and urine trails with disinfectant until fully wet, wait several minutes, then scoop or wipe them up and seal them in bags. Degrease any rub marks afterward so the run does not attract the next rat. Never dry sweep and never use a shop vacuum. Work deeper than the visible layer, down a few inches of soil, and check the vapor barrier for chewed holes.
When should I hire a professional for rats in a crawl space?
Call a licensed pest pro when burrows run into places you cannot reach or seal, when there is standing water or live electrical wiring, when a dog or cat can get into the space, or when you are renting or under a closing deadline. It is also worth it after two failed attempts. Ask for a written plan covering trapping, perimeter exclusion, and cleanup, and confirm they seal entry points rather than only setting traps.
Start this weekend: gear up, spend an hour mapping the runways and the entry points in daylight, and set pre-baited snap traps that night. When the space goes quiet, seal the quarter-inch gaps, bury mesh over the burrows, wet-clean the droppings, and check back in two weeks.