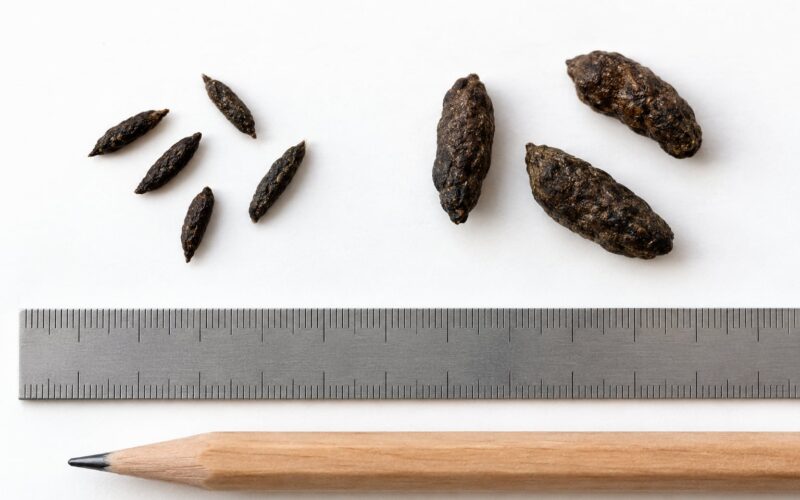
Mouse droppings are small, dark pellets roughly 1/8 to 1/4 inch long with pointed ends, and they look like grains of dark rice. Clean them up by wetting and disinfecting the area first, then lifting the debris into sealed bags. Never sweep or vacuum dry droppings, because that sends particles into the air. This guide walks through mouse droppings identification and cleanup from first look to final check, in about an hour for a normal room.
Most people find a single dropping behind the stove or under the sink and immediately assume the worst. One dropping is not an infestation. But leaving a real infestation alone while you keep cleaning the same shelf is also how it spreads, because the mouse that made the mess is still in the house and moving along the wall behind your appliances.
So there are two jobs here, and they are not the same job. First you work out what made the droppings and how much of them there are. Then you clean without breathing in anything, fix the hole the mouse came through, and check back to confirm the activity has stopped.
Table of Contents
- What You Need
- Step-by-Step: Mouse Droppings Identification and Cleanup
- Step 1: Confirm That the Droppings Came From Mice
- Step 2: Protect Yourself and Keep Others Away
- Step 3: Prepare the Cleanup Area
- Step 4: Remove the Droppings Safely
- Step 5: Disinfect and Dry the Surface
- Step 6: Inspect Hidden Areas and Entry Points
- Step 7: Remove Food Sources and Seal Access
- Step 8: Monitor for New Activity
- Attic, Drop Ceiling and Insulation: What to Do
- If You Already Vacuumed the Area
- Common Mistakes
- Frequently Asked Questions
- Conclusion
What You Need
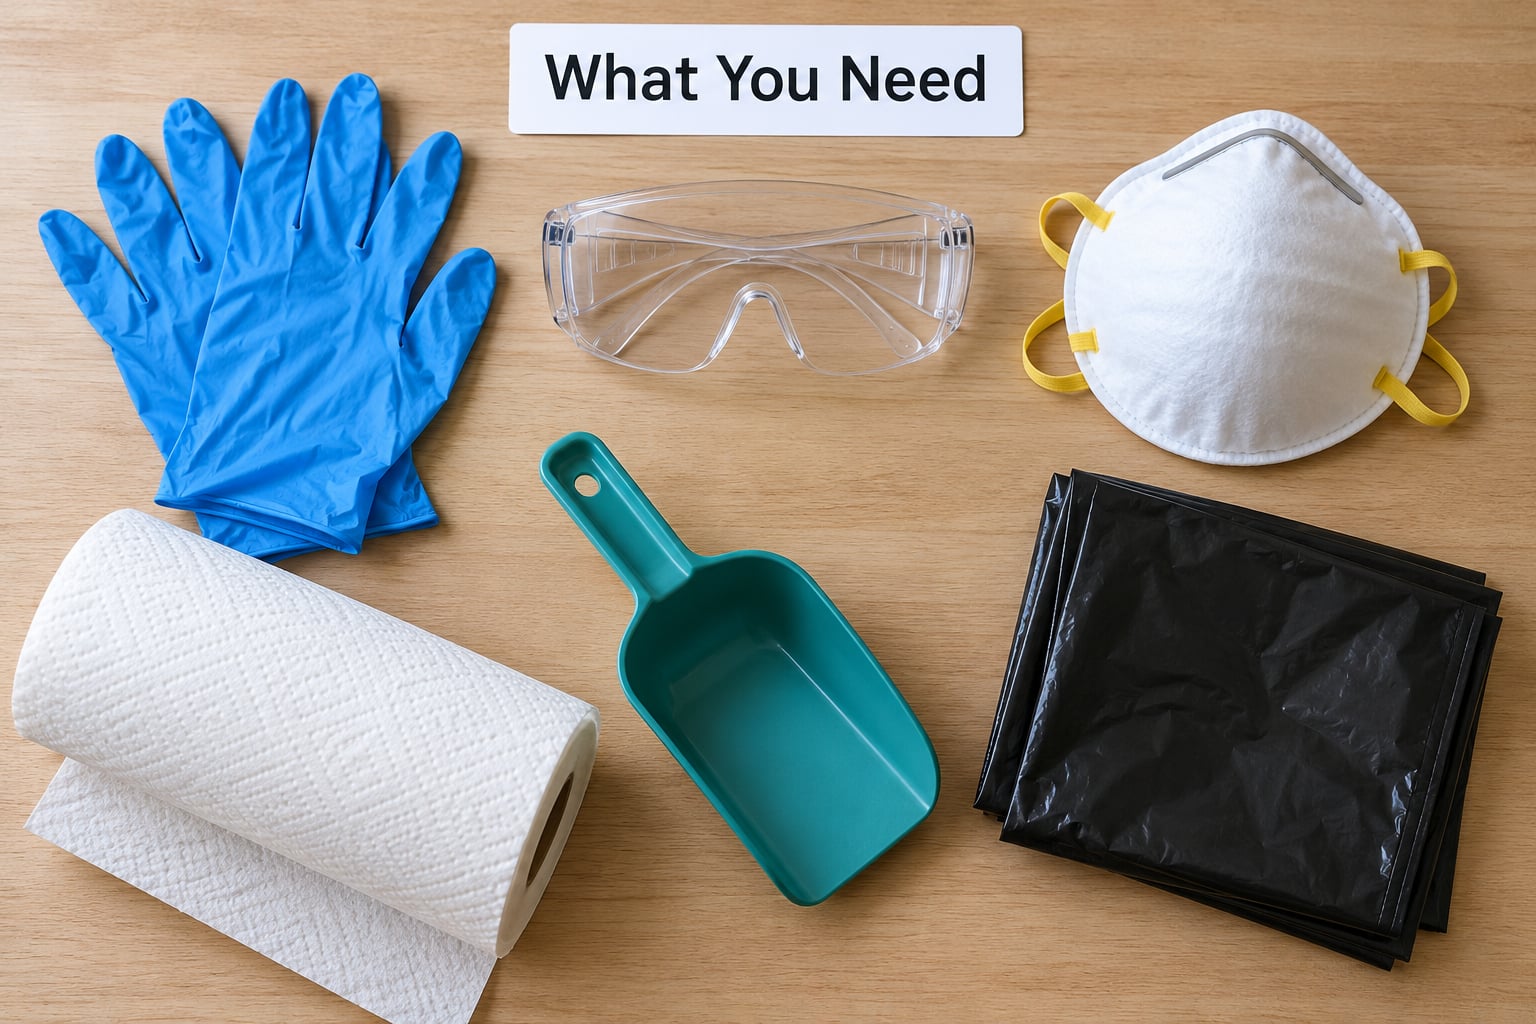
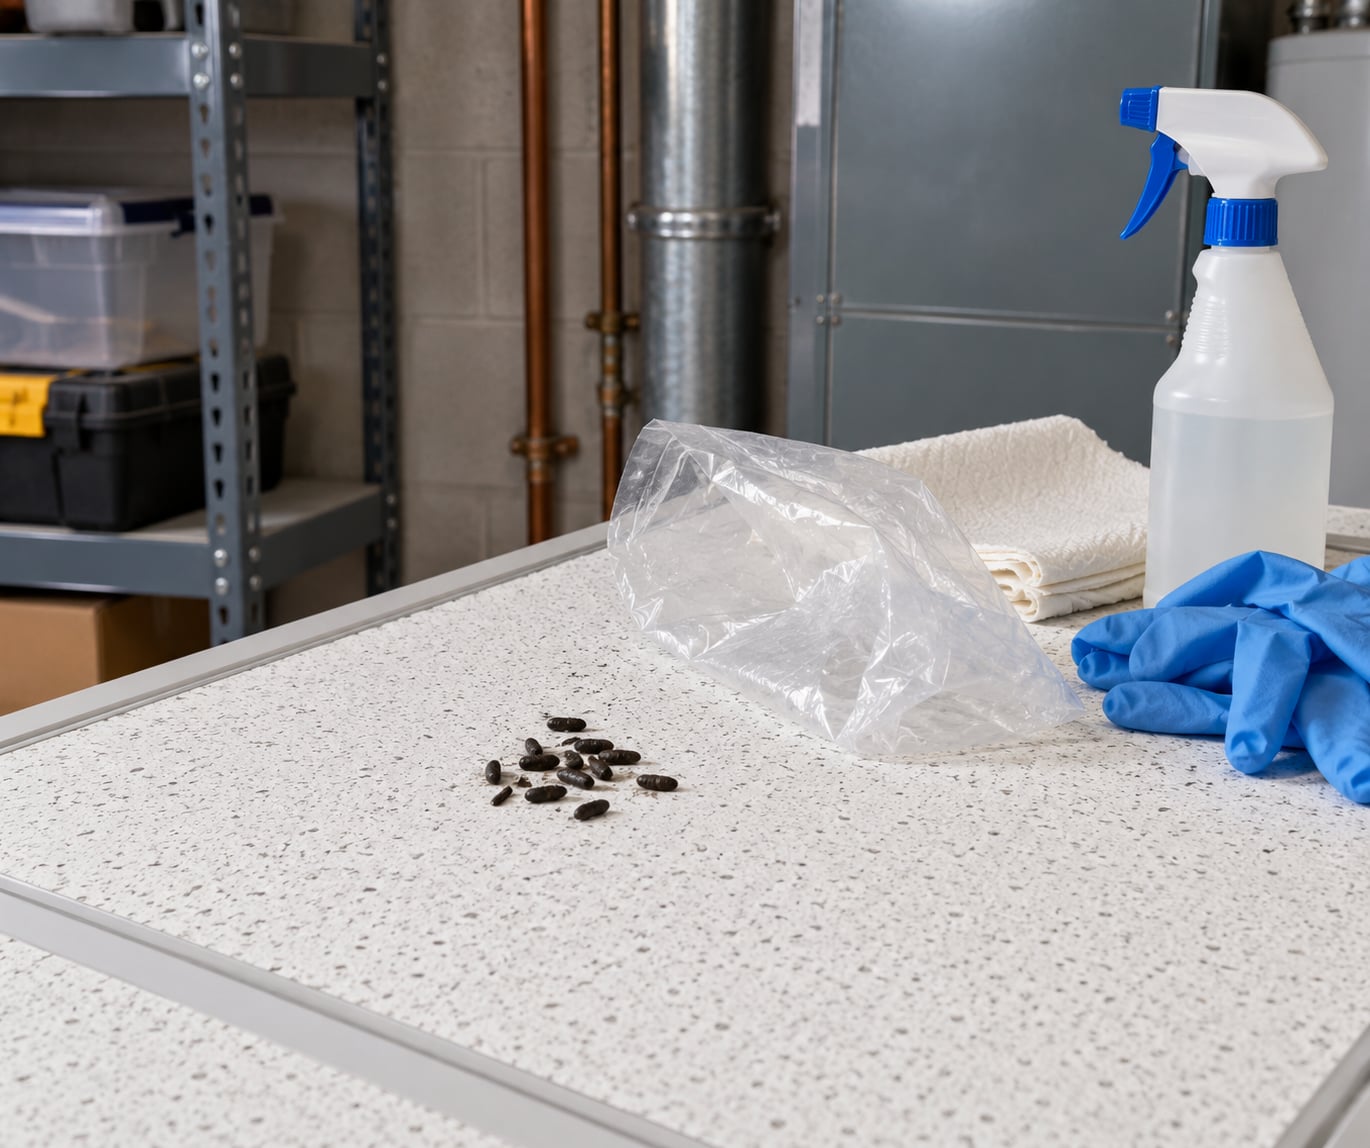
Gather everything before you touch anything. Most cleanup jobs fail halfway through because the person ran out of bags or started without a respirator, and by then the debris is already spread.
- Disposable gloves — rubber or nitrile, not cloth
- Safety goggles, especially if you will be looking up into a drop ceiling or working in an attic
- A filtering face mask (N95 or P100) for enclosed spaces, basements, attics and any heavy accumulation
- Paper towels or disposable cloths for picking debris up wet
- A plastic scoop or tongs so your hands stay away from the material
- Heavy-duty bags that seal, plus a second bag for double-bagging
- An EPA-registered disinfectant effective against rodent waste, or unscented household bleach
- A spray bottle for wetting down the area before you lift anything
- A flashlight and your phone camera — you will want photographs before you clean
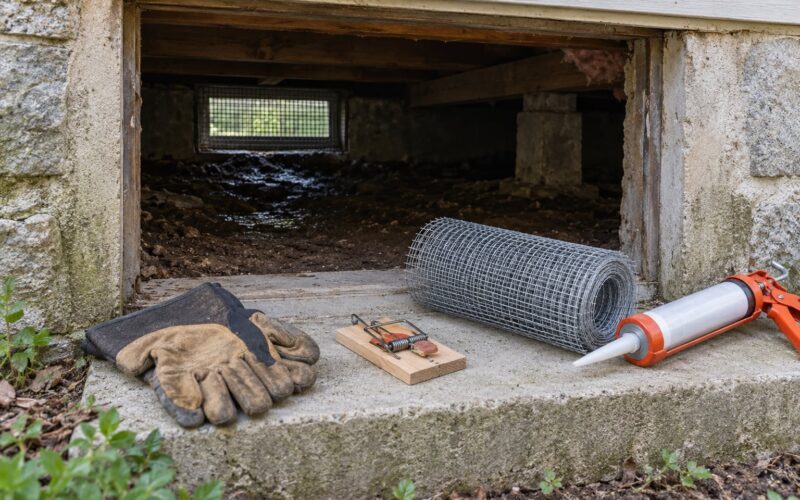
- Steel wool, copper mesh and exterior-grade caulk for sealing gaps, plus a 1/4 inch gap gauge or a pencil to check openings
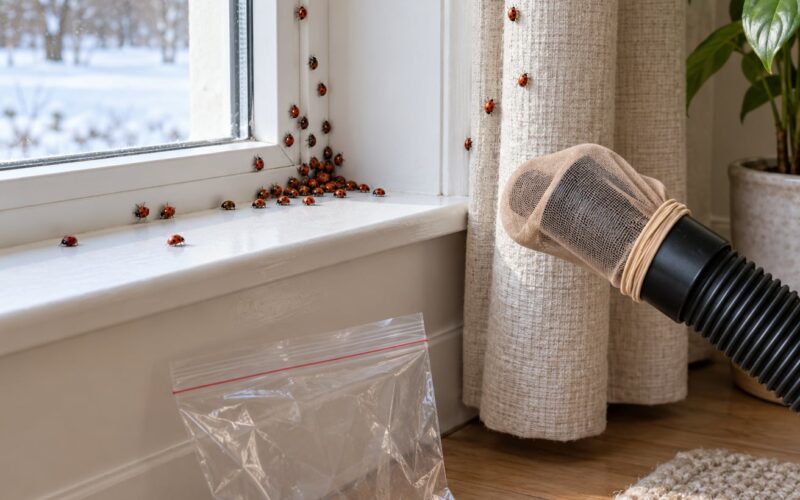
What you must not use is as important as what you do. Put away the household vacuum and the dry broom. A standard vacuum has no meaningful filtration and will blow fine dried particles into the room. The advice you will find online to vacuum cockroach droppings with a HEPA vacuum is written for insect debris, and rodent waste guidance is stricter because of hantavirus.
Before you start, take a few photographs of each pile with something for scale, and note where each one is. If a technician comes later or you need a pro to tell mouse from rat, those photos carry more information than a description you write from memory.
Step-by-Step: Mouse Droppings Identification and Cleanup
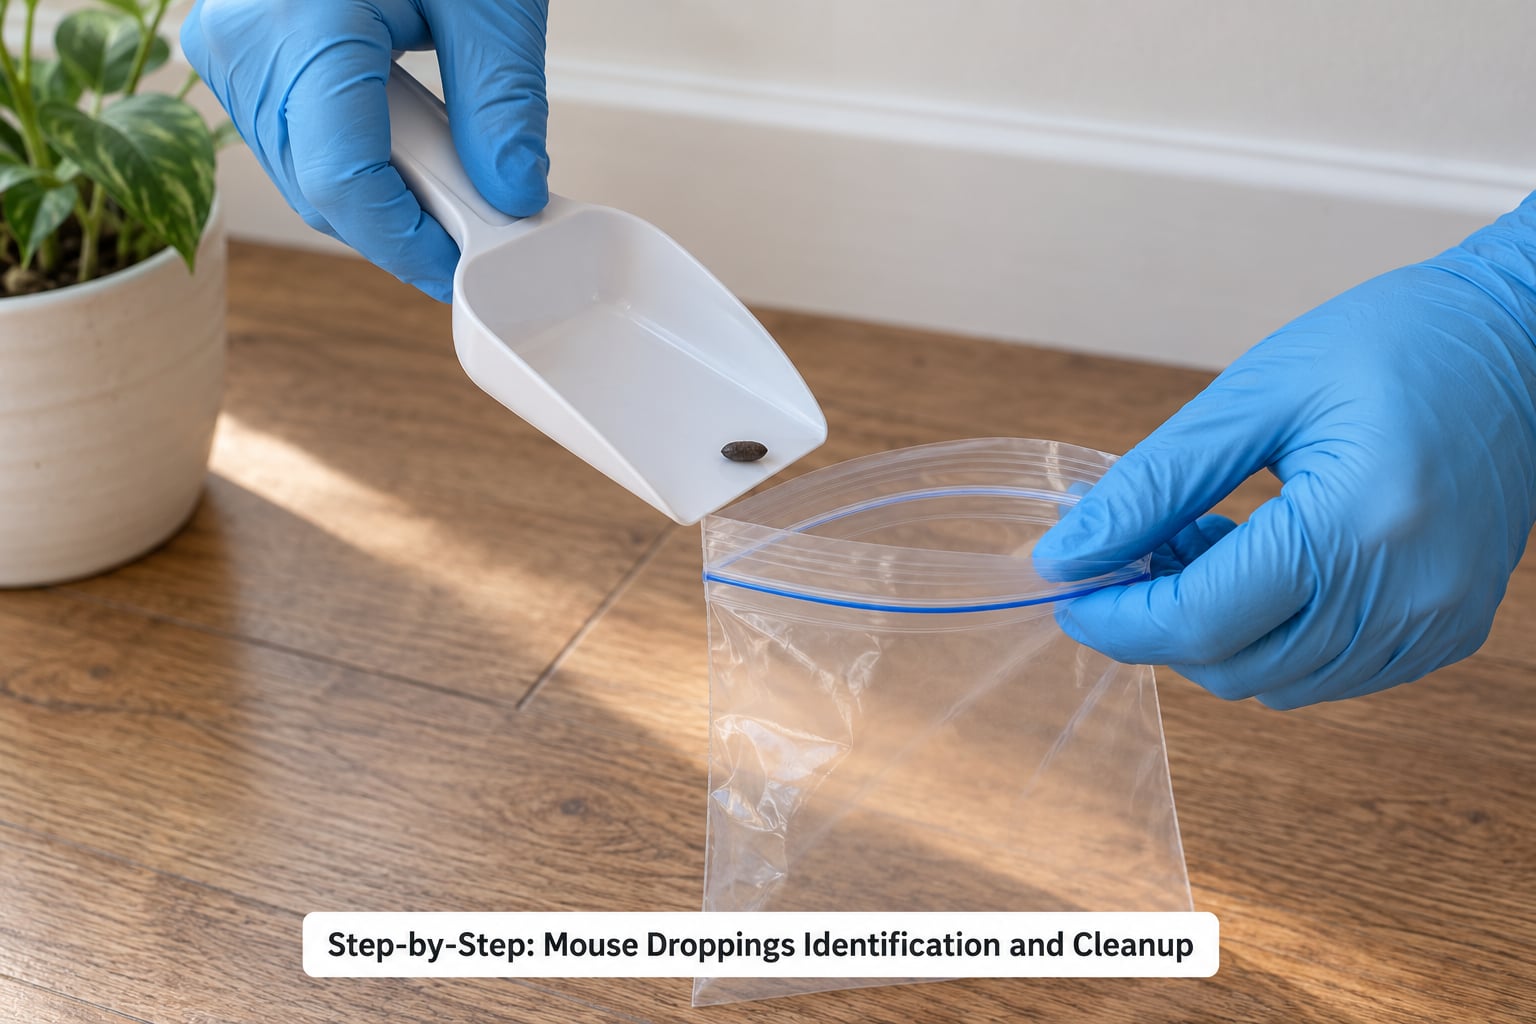
Step 1: Confirm That the Droppings Came From Mice
Mouse droppings are 1/8 to 1/4 inch long, pellet-shaped with pointed ends, and dark brown to black when fresh. Size is the most reliable clue, and comparing against other common household droppings is quicker than most people expect.
| Droppings | Size | Shape and ends | Typical location |
|---|---|---|---|
| Mouse | 1/8 to 1/4 inch | Slender pellets, pointed ends, rice-grain shape | Kitchen cabinets, pantry shelves, behind and under appliances, along baseboards |
| Rat | 1/2 to 3/4 inch | Thicker, blunter, often slightly curved | Basements, garages, utility rooms, behind water heaters |
| Squirrel | About 1/4 inch, sometimes larger | Rounder and more uniform, blunt, twisted ends | Attic decks, eaves, above ceilings, near an entry point from outside |
| Cockroach | About 1/16 to 1/8 inch | Irregular specks, often smeared alongside droppings | Under sink, cabinet hinges, appliance voids, plumbing penetrations |
Location helps as much as size. Droppings clustered inside a cabinet or on a pantry shelf read differently from droppings in an attic over the kitchen, which usually means a squirrel got in from the roofline rather than a mouse coming up the wall.
Colour is not a dependable clock. The common claim that fresh droppings are glossy black and old ones are grey and crumbly is a useful first impression, but it is not a measurement. What confirms fresh activity is a dated check: set a snap trap or a sticky monitor, mark the date on it, and look again in 48 hours. A clean trap with fresh debris in it means the rodent is still using that route tonight.
Also look for the supporting signs. Fresh droppings in a hidden corner mean one mouse, not many; a large number means you have a real problem on your hands. Look for dark greasy rub marks along walls and baseboards where fur and grease are rubbed off, gnaw marks that look like small chisel cuts, shredded paper or fabric nesting material, a musky ammonia-like urine smell, and scratching or squeaking in the walls after dark. A single mouse can drop 50 to 75 droppings a night when it is active, so the volume is a useful measure of how serious this is.
The last thing to check is which mouse it is. A house mouse has a solid brownish-grey body and a tail the same colour throughout. A deer mouse has a white belly and a two-toned tail, white on the bottom half, and it is the species that carries hantavirus in the US. If you are in a rural home, a cabin, or a building with a wild rodent population, treat any deer mouse sighting as a higher-tier exposure.
Step 2: Protect Yourself and Keep Others Away
Close the room and keep children, pets and visitors out of it until the surfaces are dry. Put food and pet bowls out of the area before you begin, because a single open cereal box gives you a reason to come back into a room that is still damp with disinfectant.
If the space is enclosed — a closet, attic, crawl space, wall void or inside a drop ceiling — open a door or hatch and ventilate it for about 30 minutes before you enter. Rodent-borne illness is spread mainly by inhaling aerosolized particles from dried urine and feces, and that is exactly what poor ventilation in a confined space sets up.
Put on disposable gloves and goggles. Add an N95 or P100 respirator if the accumulation is heavy, if the space is enclosed, or if you have asthma or a lung condition. Do not use a cloth mask; it will not filter fine particles.
Step 3: Prepare the Cleanup Area
Work from the outside in, and start with the least contaminated surface so you do not carry material across the clean parts of the room. Move nearby objects, small appliances and movable storage out of the way so you can see the floor and the wall junction.
Lightly mist the suspected area with your disinfectant solution and let it sit for the label’s contact time before you pick anything up. This wets the material so it cannot turn to dust while you work. On carpet and upholstery, saturate the area with enough solution to reach the padding underneath, and blot rather than rub.
Line a bin with a heavy-duty bag and have your sealed bags within arm’s reach. Any material you remove goes straight into the bag. Do not pile debris on a dustpan, do not shake out a rug, and do not move contaminated belongings to another room to sort later.
Step 4: Remove the Droppings Safely
Pick debris up with damp paper towels, or use a plastic scoop or tongs for larger piles, and place it directly into the sealed bag. Fold the bag closed, press out the air, seal it, then put that bag inside a second bag and seal again.
Twice is the rule because the material stays moist and a single bag can leak when you set it down. Take the bags out to your outdoor bin or place them in a lined container for pickup, and wash your hands with soap and water afterwards. Change gloves between rooms, and take off gloves before you touch a door handle.
Clean your tools at the end of the session with hot soapy water, and wash any cloth or reusable gloves that were not disposable on a normal laundry cycle. If you used a respirator, wash your face and hands after taking it off.
Step 5: Disinfect and Dry the Surface
Apply an EPA-registered disinfectant according to its label, or make a bleach solution at one part unscented household bleach to nine or ten parts water. Both are routinely recommended in rodent cleanup guidance, including from CDC and university extension services.
Leave it wet for the full contact time. Five minutes is the figure most rodent cleanup protocols quote, and it is the step people skip when they wipe the surface early. If you are using a bleach solution, label the container so nobody ingests it by mistake, and keep it away from children and animals.
Then dry the surface. On hard floors, wipe the disinfectant away with a clean damp cloth and let the floor air dry. On carpet and upholstery, blot with clean white towels, extract with a water-only pass if you have one, and make sure the padding is dry before anyone puts furniture back — trapped moisture in carpet under a couch is how you get a musty smell that outlives the infestation.
Ventilate the room for at least 30 minutes after cleaning, longer if you cleaned an enclosed space. If the urine smell is the bigger problem, cleaning the droppings alone will not fix it, because much of the odor comes from dried urine deposits in flooring and soft materials rather than from the droppings themselves.
Step 6: Inspect Hidden Areas and Entry Points
A pile you can see is usually the smallest pile. Mice travel along edges, not across open floor, so work the perimeter of every affected room and look behind and under the things pushed to the wall.
Work through this list in order: inside and under kitchen cabinets, behind the refrigerator and stove, under the sink and around plumbing penetrations, along the baseboards, inside cupboards and pantry shelves, in the pantry and food storage areas, behind and beneath upholstered furniture, inside appliance voids, in the garage and storage boxes, in the attic and above drop ceilings, and inside HVAC return registers where you can safely reach them.
In the attic and above a drop ceiling, expect more than droppings. Look for nesting material, dark staining on the joists or on top of the insulation, and gnawed wiring or chewed insulation. Contaminated attic insulation is a removal decision, not a wipe-down decision — see the guidance below.
Now find how they got in. Work the exterior and look for gaps around pipe and wire penetrations, where siding meets the foundation, at utility entry points, under door sweeps, and around vents. A mouse needs a hole about 1/4 inch wide, roughly the width of a pencil. Check sill plates, garage-door thresholds, roof-line vents and the area around the attic hatch.
Step 7: Remove Food Sources and Seal Access
Clean up the reason they came in. Put food into hard containers with tight lids, keep pet food in sealed bins rather than open bowls, wipe down counters and crumb-prone surfaces daily, take bins out on a schedule that stops them backing up, and store cardboard away from the base of walls.
Seal the gaps you found. Stuff steel wool into the opening first so rodents cannot pull it out, then secure it with exterior-grade caulk. Copper mesh is the better option where you cannot caulk, such as around pipe penetrations. Use 1/4 inch hardware cloth over larger openings that steel wool cannot hold.
Take rodent proofing work beyond handyman level to a licensed contractor or pest professional. Anything involving rewiring, structural cutting, soffit or roof-line work, or moving ductwork is not a do-it-yourself job.
Then deal with the mice themselves, because sealing without removing them just relocates the problem. Snap traps set perpendicular to the wall, trigger side against the surface, work better indoors than poison bait. Avoid glue traps and live traps, which leave animals alive and suffering in a wall. Avoid poison bait indoors where a pet or child can reach it, or where a rodent can die in an inaccessible void and leave odor behind. Put out traps along travel routes, not out in the middle of the floor.
Step 8: Monitor for New Activity
There is a five-night rule that pest professionals use: if you find no fresh droppings, no new gnaw marks and no caught rodents over five consecutive nights in summer, the active infestation has most likely ended. It is a rule of thumb, not a guarantee, and it only holds in warm weather when rodents are active. In winter you may need to extend the observation window.
Check the same locations you cleaned. The trap you dated is the most reliable test — leave a marked trap in each main travel route and check it every two or three days. Fresh droppings next to an empty trap means the trap is misplaced, so move it closer to the wall and try again.
Continue monitoring for a few weeks after cleanup. If new droppings keep appearing, sealing is incomplete or the rodent population is still active, and repeated cleaning without exclusion will not change that. If droppings reappear in the same place every few days, that is a monitoring signal to call a pest professional rather than another round of spraying and scrubbing.
Attic, Drop Ceiling and Insulation: What to Do
These are the cases forum users ask about most, and they are the ones where cleanup alone stops working. If droppings sit on top of loose-fill attic insulation, you can remove the contaminated material in bags where practical, but if it is soaked through or the amount is large, professional remediation with replacement insulation is the better answer.
For a drop ceiling, remove tiles, bag and dispose of them if they are heavily contaminated, then clean the plenum above with the same wet-and-disinfect method and let everything dry fully before you put the grid back up. Do not disturb a ceiling grid where mice can be live in the plenum until the rodents have been removed. Never work in an attic where you could step through to the ceiling below, and watch for exposed nails, unprotected wiring and poor footing.
If You Already Vacuumed the Area
It happens. Most people do it before they have read anything about hantavirus, and panicking about it afterwards helps nobody. Close the room, ventilate it for 30 minutes, then wet and disinfect the whole area the same way as a normal cleanup, working from the far side toward where the vacuum ran. The remaining risk after a careful wet clean is low.
Also clean or replace the vacuum filter and wipe down the vacuum head, since fine particles passed through it. If you are cleaning out of a confined space or had a heavy accumulation, wearing a respirator for this second pass is a sensible precaution.
Common Mistakes
Almost every mistake here is a well-intentioned one, and each of them makes the situation worse in a specific way.
Dry sweeping or vacuuming the droppings. This is the big one. It converts solid pellets into airborne particles that you then breathe across the whole room. The correction is to wet the area first, wait out the contact time, and lift the debris into a sealed bag instead.
Taking the HEPA vacuum advice meant for cockroaches and applying it to rodent waste. You will find pages recommending HEPA vacuuming of insect droppings and smear. Rodent cleanup guidance is deliberately more conservative for a reason. Wet and disinfect, do not vacuum.
Using a household vacuum on droppings or on a contaminated rug. The filter is not rated for fine biological particles, so it distributes what it collects. Do not empty the contents indoors, either — that releases the same dust you were trying to contain.
Mixing cleaning products. Bleach plus ammonia or bleach plus an acidic cleaner produces toxic gas. Use one product at a time, and never combine bleach with vinegar, ammonia, or any drain cleaner. Follow the label on whatever disinfectant you use, including whether it needs rinsing afterwards.
Wiping the disinfectant off early. The label contact time is when it is actually working, and rodent cleanup protocols commonly quote five minutes. Spraying and immediately wiping down leaves the surface essentially untreated. Set a timer.
Entering an enclosed space before venting it. Thirty minutes of ventilation before you start, and thirty minutes after you finish, is the difference between cleaning a shed and inhaling a concentration of dried urine and feces in a confined void.
Cleaning thoroughly but never sealing the entry points. You have removed the evidence, not the cause. Do the exclusion work in the same visit, and record which gaps you closed so you can find the ones you missed when droppings reappear.
Judging the infestation by droppings alone, or under-reading it. One dropping is not an infestation, and a wall of them is not a cleaning job. Volume tells you which of those two situations you have, which changes whether you need a professional.
Frequently Asked Questions
How can you tell if droppings are from mice?
Look at size and shape first. Mouse droppings are 1/8 to 1/4 inch long, slender pellets with pointed ends, dark brown to black, and they resemble small grains of rice. Rat droppings are 1/2 to 3/4 inch with blunter ends, cockroach specks are smaller and smeared, and squirrel droppings are rounder. Confirm with a dated snap trap or sticky monitor checked 48 hours later, since colour alone is not a reliable freshness test.
Can I vacuum mouse droppings?
No, not with a household vacuum and not with a broom. Dry debris becomes airborne when disturbed, and a standard vacuum has no meaningful filtration, so it spreads the particles across the room instead of collecting them. Wet the area with disinfectant, leave it for the full contact time, then lift the material into a sealed bag. HEPA vacuuming advice you find online generally applies to cockroach droppings and smears, not rodent waste.
How should I disinfect an area with mouse droppings?
Wear disposable gloves and eye protection, ventilate the space for about 30 minutes, then apply an EPA-registered disinfectant or a solution of one part unscented household bleach to nine or ten parts water. Keep the surface wet for the full label contact time, commonly five minutes for rodent cleanup. Wipe or extract the residue, dry the surface thoroughly, double-bag all debris, and wash your hands and any reusable tools afterwards.
What does a large amount of mouse droppings mean?
It means an active infestation rather than a single intruder. One mouse can drop 50 to 75 droppings a night when active, so scattered droppings across several rooms, along baseboards and in multiple cabinets usually mean repeated activity over days or weeks. That volume points to a trapping and exclusion job rather than cleanup alone. Clean what you can safely, then call a pest professional to remove the rodents and seal the entry points.
Should I be concerned about hantavirus from mouse droppings?
Take the precautions seriously, but the risk for most people is low with correct cleanup. Hantavirus in the US is carried primarily by deer mice, and infection happens mainly when dried urine and feces are disturbed and the particles are inhaled. Household mice can carry other organisms, including salmonella and lymphocytic choriomeningitis virus. If you develop fever, muscle aches, shortness of breath or headaches one to eight weeks after cleaning, contact a doctor and mention the rodent exposure.
When should I call a pest professional after finding droppings?
Call one when cleanup alone will not solve it: droppings spread across a large garage or attic, insulation is soaked through, HVAC ducts are involved, deer mice are present in a cabin or rural home, or wiring has been gnawed. Also call if new droppings keep reappearing after you sealed the obvious gaps, or if the job involves soffit, roofing or structural work. Professionals also handle heavy attic contamination and rodent removal safely, which is usually cheaper than putting in new insulation afterwards.
Conclusion
Keep the area closed and ventilated, wet and disinfect the surface for the full contact time, lift every dropping into a double-sealed bag, and never sweep or vacuum the material dry. That is the cleanup.
Then seal the gaps a pencil could fit through, store food in hard containers, set snap traps along the walls, and check a dated trap in the same spots every couple of days. If nothing new appears across five nights, the activity has most likely stopped. If droppings keep coming back, or the infestation reaches insulation, ducts or a large garage, hand it to a licensed pest professional rather than cleaning a fourth time.