How to spider proof a crawl space comes down to three jobs: seal every opening with the right mesh and sealant, clear out the clutter and webs, and dry the space so it stops working as habitat. That combination does more than any spray, and most of it fits in a Saturday.
The reason it works comes down to what a spider is actually doing under your house. Spiders do not pick a house and move in. They follow the insects that breed in damp, dark, sheltered ground, and the insects keep coming because the crawl space is wet and undisturbed. Fix the openings and the conditions, and the population thins out on its own.
Here is the order of work, why each step matters, and where the DIY part ends.
Table of Contents
- What You Need
- Step-by-Step Spider-Proofing Process
- Common Mistakes
- Frequently Asked Questions
- How to spider proof a crawl space without blocking ventilation?
- What size mesh should I use to keep spiders out of vents?
- Are webs in a crawl space a sign of a larger pest problem?
- Do I need to spray pesticide to spider proof a crawl space?
- Is it safe to enter a crawl space to remove spiders and webs?
- How often should I inspect the crawl space after spider-proofing it?
- Conclusion
What You Need
Gather everything before you open the access door. Halfway through a job in a two-foot-high space is the worst possible place to realize you left the fasteners upstairs.
- Headlamp plus a backup flashlight. A headlamp keeps both hands free, which matters more than it sounds when you are working around joists and pipes.
- Long sleeves, gloves, and eye protection. Old joists carry splinters, rusty nails, and fiberglass insulation that gets everywhere.
- N95 or P100 respirator, plus a light on the string if the space has a musty or chemical smell. A crawl space is a confined space with poor airflow, and dust disturbed in there hangs for a while.
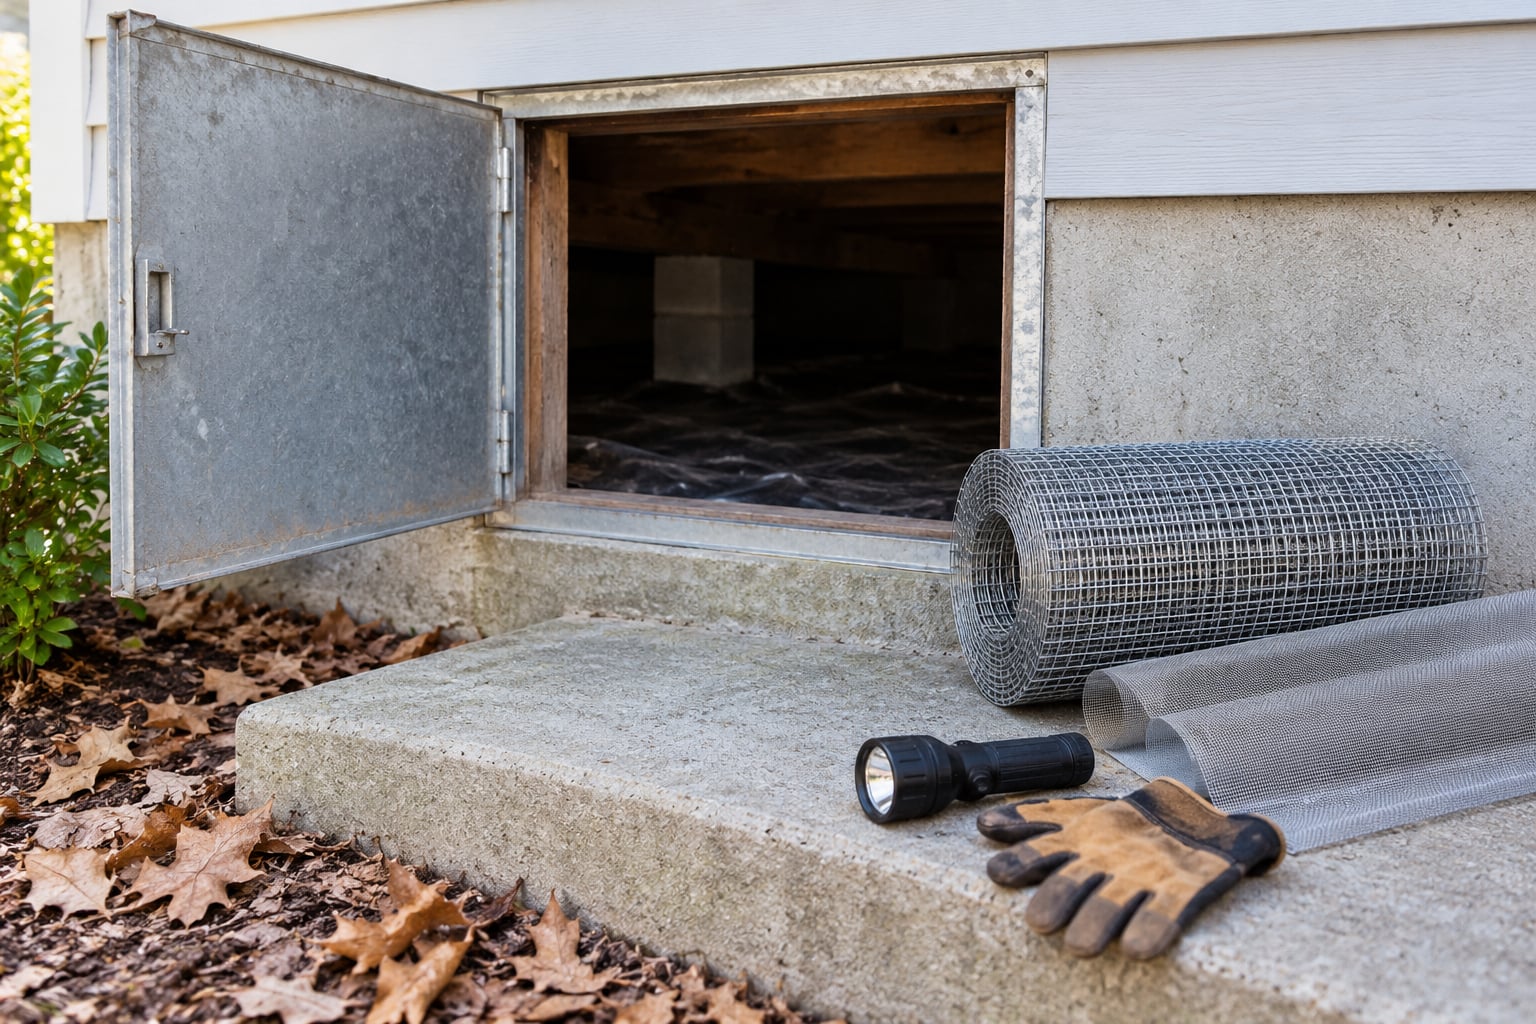
- 1/4 inch galvanized or stainless hardware cloth for foundation vents and larger openings.
- 1/8 or 1/16 inch stainless steel mesh for smaller gaps around penetrations.
- Corrosion-resistant fasteners: stainless or coated deck screws, masonry screws for brick or block, or stainless wire staples for mesh at tight corners.
- Screen brush, stiff broom, and a shop vacuum with a hose long enough to reach.
- Polyurethane caulk or expansion foam sealant for small non-structural gaps where mesh will not sit flat.
- Prune shears and a ladder for trimming vegetation that is bridging soil to siding.
- Sticky monitoring traps set along the perimeter so you can see what is still active after the work.
- Someone with you. Never crawl under a house alone.
A handheld dehumidifier comes up later, once you know how much moisture you are dealing with. It is a separate decision, not part of the sealing job.
Step-by-Step Spider-Proofing Process
Work top to bottom in the order below. The sequence matters: clear the space before you seal it, seal before anyone insulates or encapsulates, and fix the damp before you judge whether the barrier is working.
1. Inspect the crawl space and map entry points
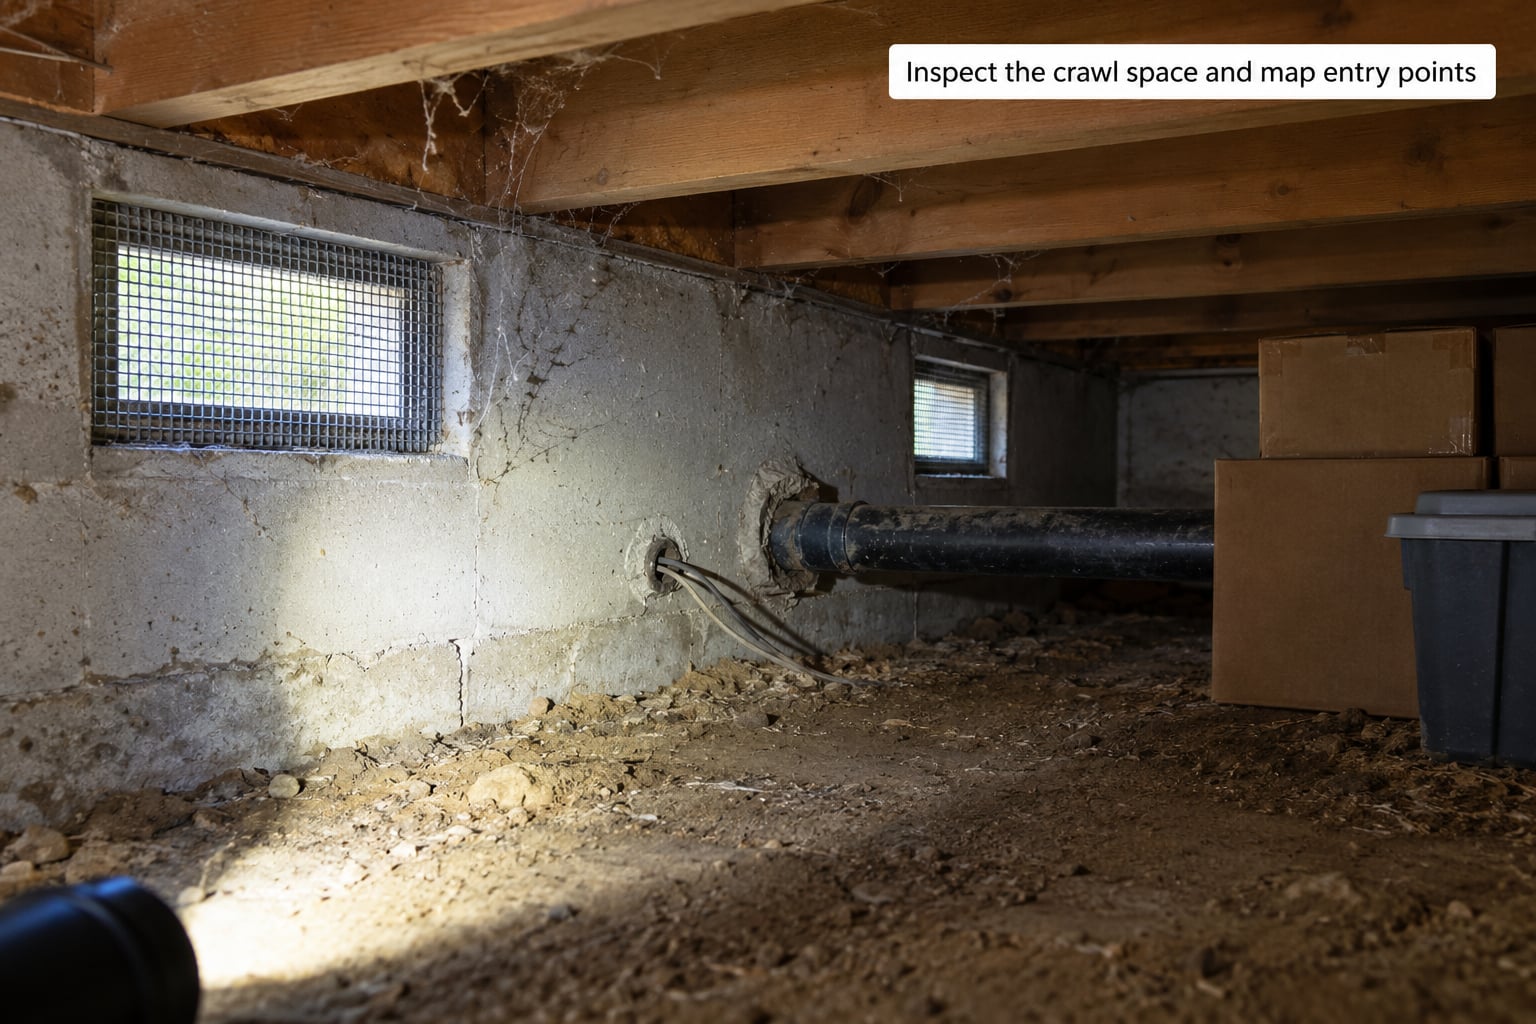
Put on your gear, tell someone you are going under the house, and go in with the plan of looking, not touching. Every opening you find gets marked on the way back out, because you will not remember them once you are back on the ladder.
Look at foundation vents first, since they are the largest intentional openings in most homes. Then work along the foundation line for gaps at the sill plate, around the rim joist, and where pipes, wires, and the drain line enter the structure. Note the crawl space access door and how it sits in its frame.
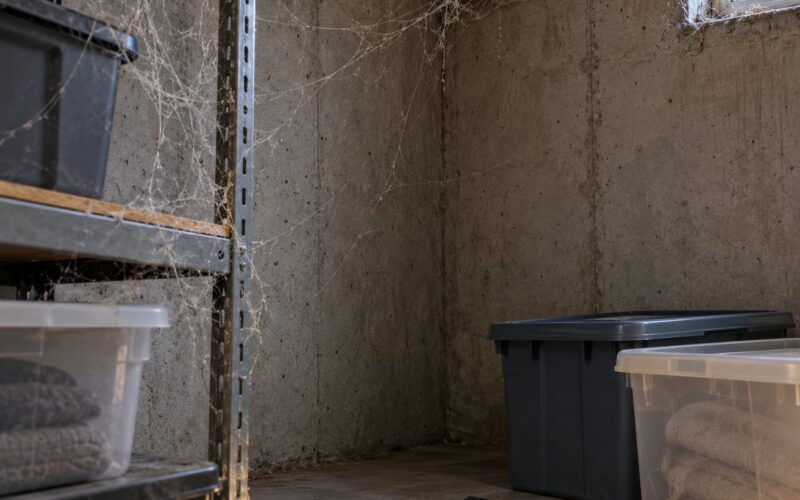
Webs tell you where the traffic is. A single cobweb in a corner means a resident, not a problem. Dense sheet webs across openings and a funnel web braced in a dark corner mean that spider has an undisturbed food supply nearby, and you have found something worth fixing.
Before you go in, confirm you have not been dealing with a leak, standing water, or downed power lines near the service entrance. If you find standing water deeper than a few inches, mold, or damaged wiring you cannot see the end of, stop and call someone. Same goes for a structure that feels unsafe to crawl on.
2. Seal foundation vents with appropriate screening
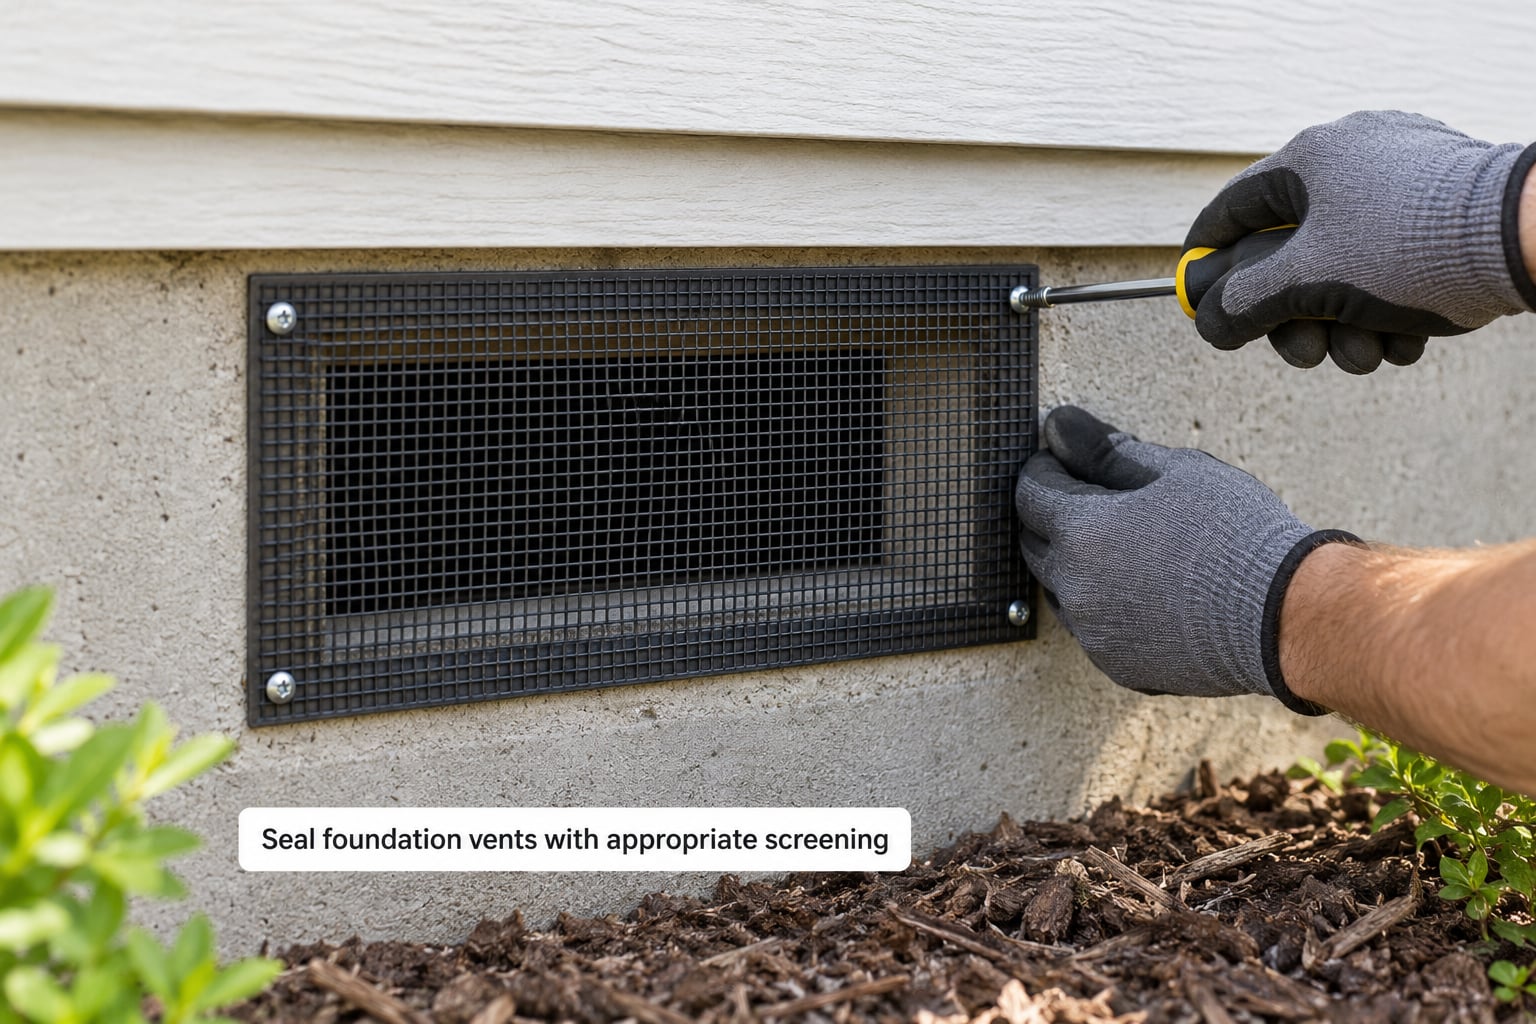
Foundation vents exist so the space can dry, and your job is to keep them drying without turning them into entry points. Measure each vent opening, cut a piece of 1/4 inch hardware cloth a couple inches larger all the way around, and fasten it flat against the exterior face of the vent frame.
Hold the mesh with stainless or coated screws spaced a few inches apart, working the edges tight so there is no gap to squeeze under. Bend or trim excess mesh at corners rather than leaving a flap that creates a new opening. Doing all four sides and the corners as one piece is what keeps it from peeling back later.
| Opening | Material | Fastener |
|---|---|---|
| Foundation vent, larger openings | 1/4 inch galvanized or stainless hardware cloth | Coated or stainless screws, all four sides |
| Vent corner or edge gap under 1/8 inch | 1/8 inch stainless steel mesh | Stainless wire staples or small screws |
| Gap around a pipe, wire, or small crack | 1/16 inch stainless steel mesh | Stainless staples plus a dab of sealant |
| Irregular narrow gap mesh will not sit flat on | Polyurethane caulk or expansion foam sealant | Curing in place |
| Access door perimeter | Hardware cloth plus a door sweep | Screws into the frame |
One warning here, because it is the single most common way this job goes wrong: do not caulk vents shut. Blocking all the vents traps moisture against the subfloor and floor framing, and you trade a spider problem for a rot and mold problem. If you are in a climate where the vents have to stay open for drying, screen them. If a previous owner already sealed them, that is a conversation with an inspector before you add anything else.
Get the screen done and you will know it worked the next time you check and the mesh is still flat and tight with no daylight gaps or torn corners.
3. Close gaps around pipes, cables, and other openings
Most of the remaining entry routes are small and boring: a plumbing penetration, a gap where the electrical or coax line comes through, a crack in the foundation where the slab meets the wall, and the space around the access door.
Fit 1/8 or 1/16 inch stainless mesh over the opening and fasten it flat. Where mesh will not sit flat, run a bead of polyurethane caulk or non-expanding foam sealant over the gap instead. Trim the mesh tight so nothing folds into a tunnel a spider can use.
There are places to keep your hands off. Do not seal or trim anything that is a plumbing vent or a flue, do not work near live electrical connections, and never cut into a foundation wall, a girder, or a rim joist to fit a piece of metal. Do not block a weep hole or any path that water is meant to travel through. Rodent-proofing the same openings is a bonus, since the same mesh stops mice as well as spiders.
Then handle the access door. Fit a threshold sweep or a brush strip along the bottom, and check that the door closes fully against its frame with no daylight around it. That door is often the single biggest gap in the whole structure, and homeowners rarely think of it because it is on the outside of the house.
Outside, trim vegetation that bridges the soil to the siding and move firewood, stored cardboard, and stored items away from the foundation. A crawl space edge that touches the house is a highway straight in, and this part takes ten minutes.
You will know this step worked when the same flashlight test that found gaps on your first walk-in comes back clean, and your sticky traps show activity dropping over the following weeks.
4. Remove webs, clutter, and sheltered habitat
Now that the entry routes are closed, clear the space out. Vacuum the webs rather than swatting at them, working from the far end of the space toward the door so you are not pushing spiders toward your exit. Long-handled tools let you do most of this without touching anything directly.
If a web is dense or you cannot see what is in it, leave it for someone who can look first. Nobody gets value out of a hero moment in an unlit space.
Remove stored cardboard, boxes, paper bags, and dense stacked material. Cardboard is a favorite nesting and web-anchoring material, and a stack of it in a dark corner is exactly the harborage you are trying to eliminate. Store what has to stay on shelving rather than on the bare ground.
This is where people get disappointed, so be honest with yourself. A dry, undisturbed corner with a finished floor and nothing stored in it is a poor place for a spider to live, and that is the whole point. Moisture is what pulls the insects that spiders feed on, so drying the space is the real control action rather than the vacuuming.
5. Keep the space monitored and maintain the barrier
Set sticky traps along the perimeter of the space, in corners, and near the access door. Check them monthly for the first few months. Continued activity after the sealing work is done tells you a gap is still open somewhere, and the traps tell you roughly where.
Walk the space at least four times a year, with a heavier look after heavy rain or before you have insulation or encapsulation work scheduled. Look for torn or lifted mesh, new gaps, fresh webs, standing water, condensation on the subfloor, debris, and blocked vents. A small tear in hardware cloth grows fast in damp air.
If the space stays wet in the cooling season, talk through your options for a crawl space dehumidifier, a polyethylene vapor barrier, or encapsulation before you buy anything. In a vented space the right answer is usually a conditioned approach rather than simply closing the vents.
Know when to hand off. Call a pest control professional for a large established infestation, a heavy insect population driving the spider numbers, or repeated funnel webs that keep coming back. Call a home inspector or a crawl space contractor for standing water, mold, structural movement, damaged wiring, or vent and ventilation questions. Anyone touching gas lines, electrical panels, or structural framing is a licensed trade, not a weekend.
If you are about to have insulation or encapsulation installed, do the exclusion work first. Sealing after the space is closed up is a much harder job, and most contractors will not warranty their work against pests that were already inside.
Common Mistakes
These are the errors that show up again and again, and each one has a straightforward correction.
- Sealing vents without a plan for condensation. Fix: keep the vents open and screened, and solve moisture separately with ventilation or dehumidification.
- Using mesh that is too coarse. A common house spider has a body about a quarter inch long and can get through surprisingly little. Fix: 1/4 inch hardware cloth for structural openings, 1/8 or 1/16 inch stainless mesh for gaps.
- Running sealant over structural or utility areas. Fix: mesh and sealant belong on non-structural, non-utility openings only.
- Leaving the moisture alone. A perfectly sealed but damp crawl space is still an attractive one. Fix: dry it, then judge the barrier.
- Fogging before sealing. Foggers kill what is there at the time and leave the doors wide open. On homeowner forums this comes up over and over as the DIY tactic that disappoints people weeks later, with active spiders back on glue boards. Fix: seal first, clean up, and treat only if a technician identifies a real insect problem.
- Spraying spiders as the main strategy. Killing the spiders removes predators and leaves more insect prey for the ones that survive, and it does nothing about the entry route. Fix: exclusion and habitat removal first.
- Using 6 mil poly as a permanent exclusion layer. Poly is a moisture and vapor control product. It tears, it does not stop insects reliably on its own, and it is not a barrier. Fix: hardware cloth and stainless mesh for exclusion, a proper polyethylene vapor barrier for moisture.
- Piling stored items back into the corners you just cleared. The habitat comes back the same way the spiders did. Fix: leave the corners empty or on open shelving.
- Blocking inspection access. A door that will not open means a problem nobody finds. Fix: keep the access door clear, sealed, and openable.
- Assuming one treatment solves it forever. This is a maintenance item like a smoke detector. Fix: quarterly walks and monthly trap checks.
A symptom table helps you diagnose faster than advice does.
| What you see | What it usually means | What actually fixes it |
|---|---|---|
| Dense webs in the same corners each season | Undisturbed harborage and a steady food supply | Clear the corner, remove stored material, keep checking the traps |
| Funnel webs in a basement or crawl space | Hobo spider working a dark, moist, undisturbed area | Reduce moisture and vibration in that area, then seal nearby openings |
| Spiders appearing indoors more each month | Gap in the barrier, most often the access door or a vent | Do the entry-point sweep with a flashlight and close what you find |
| Spiders after heavy rain | Outdoor activity pushed inward by weather | Door sweeps and threshold sealing; expect some outdoor hunters regardless |
| Water stains or standing damp ground | Drainage or groundwater problem | Grade the soil away from the foundation, then address drainage |
| Mosquito and insect activity, plus spiders | Free water and damp harborage feeding a prey base | Drainage and moisture control, handled with a professional if it is extensive |
Two expectations worth setting before you start. Wolf spiders and similar ground-active hunters do not build messy webs and they do not need a gap, since they come and go through doors and thresholds. Sealing will reduce them, not eliminate them, and that is normal. The species most worth worrying about, brown recluse and black widow, are regionally specific, so if you are outside their range a brown spider under the house is almost certainly one of the many harmless look-alikes.
For the record, no smell reliably repels spiders, and ultrasonic repellers do not work on them either. Fixing the openings and the humidity is what works.
Frequently Asked Questions
How to spider proof a crawl space without blocking ventilation?
Screen the vents instead of closing them. Cover each foundation vent with 1/4 inch hardware cloth fastened flat on the exterior frame, which keeps air moving while blocking entry. Then control moisture separately with a dehumidifier or a proper vapor barrier. Caulking vents shut traps condensation against the subfloor and framing, which trades a spider problem for rot and mold.
What size mesh should I use to keep spiders out of vents?
Use 1/4 inch galvanized or stainless hardware cloth over foundation vents, fastened on all four sides with coated or stainless screws. For gaps under 1/8 inch around pipes, wiring, and cracks, use 1/8 or 1/16 inch stainless steel mesh, which also stops mice. Mesh needs a flat backing and tight edges, since a loose flap creates a new entry route.
Are webs in a crawl space a sign of a larger pest problem?
Usually yes, and it is good news. Spiders follow insects, so heavy web activity points to a damp, sheltered space with a steady insect supply rather than a spider infestation on its own. Funnel webs from hobo spiders mean the same thing. Correct the moisture, clear stored material, close the entry points, and set sticky monitoring traps to see whether insect numbers drop afterward.
Do I need to spray pesticide to spider proof a crawl space?
No. Exclusion and moisture control do nearly all the work, and spraying as the primary strategy removes predators while leaving the entry routes open. Foggers kill only what is present when they burn and homeowners often see active spiders back within weeks. If a technician identifies a real insect problem after the space is sealed and dry, treatment at that point is much more effective.
Is it safe to enter a crawl space to remove spiders and webs?
Go with protective clothing, gloves, eye protection, a respirator if the air smells musty, and a headlamp, and never work alone. Do not enter if you find standing water, mold, damaged wiring, or anything structurally unsound. Avoid work near fuel gas lines and leave anything touching electrical or structural framing to a licensed professional. Crawl spaces are confined spaces with poor airflow, so take breaks.
How often should I inspect the crawl space after spider-proofing it?
Check sticky traps monthly for the first few months, then walk the space at least four times a year, with an extra look after heavy rain. Look for torn or lifted mesh, new gaps, fresh webs, condensation, debris, and blocked vents. Damp air makes a small tear in hardware cloth grow quickly, and an open door or shifted panel is easier to catch early.
Conclusion
The short version of how to spider proof a crawl space is straightforward. Start with the inspection walk. Mark every vent, penetration, crack, and the access door, then work your way down the list with mesh, sealant, and a door sweep. After that, vacuum out the webs, pull the stored cardboard, and deal with the moisture that is feeding the insects.
Put sticky traps down and come back in a month to see what is still moving. That check is what turns this from a one-time project into a barrier you can actually rely on.
Structural movement, wiring, gas lines, standing water, mold, and heavy insect activity belong with an inspector, a pest control professional, or a licensed contractor. Spider-proofing the outer barrier is yours to do, and done early it saves you from a much harder project later.