To flea proof a house before moving in, inspect the empty property for fleas, flea dirt and larvae first, then vacuum and treat every carpet, rug and upholstered surface on move-in day, seal entry points, control the yard, and put any pet on a veterinarian-recommended preventive before the first night. Most of this work happens while the house is still empty, which is exactly why it works so much better than treating an infestation after the furniture is in place.
Here is the honest version. Fleas do not respect moving schedules. A vacant unit with carpet and a warm climate can spend eight quiet weeks breeding with nobody around to notice, so an infestation is often at or near its peak on the day you unlock the door. Everything below is ordered around one idea: control the environment before you bring belongings in, because a box of clothes set on an infested sofa is how a clean unit becomes a dirty one in a single afternoon.
Budget a couple of hours for inspection and cleaning, plus a few evenings over the first three weeks. If you have pets or small children, keep them out of treated areas until the product label says it’s safe.
Table of Contents
- What You Need
- Step-by-Step
- Step 1: Inspect the entire home before bringing in belongings
- Step 2: Remove pets and identify existing flea hosts
- Step 3: Vacuum, wash, and clean affected areas thoroughly
- Step 4: Treat the home and pets with suitable products
- Step 5: Block fleas from entering and hiding after treatment
- Step 6: Monitor the home after move-in
- Common Mistakes
- Tips for Preventing Fleas After You Move In
- Frequently Asked Questions
- Conclusion
What You Need
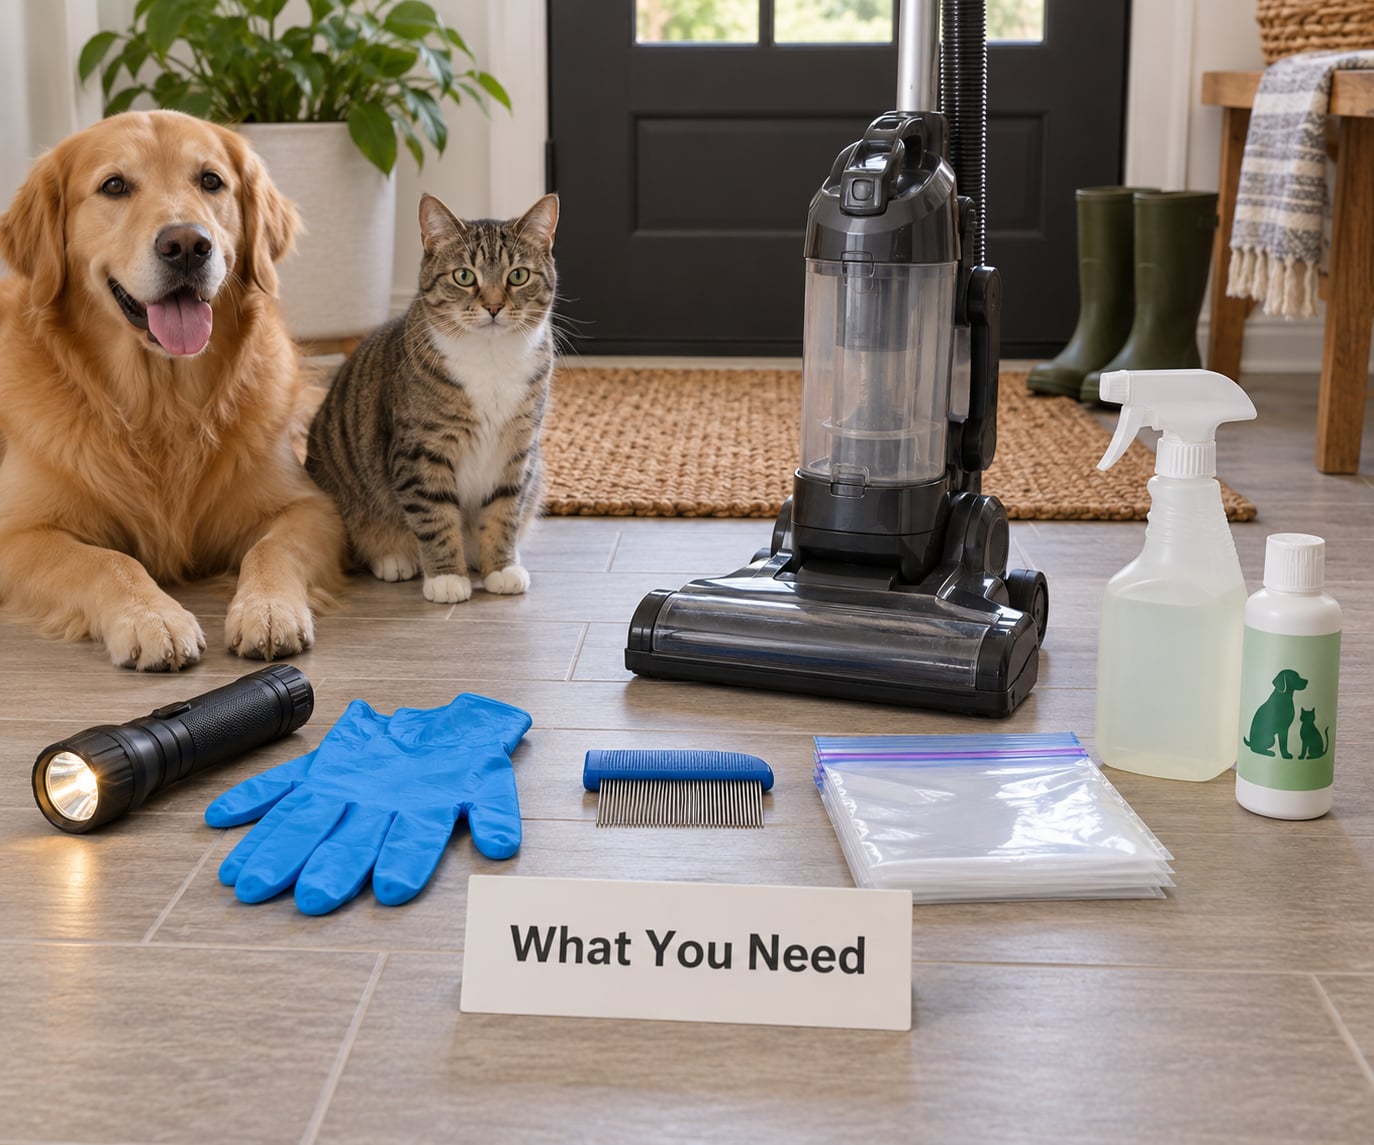
You do not need a professional kit, but you do need a handful of things that are easy to overlook until you’re mid-project and the vacuum bag is leaking flea dirt across the carpet.
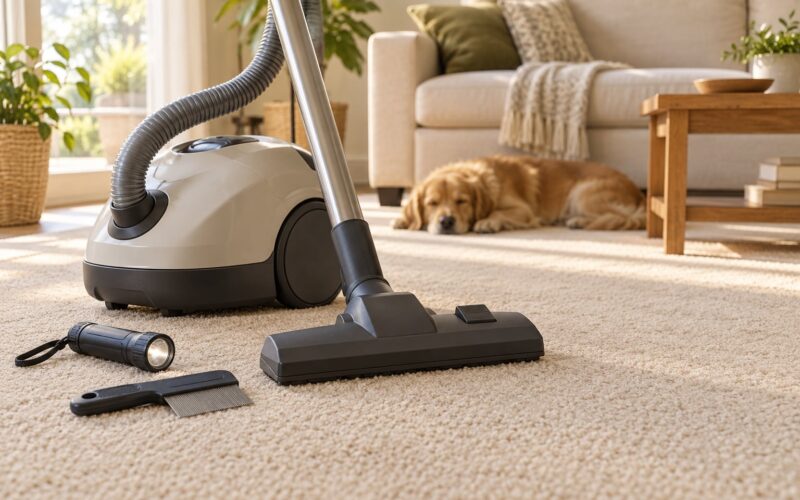
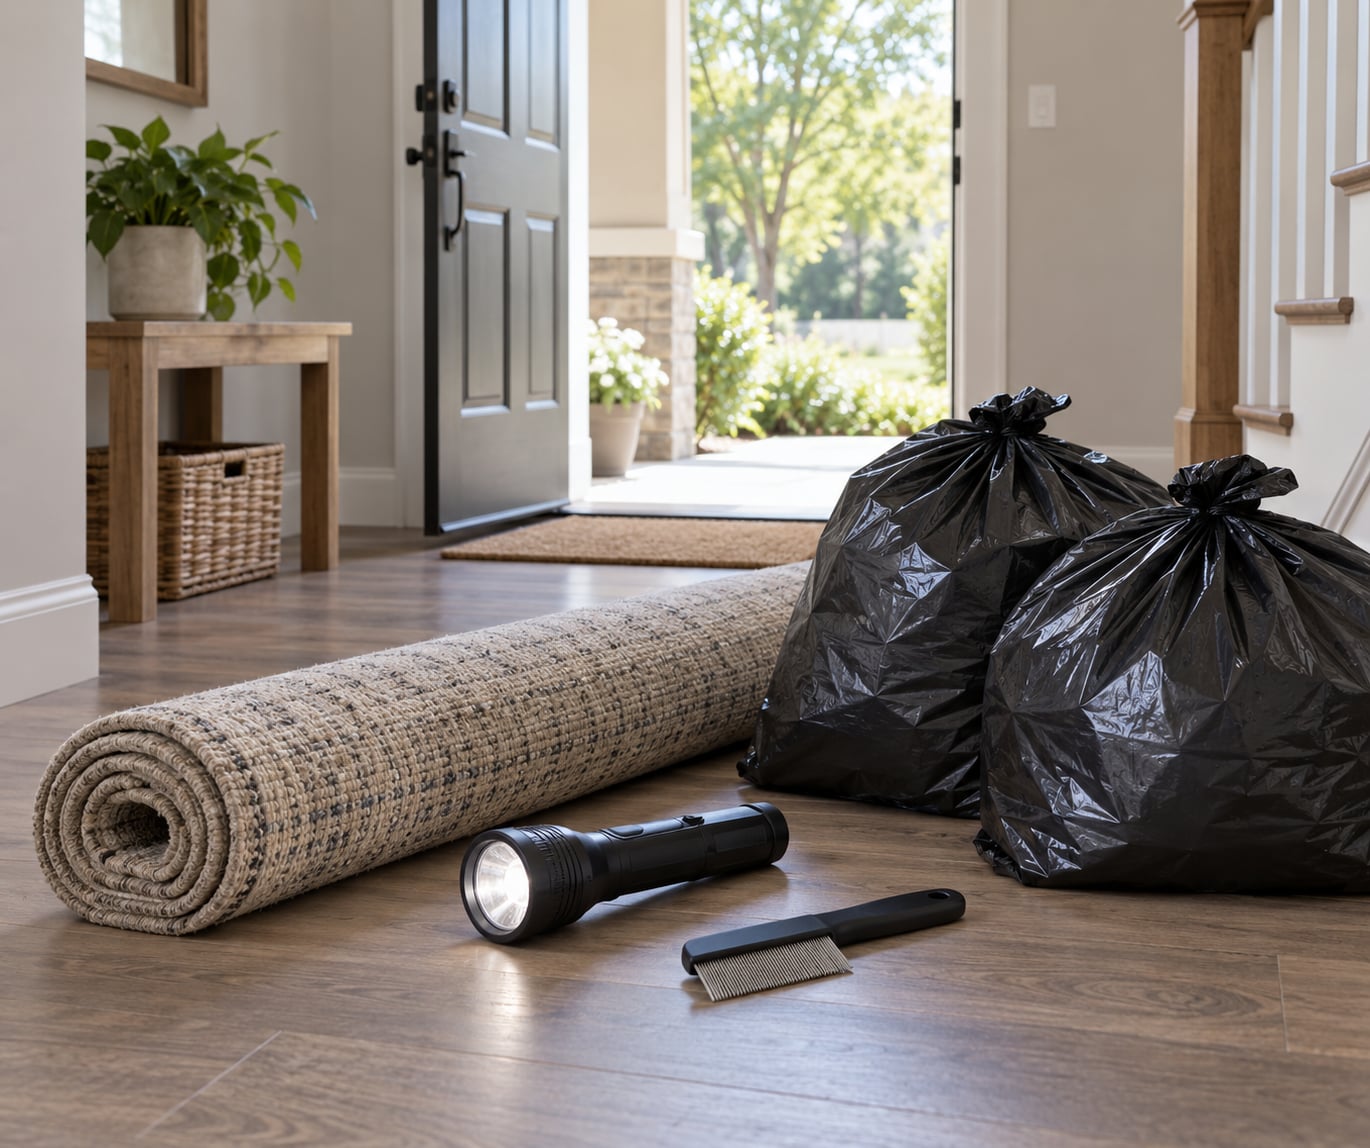
- A bright flashlight for raking light across carpet fibers, which makes moving flecks stand out against the pile.
- White socks and something to walk around in. Fleas are attracted to warmth and movement, and white socks make them obvious.
- A flea comb with fine teeth for checking pets and for combing debris out of carpet edges.
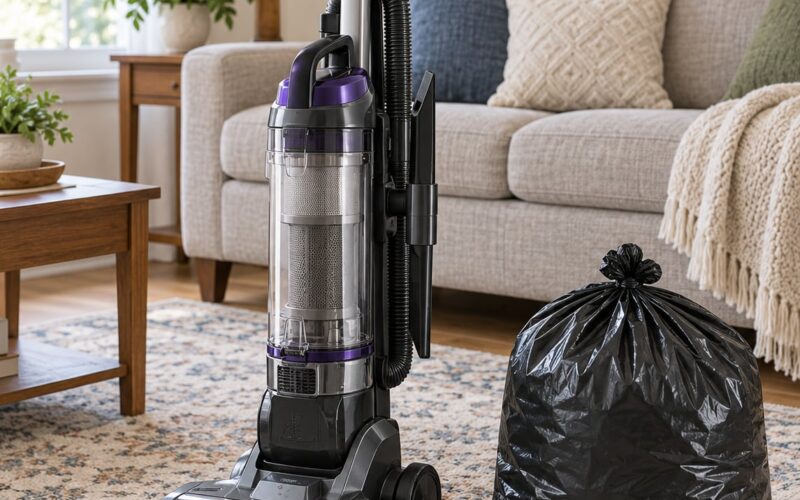
- A vacuum with a hose attachment and either a bag you can seal or a canister you can empty outdoors.
- Heavy-duty trash bags and rubber bands for sealing contaminated vacuum contents and laundering.
- Hot soapy wash and a high-heat dryer if you have washable bedding, throws or pet blankets.
- A pet-safe carpet and upholstery spray, plus an insect growth regulator if you suspect an existing infestation.
- A veterinarian-recommended flea preventive for any pet moving in with you.
If you rent, one thing to sort out before you buy anything: put the request in writing. Ask the landlord in writing, before you sign or before move-in day, whether the unit has had fleas and whether treatment will be done before you take possession. Tenants who get it resolved and documented beforehand have far more leverage than tenants who pay for the fix themselves and ask about reimbursement later, and a professional treatment receipt is the document that actually settles the argument.
And read every label. Flea products are regulated, and the label is not a suggestion. It tells you where the product may be applied, how long until it dries, whether pets may be in the room, and how often you may repeat the application. Following a product outside those directions is both ineffective and a common reason pets get sick.
Step-by-Step
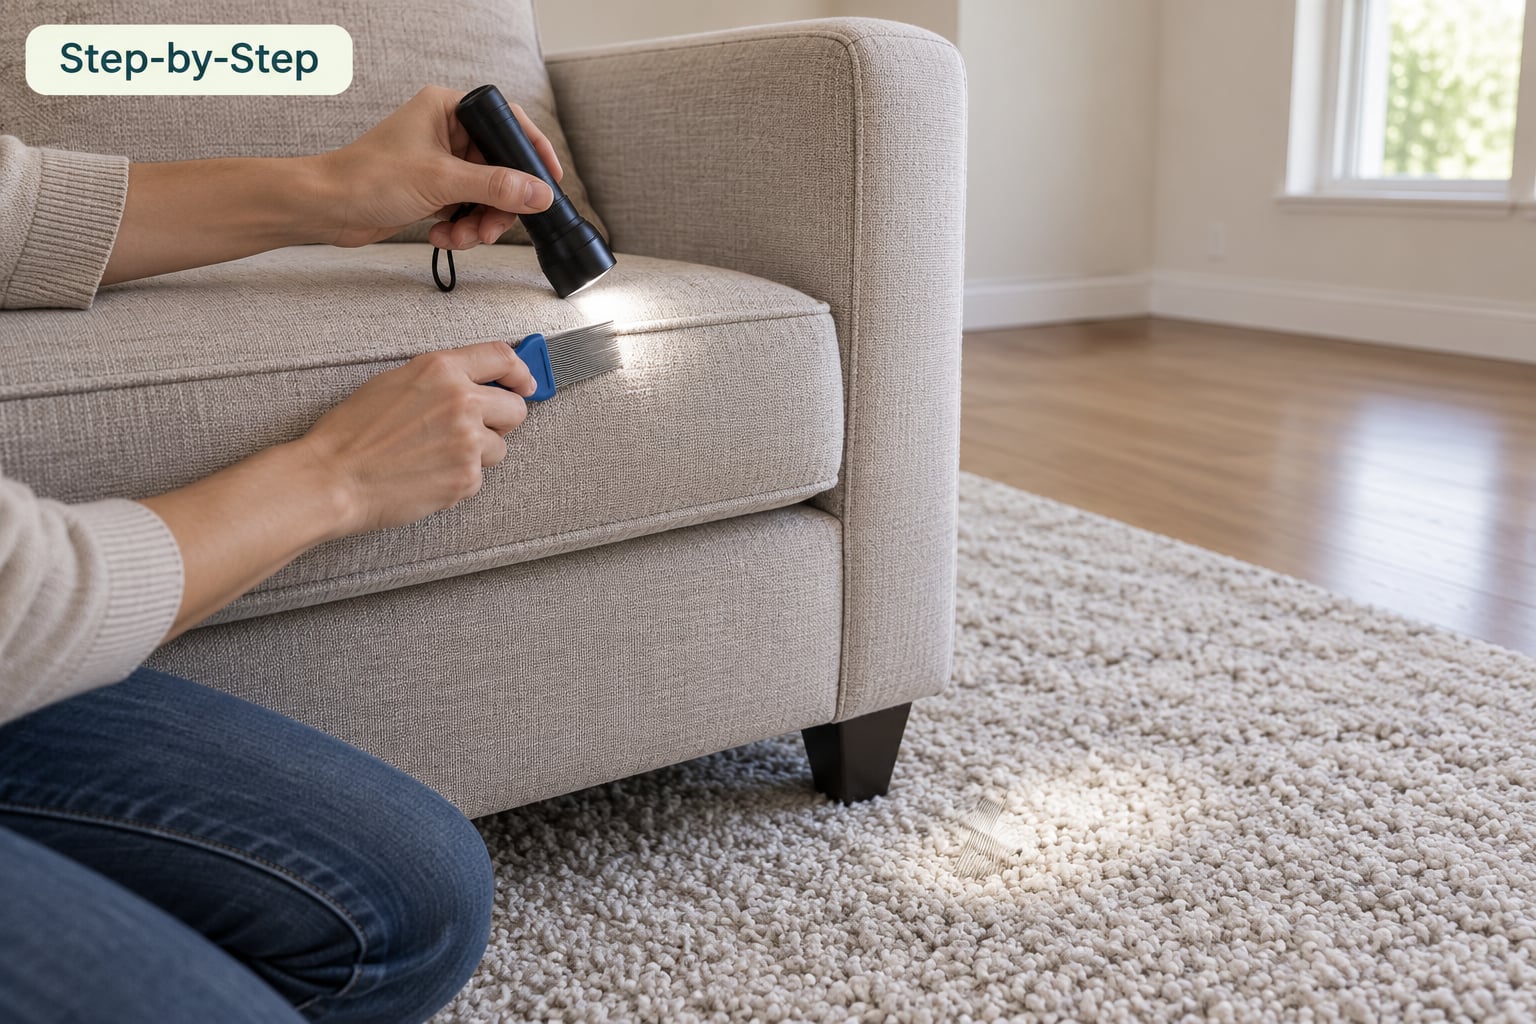
Step 1: Inspect the entire home before bringing in belongings
Do the inspection first, before a single box crosses the threshold, because inspection is the only step that gets meaningfully harder once the house is full.
Wear the white socks and walk slowly across every carpeted room, paying extra attention to where a pet would have lain: by the baseboards, under the windows, in front of exterior doors, in the corner of the bedroom. Fleas jump up to roughly 19 inches when disturbed, and a fast-moving warm body is what pulls them out of hiding. Add a second pass with the flashlight held low and raking, and look for the tiny dark specks that move when you breathe on them.
Then test the specks. Put a damp white paper towel on the spot and press down hard for a few seconds. Flea dirt is digested blood, and it will smear reddish-brown onto the damp towel. Ordinary dust and dirt stay put. That single test separates an infestation from a dirty carpet and saves a lot of unnecessary spraying.
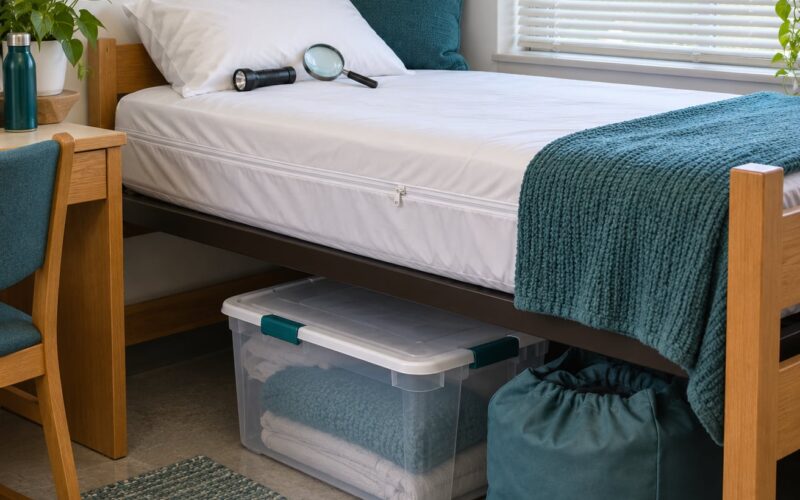
Check upholstery seams, sofa skirts, mattress edges, pet beds, rugs, and the underside of loose area rugs. Look along baseboards and in floor cracks, and check storage spaces, closets and anywhere boxes were stacked. Fleas rarely live only in one room of a small home; they follow warmth and an animal host, so a concentration in one spot usually means a host slept there, not that the rest of the house is clean.
One important point: seeing adult fleas is not the only sign, and their absence does not clear the house. Most of the population at any moment is egg, larva or pupa, and those stages are hidden in the fibers where you will not see them. An empty-looking carpet is not evidence of no infestation.
Step 2: Remove pets and identify existing flea hosts
Fleas need a host to reproduce. Take any pet out of the building for the cleaning and treatment phase, and keep it out until the label’s drying and re-entry times have passed. A cat that spends the treatment period sitting on the front step is already re-seeding the carpet.
Ask the previous occupant directly whether there were pets, and how many. Ask the landlord too. The answer you get by email before move-in is the one you can rely on later.
Check for other hosts, because an untreated host undoes everything else you do. Look for rodent droppings, nesting material in the attic or crawlspace, and signs of raccoons, opossums, squirrels or feral cats around the foundation, in the garage, or under the deck. Wildlife is the most common reason a treated home gets reinfested within weeks, and it is the reason homeowners on ground floors near wooded land tend to have repeat problems.
If you are bringing in a newly adopted or shelter-rescued pet, do not assume it is clean. Have a veterinarian check it and start the appropriate preventive before the pet has been inside for more than a day. Ask about species, age and weight, since what is safe for an adult dog may not be safe for a kitten, a small breed or a pet that is still young.
Step 3: Vacuum, wash, and clean affected areas thoroughly
This is the least glamorous step and the one that does the most work. Vacuuming physically removes flea eggs, larvae, flea dirt and a good share of adults, and the vibration triggers pupae that were holding on.
Work slowly. Every pass should overlap the last, and use the hose attachment along baseboards, under furniture, on upholstery seams and in corners. Go over carpets more than once. Pay attention to the underside of furniture legs and the area beneath sofas and beds, where debris collects and where pets spend the most time.
When the bag or canister is full, seal it, carry it outside, and put it in a bin or a plastic trash bag before it goes anywhere near the house. Fleas survive in a vacuum bag, and people who empty a bag in the utility closet have quietly restarted the infestation they were cleaning up. If your vacuum has a bag you cannot remove cleanly, wipe the outside down and wash your hands and tools after.
Wash pet bedding, throws, and any washable covers in hot soapy water and dry them on high heat. Heat kills eggs and larvae that survive on fabric. Do not move mattresses, box springs or upholstered furniture from an infested home into a clean one without treating it first, which is why a lot of people end up discarding soft furnishings entirely. If you are keeping something soft, steam clean it after vacuuming and let it dry fully before anything touches it.
Step 4: Treat the home and pets with suitable products
Treating the home and treating the pet are two separate jobs, and doing only one of them is the single most common reason an infestation comes back.
For the home, products fall into a few categories. An adulticide kills fleas that are currently on the surface. An insect growth regulator stops eggs and larvae from developing into adults, which matters far more than it sounds, because it interrupts the cycle instead of chasing adults you will keep finding for weeks. A residual spray applied to carpets and upholstery gives you protection that keeps working after the first day. A fogger, or bug bomb, sends pesticide into the air.
Foggers are the wrong tool for most move-in situations, and this is worth being blunt about. A fogger only reaches open air space. It does not penetrate carpet fibers, sofa seams, mattress folds, baseboard cracks or the underside of furniture, which is where most of the population lives. People spend money on them and then conclude the fleas came back from nowhere, when in fact the fogger simply never reached them. Skip fogging unless a professional specifically directs it as part of a larger treatment.
Follow the label to the letter: where it may be applied, whether pets and children must be out of the room, ventilation, drying time, and the repeat interval. Ventilate thoroughly. Never apply a household flea product to your pet, and never apply a product intended for dogs to a cat without asking a veterinarian first, since some dog insecticides are toxic to cats.
For pets, use a veterinarian-recommended preventive and keep to the schedule. Flea and tick preventives come as oral tablets, topical treatments and collars, and they are not interchangeable. A pet on a consistent preventive is the cheapest insurance in this whole process, because it means the environment is not being continuously re-seeded.
Step 5: Block fleas from entering and hiding after treatment
Sealing entry points is the step most people skip, and it is the one that decides whether your work lasts through the summer.
Walk the perimeter of the house. Fill gaps where pipes, wires and vents enter, and seal along baseboards where the flooring meets the wall, since those cracks are both a route in and a place larvae develop. Add weatherstripping to exterior doors and check that door sweeps close fully. Fit a proper pet door with a flap that reaches the ground, or take the old one out if the new household has no pets.
Screen vents that open into living space where local rules allow it, and use a fine mesh over any opening larger than a quarter inch. Keep the yard tidy: mow regularly, remove leaf litter, cut back shrubs that create shaded damp ground near the foundation, and keep garbage sealed. All of this reduces the warm, humid, sheltered ground fleas favor and the wildlife that carries them in.
If you live on the ground floor or have a basement, treat the risk as real rather than theoretical. Fleas move in from the yard and from neighboring units far more often than people expect, and a building-wide problem can reintroduce them to a unit you just cleaned. Some people apply a labeled outdoor perimeter treatment along the foundation; do that strictly according to the product label, and never use a product on an edible crop or in a way that violates local pesticide rules.
Step 6: Monitor the home after move-in
Expect fleas to keep appearing for two to three weeks after treatment, and do not read that as failure. Pupae can stay dormant in carpet fibers and upholstery for weeks or months, protected from spray, and they emerge when vibration, warmth and carbon dioxide finally tell them it is time. Your vacuuming is what triggers that emergence and then catches the adult before it lays eggs.
A workable schedule: vacuum high-traffic areas every day or two for the first two weeks, then every three to four days through the third week. Vacuum under furniture and around pet sleeping spots every time. Comb your pets over a light-colored surface regularly, and comb outdoors if you can, so a dislodged flea does not land back on your carpet.
Learn to read what you find. Flea dirt that does not smear reddish-brown on a damp paper towel is ordinary grit and it can sit in the carpet for months. A fresh scatter that smears, plus live adults on the sock test, means new activity and calls for another round of treatment as the label directs.
If you are moving out of a home that currently has fleas, the priority order reverses. Vacuum and treat everything, launder on high heat, do not carry mattresses or upholstered furniture into the new place untreated, and have pets treated before the trip. People moving out without dealing with it are how clean apartments across a building become infested at the same time.
Common Mistakes
Treating only the pet. Fleas live roughly 95 percent of their life off the animal. A treated pet walking through an untreated carpet picks them back up within days. Fix: treat the environment and the animal on the same schedule, and keep the repeat vacuuming going.
Fogging before cleaning. Aerosol only reaches open air. If you do not vacuum first, you are spraying an empty room over a carpet that still holds eggs, larvae and pupae. Fix: vacuum thoroughly, dispose of the contents outside, then treat.
Moving contaminated belongings in. Cardboard boxes, clothing and soft furniture carried from an infested home are a delivery system. Fix: inspect before you pack, treat or steam anything soft, and launder on high heat on arrival rather than after you notice bites.
Expecting one treatment to end it. Dormant pupae survive surface treatments. Fleas reappearing for two to three weeks is normal biology, not proof the product failed. Fix: keep vacuuming at a three-to-four-day interval through that window.
Applying products without reading the label. Wrong application location, too short a drying time or a repeat sooner than directed makes the treatment useless and can make pets ill. Fix: read the label before buying, not after opening.
Assuming a pet-free home is safe. Fleas arrive on shoes, clothing, bags, secondhand furniture, and from wildlife or adjacent units. Nobody needs an animal in the building for fleas to establish. Fix: run the sock test regardless of whether you own pets.
Treating without removing the host. If a pet, a rodent or a stray animal is still sleeping in that room while you clean and spray, you are re-seeding the area every night. Fix: relocate pets, deal with wildlife, then treat.
Tips for Preventing Fleas After You Move In
Once the house is clear, a light routine keeps it that way. Keep your pet on a consistent veterinarian-recommended parasite preventive all year rather than seasonally, since fleas do not take the winter off indoors. Comb your pet regularly over a light surface; it takes a minute and it tells you about the environment before the environment tells you about itself.
Vacuum carpets and rugs on a steady schedule. Fleas thrive on warmth and organic debris, so a routine that removes dropped hair and grit makes carpet a worse place for eggs and larvae to survive. Wash pet bedding regularly on hot, and dry it fully.
Check secondhand furniture and mattresses before they come into the house, especially anything bought from a home where pets lived. Be cautious with free or curbside soft furnishings, which is exactly the profile of something that carries fleas. And be sensible about exposure: a house near wooded land or a building with a known problem will need more yard work and more follow-up vacuuming than a second-floor unit in a dry climate.
Keep the seal work done. Gaps under exterior doors and around pipes get opened by settling and by moving boxes. Twice a year, take ten minutes to recheck the entry points you sealed on move-in day.
Frequently Asked Questions
How do I check for fleas before signing the lease?
Walk the empty unit in white socks and look for live fleas on carpets, baseboards and upholstery. Press a damp white paper towel onto any dark specks: flea dirt, which is digested blood, smears reddish-brown, while ordinary dust does not. Ask the landlord in writing whether the previous occupant had pets and whether the unit will be treated before you take possession. Keep that written request and any treatment receipt.
I just moved into a house with fleas. What should I do first?
Take pets and anything soft out of the building, then vacuum every carpet, rug and upholstered surface slowly with a hose attachment, working along baseboards and under furniture. Seal the bag or canister, carry it outside, and bin it. Launder washable bedding on a hot cycle and high-heat dry. Then apply a labeled home treatment and put your pet on a veterinarian-recommended preventive the same week.
How long after moving in do fleas show up?
Often two to four weeks, sometimes longer. Flea pupae can stay dormant inside carpet fibers and upholstery for weeks or months, then emerge once warmth, vibration and carbon dioxide signal that a host is nearby. That is why fresh fleas can appear well after move-in in a unit that looked clean on inspection day, and why vacuuming every three to four days for the first month matters.
Can I get fleas in an apartment with no pets?
Yes. Fleas hitchhike on shoes, clothing, bags and secondhand furniture, and they arrive from raccoons, opossums, squirrels, feral cats and rodents. Ground-floor and basement units carry the highest risk because fleas move in from the yard, and an adjacent unit with an infestation is another route in. People living in pet-free homes are often the last to suspect fleas, which lets an infestation grow unopposed for weeks.
Are landlords responsible for fleas before move-in?
In many places, landlords are responsible for pest problems that existed before you took possession, and many leases say so in writing. What matters is timing and documentation. Make the request in writing before you sign or before move-in day, ask whether treatment is planned, and keep the professional treatment receipt. Tenants who resolve it before possession almost never have to argue about reimbursement afterward.
Should I fog my house for fleas before moving in?
Usually not. Foggers, or bug bombs, only put pesticide into open air space. They do not reach carpet fibers, sofa seams, mattress folds, baseboard cracks or the underside of furniture, which is where eggs, larvae and pupae actually are. Vacuuming first, then a labeled carpet and upholstery treatment with an insect growth regulator, covers far more of the life cycle for the same effort. Ask a pest professional before using any fogger.
Conclusion
Three actions carry almost all of the weight. Inspect the empty property before you sign and before the first box arrives, so you know what you are dealing with and can put any request for treatment in writing. On move-in day, remove pets, vacuum every carpet and upholstered surface, bag and bin the contents outside, launder on hot, and treat the home and the pet on the same schedule. Then keep vacuuming every three to four days for the first three weeks and keep the entry points sealed, because dormant pupae are the reason fleas seem to come back.
If you find live fleas, smear flea dirt on a damp towel, or you are on a ground floor near wildlife habitat, get moving on it before the furniture arrives. A licensed pest professional is worth it when the infestation is established, when pets or small children make DIY treatment awkward, or when a landlord is responsible for the cost. For anything medical involving your pet, ask your veterinarian rather than using a household product.