To find where mice are entering a home, start with the evidence indoors and work backward: map where the droppings and rub marks are heaviest, follow that trail along the baseboards to the wall the mouse is using, then walk the exterior of that wall in daylight with a flashlight and a tape measure. A house mouse fits through a gap about a quarter inch wide, roughly the size of a dime, so the opening you are hunting for is usually smaller than it feels like it should be.
The reason this feels hard is that the hole is rarely where the mess is. Droppings collect in a cabinet or under a sink two rooms away from the actual opening, and one missing hole can feed a whole house. Most of the work is patience and a flashlight, not any special gear.
Table of Contents
- What You Need
- Step-by-Step: How to Find Where Mice Are Entering a Home
- Common Mistakes
- Frequently Asked Questions
- What size hole can a mouse get through?
- Where should I put traps to find where mice are entering?
- Are mouse droppings proof that mice are still inside?
- Can mice come in through vents or around pipes?
- Should I seal a mouse hole before I have proof it is being used?
- When should I call a pest control professional for mouse entry points?
- Conclusion: Start With the Biggest Entry Point
What You Need
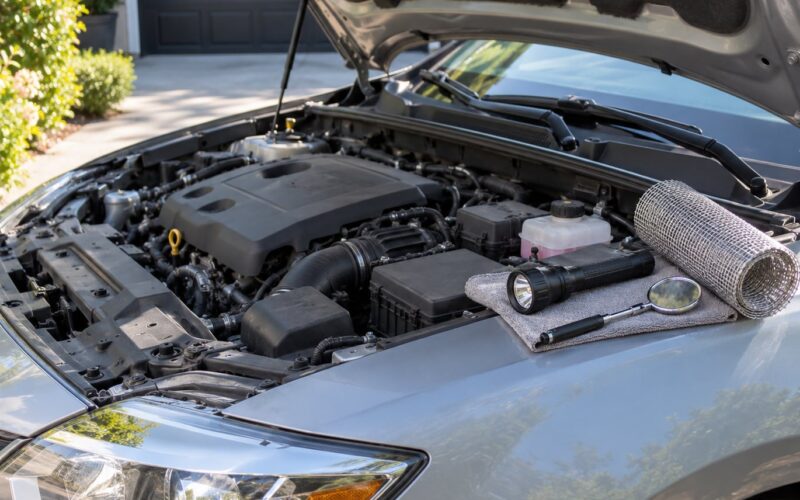
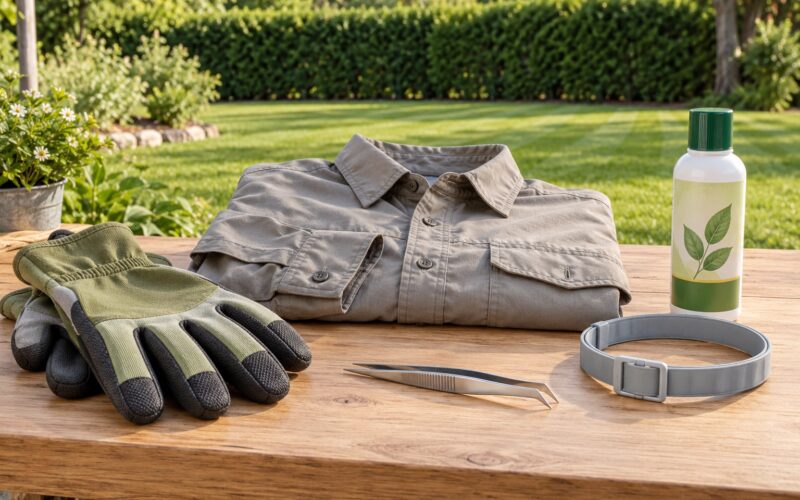
Gather this before you start, because most of it is cheap and the trip back for one item is where inspections get abandoned.
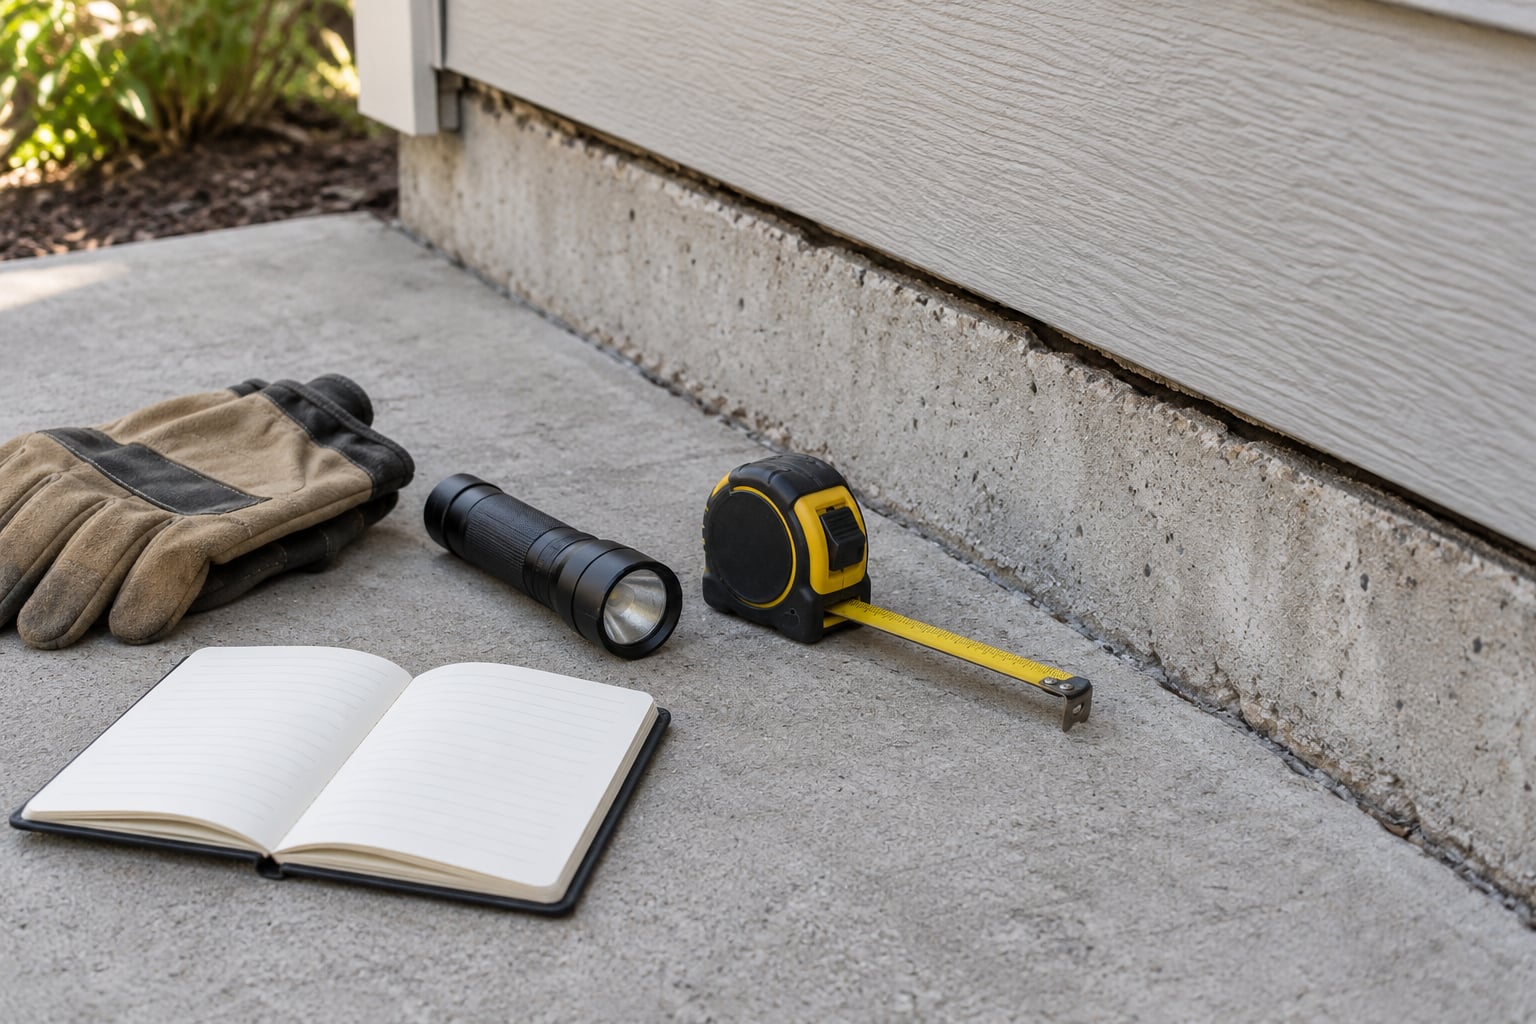
- Flashlight — a bright handheld light, or a headlamp so both hands stay free.
- Tape measure or ruler — for checking suspect gaps against the quarter-inch threshold.
- Gloves — disposable nitrile if you will be handling droppings or disturbed insulation.
- Stiff brush and dustpan — for cleaning droppings so you can tell fresh ones from old ones.
- Magnifying glass — optional, but it helps with pencil-width cracks in mortar.
- Camera or phone notes — photograph every suspect gap with something for scale next to it. You will want that record later.
- Snap trap or an enclosed electronic trap — for confirming which room or gap is active. Skip any open poison bait if kids or pets live there.
- Basic repair materials — fine mesh, steel wool, exterior caulk and a utility knife, but only for sealing after you have confirmed a gap is in use.
- Respirator — an N95 or better if you are going into a crawl space, attic or any area with heavy droppings.
If you rent, get your landlord’s written permission before you repair anything, and be aware you may not control the exterior wall at all. Ask for the inspection in writing instead.
Step-by-Step: How to Find Where Mice Are Entering a Home
Work outside-in after mapping the inside. The order matters, because sealing early can trap a live mouse in your wall where it dies and creates a smell problem nobody enjoys.
1. Look for the strongest signs first
Fresh droppings are the most useful sign you have. They look dark and shiny with a soft surface, and they show up in the room where the mouse is actually living or feeding. Old droppings are dry, pale and crumbling, often covered in dust.
Look in the spots that combine shelter and food: the back of a pantry shelf, inside a lower kitchen cabinet, under the sink, behind the fridge, along a baseboard in a closet, and inside a bag of pet food in the garage. Mice travel along walls and squeeze lines rather than across open floor, so a smear of debris in the middle of a room is usually scattered food, not a route.
Other signs carry different information. Greasy rub marks along a baseboard or door frame mean repeated travel at body height. Gnawed wood, foam, cardboard, plastic or wiring means the mouse has been there long enough to reshape an opening. Nesting material pulled from a shredded bag or insulation tells you they are breeding nearby. Scraping and scampering inside the walls at night, especially in a quiet house, often means the route runs inside a wall cavity where you will not see it from either side.
Clean up the droppings once, then check the same spot again in a few days. New ones mean the route is still live and fed.
2. Inspect the exterior entry points
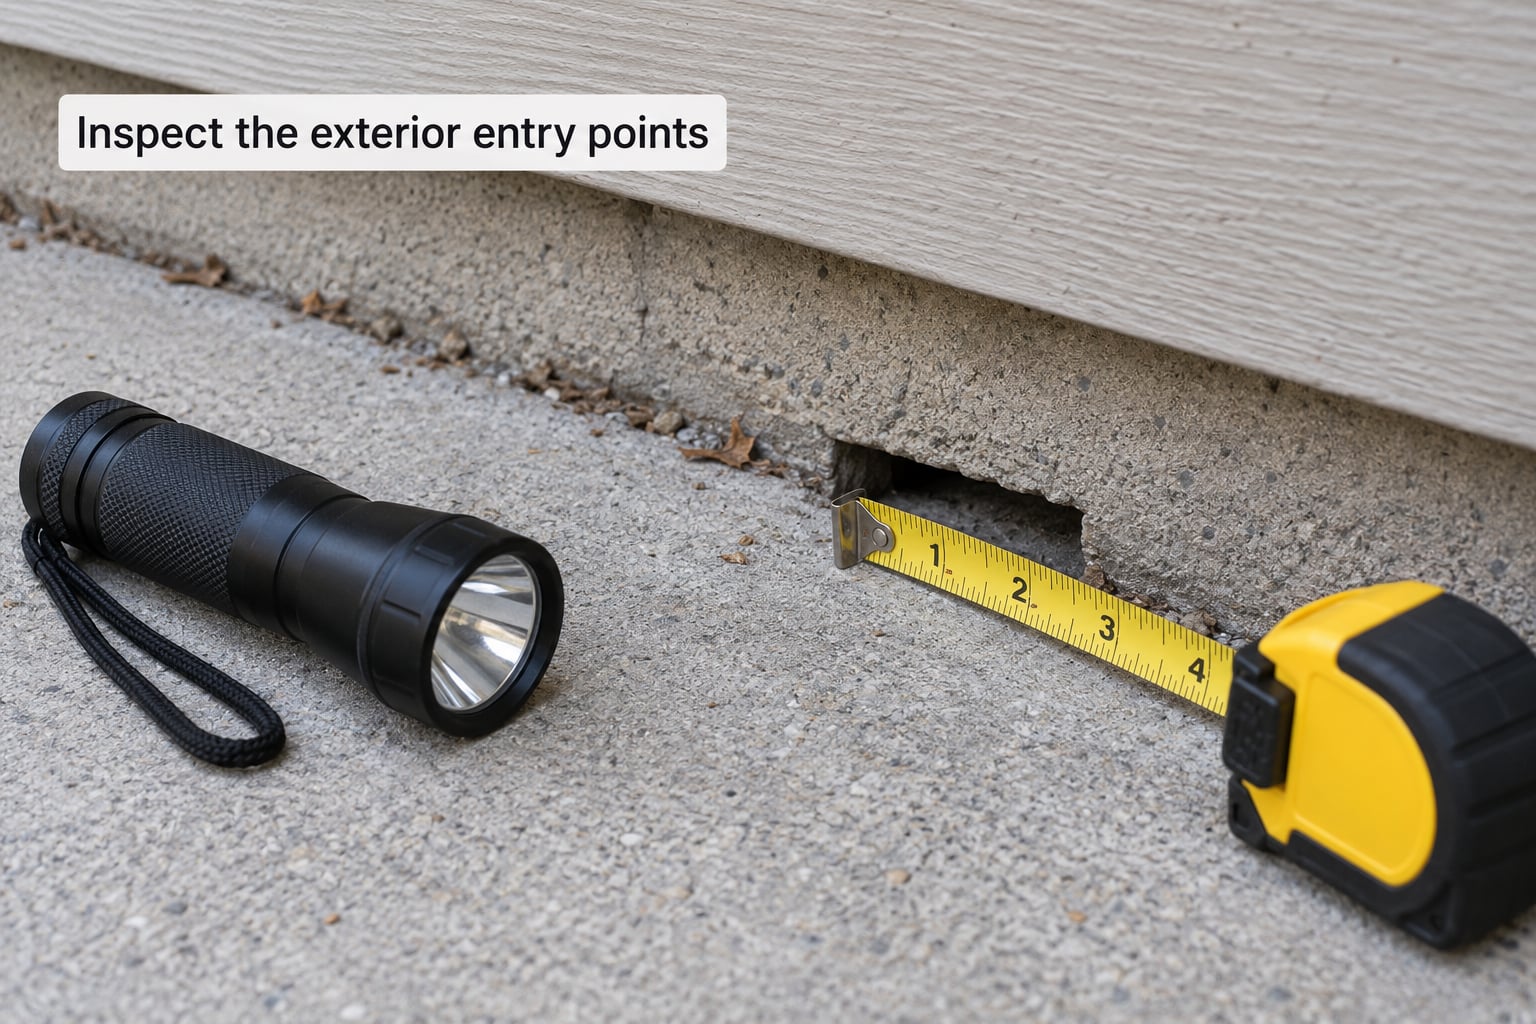
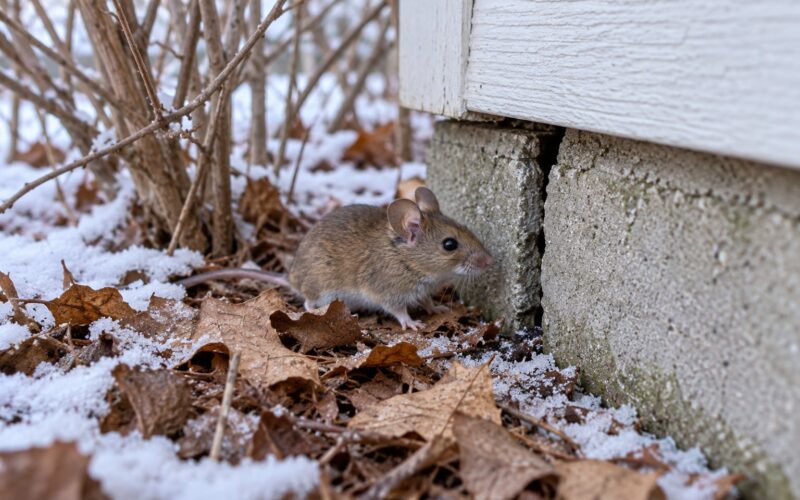
Take the room with the heaviest fresh droppings and walk the exterior of the matching wall in daylight. Bring the flashlight, hold it low, and crouch so your eyes are level with the ground — most entry points hide in the shadow line where the siding or wall meets the foundation.
Check these in order: the joint where the sill plate meets the foundation, cracks in mortar or concrete, gaps around utility penetrations and pipe collars, the space around hose bibs and gas lines, gaps under and around exterior doors, window frames and their weep holes, weep or drain holes in siding, the dryer exhaust vent and any crawl space access hatch, and the corners and bottom edge of the garage door.
Measure anything that looks plausible. A quarter inch, roughly 6 mm, is the working threshold for a house mouse, and a pencil-width crack is often enough. Mice compress their bodies through gaps that appear impossible, so treat any opening you could slide a coin into as suspect.
3. Trace the activity indoors
To find where mice are entering a home from inside, work backward from the droppings along the route they travelled. Start at the heaviest concentration and follow the baseboards, the underside of cabinet rails and the line where carpet meets trim in the direction the marks run.
Rub marks narrow toward the travel line and smear toward wherever the mouse was heading, which usually tells you which way the route goes. When the trail reaches a wall, that wall is your suspect. Note the nearest exterior feature to it, such as the utility penetration six inches to the left of the basement window, because that is the gap you will be checking from outside in the next hour.
4. Check hidden openings and damaged materials
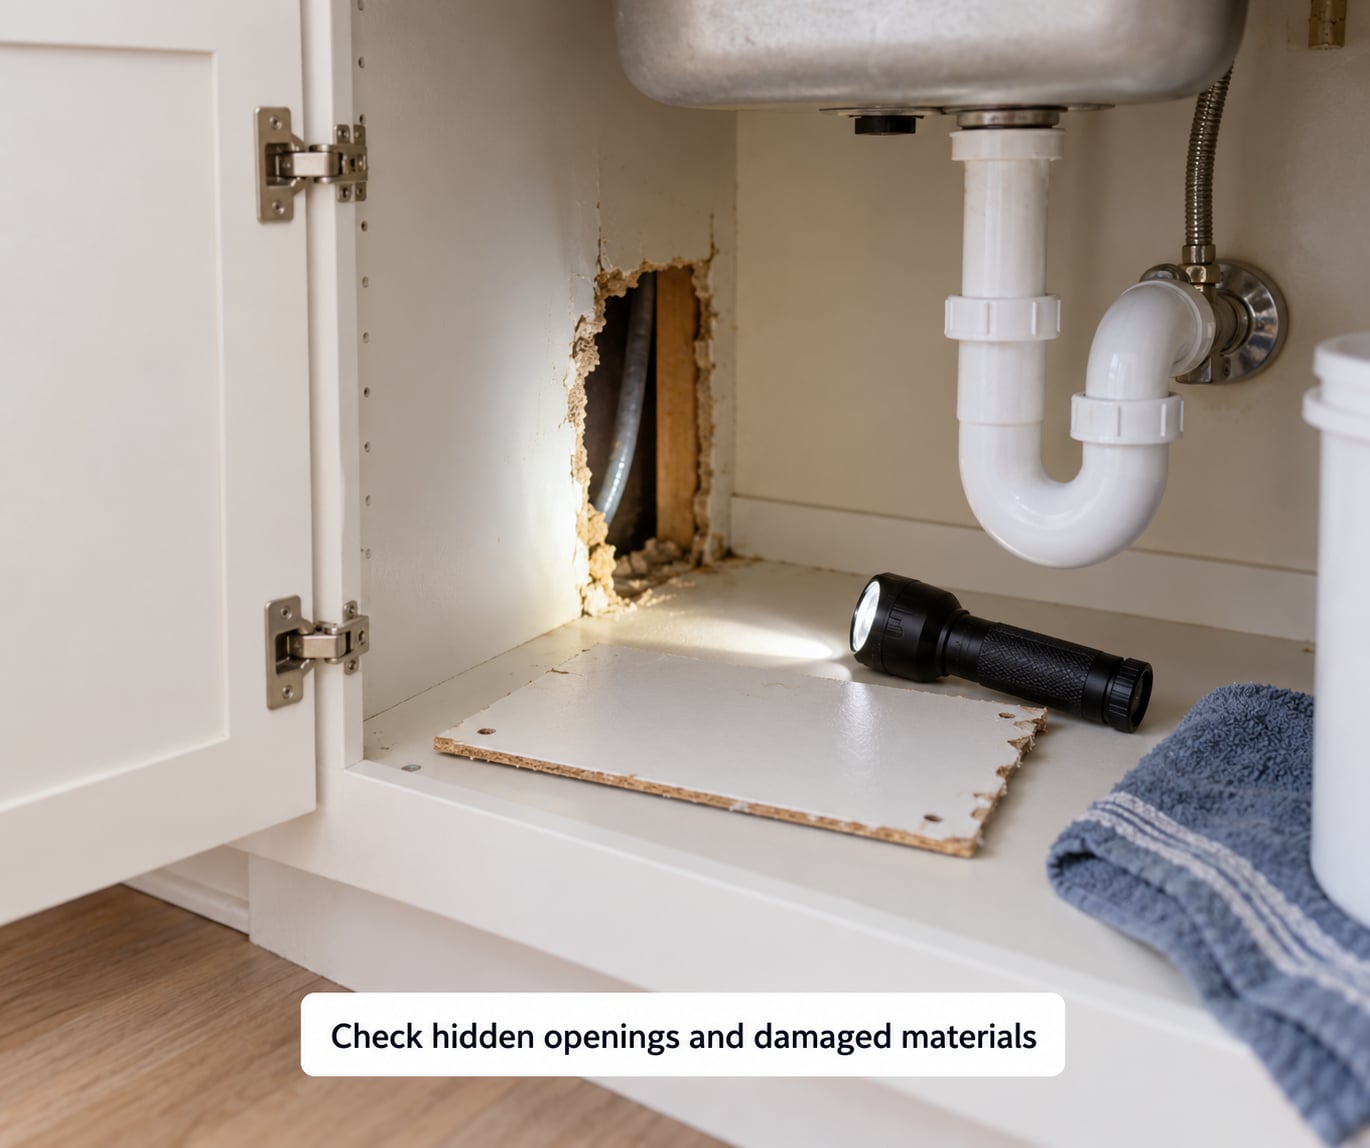
A lot of entry points sit where nobody looks. Pull the stove and refrigerator forward, open the under-sink cabinet fully, and check the spaces behind dishwashers and trash compactors. Look at the wall cavities around every pipe stub, and at the sill of basement windows where the framing is often left uncaulked.
Damage tells the story. Fresh gnaw marks are pale and raw, older ones are dark and smoothed. Look for widened cracks, missing insulation at a rim joist, disturbed dust falling from a gap, and chewed cable or foam. Rodents chew on wiring, which is a fire risk, so if you find gnawed cable, switch off that circuit and call an electrician rather than patching it yourself.
Get into the attic and crawl space if you can do so safely. Look at vent penetrations, unsealed soffit and ridge vents, pipe stacks and the sill plate. Wear the respirator, do not step between joists, and do not vacuum droppings; dry-sweep them or blow them out with compressed air so you do not aerosolize whatever is in them.
5. Confirm the route with safe monitoring
Once you have two or three suspects, prove which one is active instead of guessing. Set a snap trap or an enclosed electronic trap flat against the wall in the runways you traced, along the baseboard and beside pipe penetrations, with the trigger end facing the wall. Check them daily for a week and note which room produces a catch.
The powder test works well for confirming a specific gap. Clear a small patch of floor or a shelf beneath the suspect opening, dust it lightly with flour or talcum powder, and leave it overnight. Paw prints, a swept trail or a dusting disturbed overnight means that gap is in active use.
If daylight inspection turned up nothing, check the roofline and anything above it: soffit and ridge vents, eaves, gaps where siding meets trim, and branches resting against or within about three feet of the roof. Clip branches back and cap or screen any vent you find open.
Never probe an unknown gap with bare hands in an area with heavy rodent activity.
6. Seal and verify the suspected openings
Temporarily block the suspect gap first, then monitor. If new droppings, rub marks or noise keep appearing on that side of the house after a week, you blocked the wrong opening or missed a second one. If activity goes quiet and does not return, you found it.
Then choose the repair to match the gap. Use 1/4-inch hardware cloth or 1/2-inch metal mesh packed with steel wool and sealed with exterior-grade caulk for utility penetrations and pipe gaps. Use mortar or masonry patch for foundation cracks. Use door sweeps, threshold seals and weatherstripping at doors and windows. Use fine mesh and sealant at roofline and soffit vents rather than foam alone. Expanding foam is fine for filling the void behind a repair, but it is not a standalone fix, because a mouse can chew straight through cured foam.
Work from the inside out, and keep trapping until you see no new signs for at least a week. Then re-check the repaired side at one week and one month.
Common Mistakes
Sealing before you have located every route. Closing one hole while a second one stays open does nothing except trap mice inside your walls, where they die and create noise complaints and odor problems. Confirm first, trap inside until activity drops, then seal.
Believing one pile of droppings tells you the whole story. A single pile in the pantry might be one passing visitor. Steady deposits in several rooms mean a connected route, and the opening is usually on the wall those routes share, not in the pantry.
Using expanding foam as the repair. Foam fills a void nicely and then gets chewed out. Back it with mesh or mortar and caulk.
Assuming catching a mouse means the problem is solved. One caught mouse proves nothing about entry points. Until the openings are sealed, new ones walk in that same night.
Missing the exterior cleanup and the areas above ground. Bird droppings, spilled pet food, unsealed vents and overhanging branches all matter. A tidy yard does not stop entry, but a mouse-friendly one guarantees it.
Skipping the structures you never look at. Outbuildings, sheds, detached garages and converted vehicles are common and frequently overlooked. A camera held low at night, or a light shone under the deck, often finds nothing because the route sits above your sight line or behind a panel.
Frequently Asked Questions
What size hole can a mouse get through?
A house mouse can squeeze through a gap about a quarter inch wide, roughly 6 mm, which is close to the diameter of a dime. Its ribs and skull flex enough to compress its whole body through that opening, which is why a hole you would not bother with can feed an entire house. Treat anything you could slide a coin into as a suspect and measure it before you decide it does not count.
Where should I put traps to find where mice are entering?
Set traps along the runways you already traced, flat against the baseboard, inside cabinets, beside pipe penetrations and near the wall where droppings cluster. Place the trigger end facing the wall, check daily for a week, and note which room produces a catch. That room tells you which exterior wall to walk with a flashlight and a tape measure.
Are mouse droppings proof that mice are still inside?
Not on their own. Old droppings that are dry, pale and crumbling may be months old. Fresh droppings are dark, shiny and soft, and if new ones appear after you cleaned the spot, the route is active. Several piles in different rooms suggest a connected infestation rather than one visitor passing through.
Can mice come in through vents or around pipes?
Yes, and those are among the most common openings. An unscreened soffit vent, a cracked dryer exhaust cover, a failed pipe collar or an unsealed utility penetration gives a mouse a direct line into a wall void. Screen every vent with fine mesh, caulk every penetration, and check the sill plate and rim joist in the attic and crawl space, which are routinely left unsealed during construction.
Should I seal a mouse hole before I have proof it is being used?
No. Sealing unconfirmed gaps can seal a live mouse into your wall. Confirm the gap first with a trap in the runway or a flour or talcum powder test beneath it overnight. Temporarily block suspected openings, keep trapping and watching for new signs, and make the permanent repair once activity stops on that side of the house.
When should I call a pest control professional for mouse entry points?
Call a professional if droppings appear in several rooms, if wall noise continues after you seal what you found, if previous repairs failed, or if you suspect entry through a wall void or the roofline that you cannot safely reach. Ask specifically for an exclusion inspection with documented photos rather than a recurring rodent service call, and confirm the work is guaranteed in writing.
Conclusion: Start With the Biggest Entry Point
Start with the wall, not the hole. Clean up the droppings, find where the fresh ones return, follow those marks along the baseboard to the wall the mouse is using, then walk that wall outside in daylight with a flashlight and a tape measure and measure anything that looks like it could pass a dime.
Photograph each suspect gap, block it temporarily, and keep trapping for a week. When activity stops on that side and does not come back, you have your answer. Seal it with mesh, caulk and the right patch for the gap type, then re-check at one week and one month. That is how to find where mice are entering a home and stop paying for the same problem every season.