Carpenter bee damage in wood identification comes down to four signs you can check in about five minutes: perfectly round entry holes about half an inch across, pale sawdust piled beneath them, yellow-brown staining below the opening, and large dark bees hovering or guarding the wood in warm weather. Found together, those four narrow the cause down quickly.
The catch is that no single sign proves it. Woodpeckers make holes too, termites leave different debris, and rot can resemble both. This guide walks through what each sign actually means, how to inspect your siding, fascia, decks and fences safely, and how to tell carpenter bees apart from the lookalikes that cause the most confusion.
Table of Contents
- What Does Carpenter Bee Damage in Wood Look Like?
- Carpenter Bee Damage Checklist: What to Look For
- How to Identify Carpenter Bee Damage in Wood Safely
- Where Carpenter Bees Hide and Cause Damage
- How Serious Is Carpenter Bee Damage in Wood?
- What Causes Carpenter Bee Damage in Wood?
- How to Tell Carpenter Bees from Bumble Bees and Honey Bees
- What to Do After You Identify Carpenter Bee Damage
- Frequently Asked Questions
- Conclusion
What Does Carpenter Bee Damage in Wood Look Like?
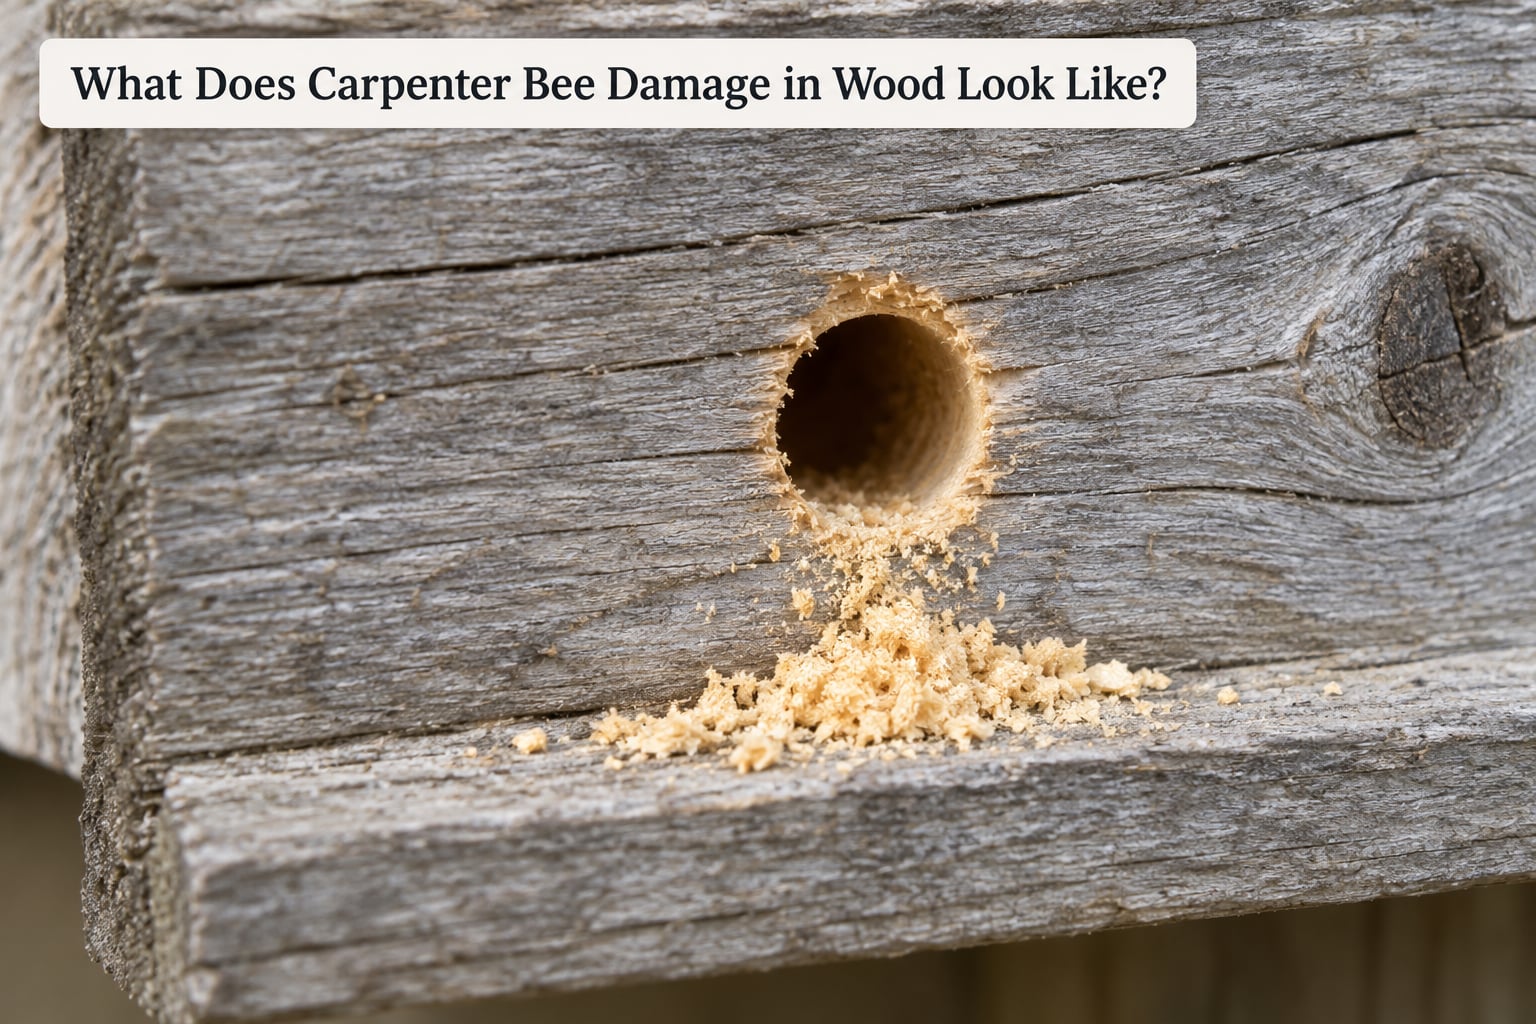
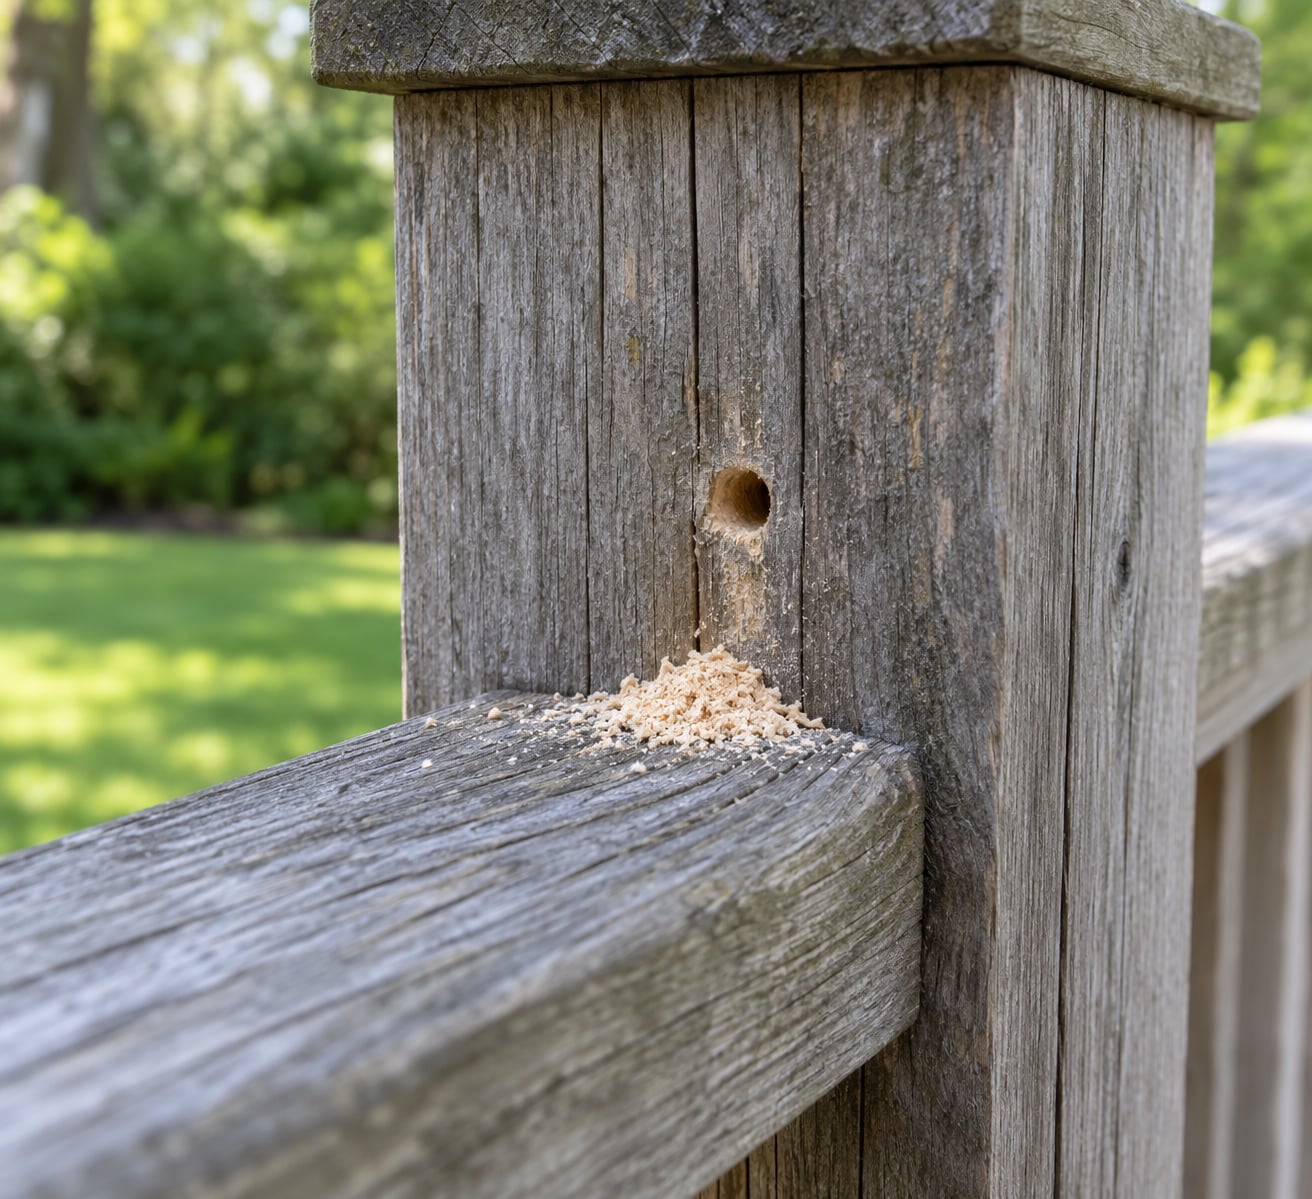
Carpenter bee damage in wood identification starts with the hole. It is round, smooth-edged and roughly half an inch in diameter, which is about the width of a pencil eraser. Directly below it you will usually find a small pile of coarse, pale sawdust called frass. Around the hole, a yellow-brown stain often streaks downward, and in spring you may hear buzzing inside the wood or see large bees patrolling it.
Individually those clues are suggestive. Together, they are close to conclusive for identifying carpenter bee damage.
Entry Holes, Sawdust, and Other Key Signs
The entry hole is the anchor sign, because it is the one feature carpenter bees produce that almost nothing else matches exactly. Their jaws cut a circle, so the opening has clean, uniform edges rather than the ragged, torn look of woodpecker pecks or the smeared surface of termite galleries.
Measure it if you can. Holes in the three-eighths to half-inch range point to carpenter bees. Larger openings, often an inch or more, are more often woodpecker work on a gallery the bees already opened, or a knot that has fallen out.
Frass tells you about timing more than species. Fresh tunneling pushes out pale, coarse shavings with a wood-pulp smell, and the pile sits directly beneath the hole, often with a fan shape on the ground below. Over months, that frass darkens, blows away or packs down into the grain.
Staining is the third sign, and it is easy to miss because it blends into weathered wood. Look for a yellow-brown or rust-colored drip pattern running down from the hole, sometimes with darker excrement marks near the opening. On painted surfaces the stain reads more clearly than on bare cedar.
Multiple holes in a line matter too. A single hole might be an old gallery nobody reused. Six or eight holes spaced along one board tell you the board has been worked repeatedly, usually season after season, which is exactly the pattern that leads to real structural loss.
Finally, watch for bees. Carpenter bees are large and mostly black with a shiny abdomen, and they hover in front of holes rather than landing and leaving. Males patrol the entrance aggressively and cannot sting, though females near the nest can.
Dating damage comes down to three checks: fresh pale frass under the hole, clean unweathered edges on the opening, and bee activity on a warm day. A hole with grey, softened edges, no debris beneath it and no traffic is almost certainly last season’s work. Homeowners often find these old holes years later and assume activity is current, which sends them chasing a problem that already ended.
Carpenter Bee Damage Checklist: What to Look For
Run through this list before you decide what you are dealing with.
- Round holes about 3/8 to 1/2 inch wide with smooth, clean edges
- Pale sawdust or frass directly beneath the hole, fresh if activity is current
- Yellow-brown staining streaking down from the opening
- Large dark bees hovering, darting at the surface or entering and leaving a hole
- Buzzing audible inside the wood on a warm, calm day
- Several holes along one board, a sign of repeated reuse
- Ragged, enlarged holes where woodpeckers have pried open galleries to reach larvae
- Sun-bleached, unfinished wood nearby, since treated and painted surfaces get far less attention
Four or more of these together is a solid identification. One or two alone is not.
How to Identify Carpenter Bee Damage in Wood Safely
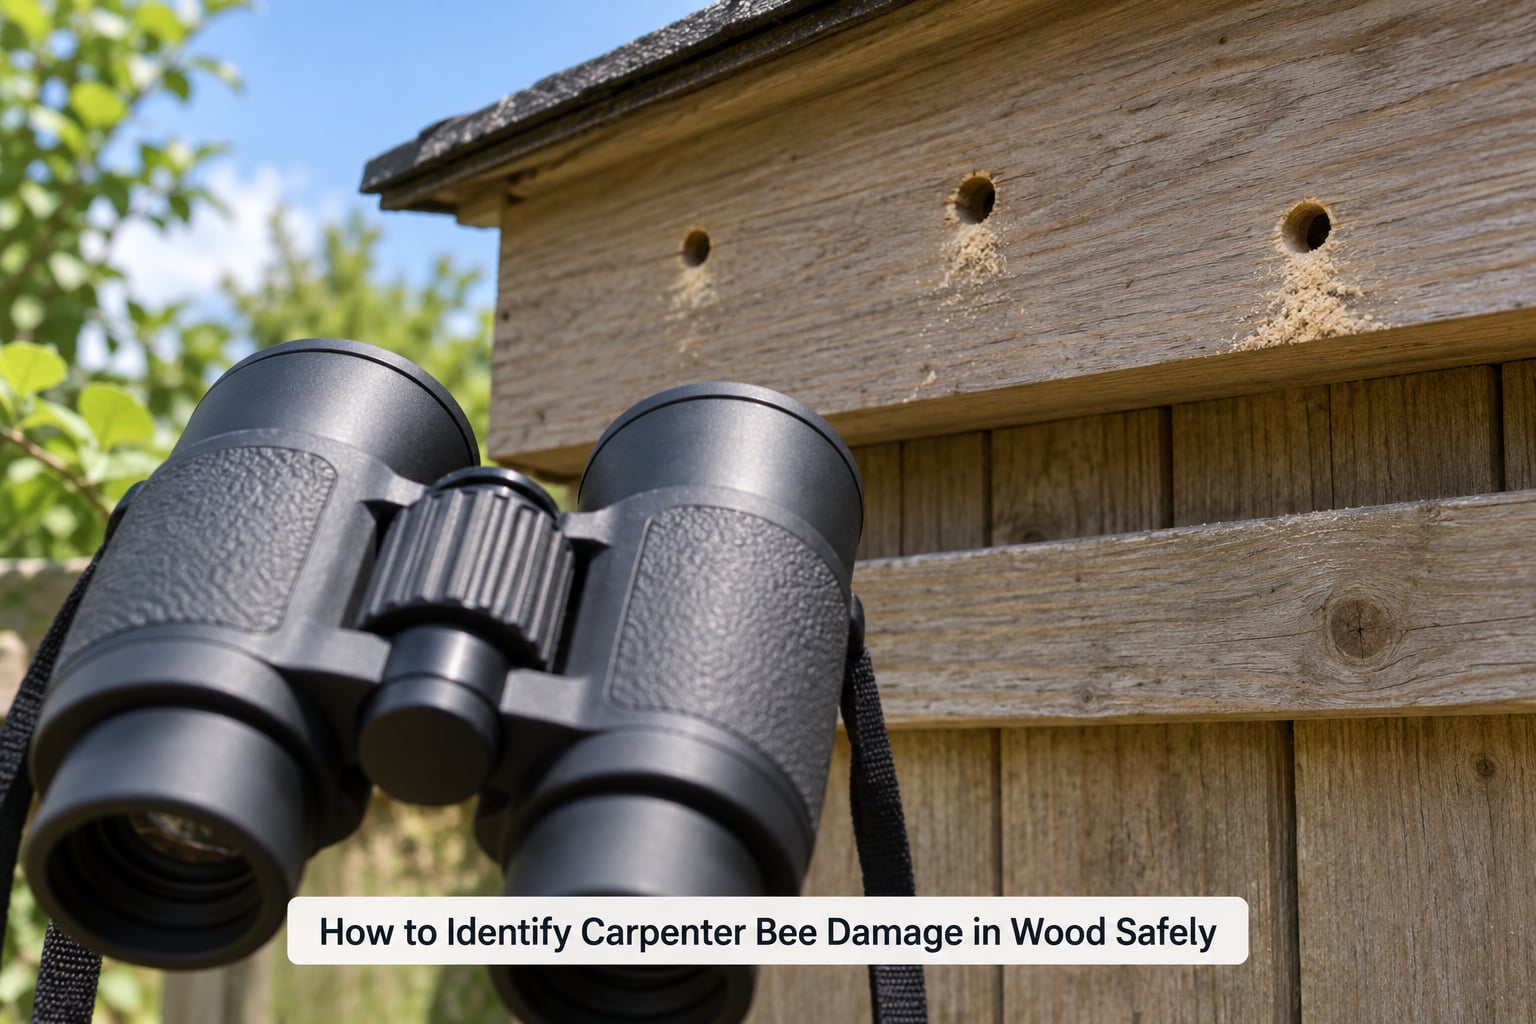
Most inspection happens from the ground with binoculars and a flashlight. You never need to open the surface, and you should not. Cutting into an uncertain tunnel risks splitting a board and tells you little more than patience would.
Start with the wood closest to your house. Fascia boards, soffits, roof eaves and window trim come first, then siding, porch ceilings and railings. Move out to decks, fence rails, posts, pergolas, sheds, Adirondack chairs, benches and planters in the order you can see them safely.
For each surface, check three things in order: the holes themselves, the debris below them, and the board around them. Binoculars let you read hole diameter and edge condition from ten feet away. A flashlight held at an angle to the wood makes a shallow tunnel or a split grain line stand out, because it casts a shadow inside it.
Check the ground as well. A fan of fine dust on the deck boards or soil directly under a hole is the clearest confirmation of recent tunneling, and it is worth confirming before you climb anything.
Watch the site from a distance a few times during warm weather. Bees hovering at the same hole on two or three visits tell you the gallery is occupied. Absence of bees on a single cool or windy afternoon tells you almost nothing.
On safety: stay off ladders on uneven ground, ask someone to steady any ladder you do use, and do not lean out to reach an eave. If you need to go above the reach of a step ladder, hire someone. Skip inspection entirely if a board sags, sounds hollow when knocked on, or shows deep splits at a connection point.
Bees are defensive around an active nest, especially males hovering at the entrance. Watch from a distance, skip swatting, and if you are allergic to bee venom, stay away from an active gallery entirely rather than trying to seal it yourself.
Carpenter Bee Damage vs. Termites, Woodpeckers, and Wood Rot
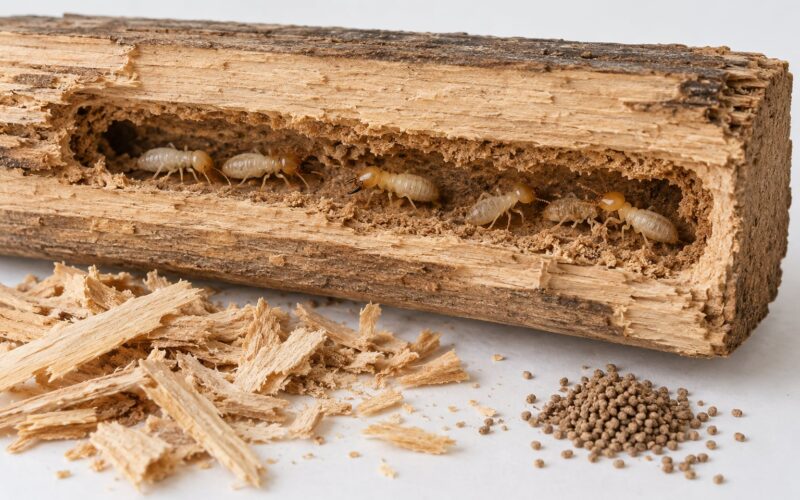
This is the comparison most people are actually searching for, and it is easier to make on debris than on holes. Termites build mud tubes and carpenter ants leave different frass, so the material under the opening usually settles the question faster than the shape of the opening does.
| Sign | Carpenter bee | Subterranean termite | Carpenter ant | Woodpecker | Wood rot |
|---|---|---|---|---|---|
| Hole shape | Perfectly round, smooth edges | No exit holes; surface galleries, not clean holes | Rough, irregular, excavated openings | Ragged, torn, often much larger | Cracks, splits, soft sunken spots |
| Hole size | 3/8 to 1/2 inch | Not applicable | About 1/8 to 3/8 inch | 1 inch or larger on a bee gallery | Varies, no discrete opening |
| Material below | Coarse pale sawdust, frass, sometimes with pollen | Thin mud tubes along boards and foundation | Fine, gritty frass mixed with ant debris | Chipped wood flakes and white powder | Brown crumbly rot, sometimes with fungal growth |
| Typical location | Unfinished wood: fascia, soffits, trim, posts, rails, benches | Near soil contact, sill plates, foundation framing, damp lower walls | Moist, rotting or water-damaged wood | Live trees, siding, boards already holed by bees | Damp shaded areas, deck corners, window sills |
| Secondary signs | Yellow-brown staining, bees hovering, buzzing inside | Blistered or uneven paint, hollow-sounding wood, swarmers | Trails of ants to and from the opening | Pecking and drumming on wood, birds nearby | Musty smell, softness under a probe, fungal mycelium |
| Wood texture inside | Polished, darker tunnel walls from repeated use | Smooth, mud-lined galleries within the wood | Irregular crumbly chambers | Fresh splintered wood | Softened, punky, fibrous |
Two quick rules help. If you find mud tubes, call it termites until a professional proves otherwise. If you find perfectly round holes plus coarse sawdust and you never see mud, you are almost certainly looking at carpenter bees.
Where Carpenter Bees Hide and Cause Damage
Carpenter bees target soft, unfinished wood. Cedar, pine, fir, poplar and similar exterior trim are all fair game, and so is anything left weathered and bare. Pressure-treated lumber and painted or sealed surfaces get far less attention, though heavy pressure treatment is not a guarantee and some boards still get drilled.
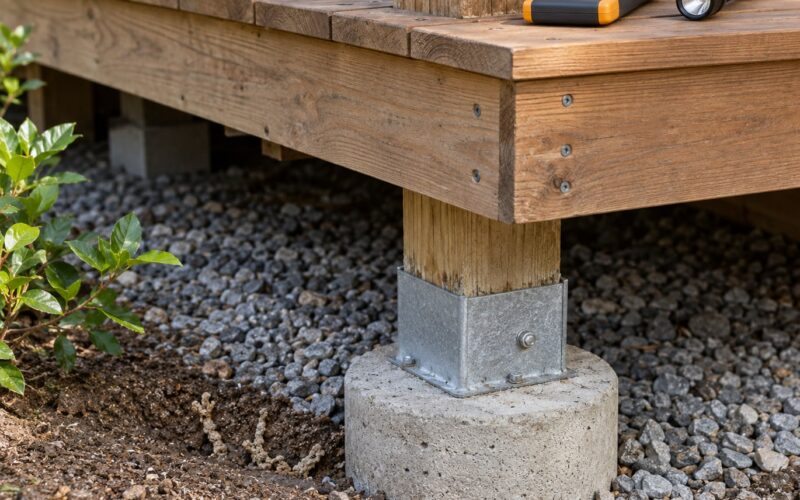
The locations that turn up most often on homes are the boards closest to the roofline: fascia, soffits, eave trim and window or door trim. Decks are next, especially railing caps, baluster tops, posts and bench seats, because the sun-weathered wood there is exactly what they want. Fences, pergolas, gazebos, sheds and outdoor furniture round out the list.
Location also explains the pattern you see. Roofline boards are shaded and close to shelter, so a pair that finds a successful gallery returns to the same spot. Deck rails take the most direct sun and dry fastest, which makes them the most attractive target in a yard.
One detail from woodworkers is worth knowing because it confirms a suspected diagnosis: the bee bores into the face of the board, then turns and runs along the grain. That sideways run is why galleries follow the length of the lumber rather than cutting straight across it, and why damage appears on boards stored flat on a rack as readily as on installed structures.
How Serious Is Carpenter Bee Damage in Wood?
A few holes in a railing or fascia board are a maintenance issue, not a structural emergency. Trouble starts when the same board gets reused year after year, galleries are extended each season, and the remaining wood between tunnels thins out until it cracks along the grain.
Use this split when you assess severity.
Light activity. One or two holes on an otherwise solid board, sawdust present, no splits, no sagging. Monitor once a year before spring emergence and decide then whether to fill the holes.
Established damage. Six or more holes on one board, multiple boards on the same structure, deep splits running from a hole, edges that crumble when probed, or a hollow sound when you knock on the board. Repair or replace the affected wood.
Structural concern. Holes in load-bearing posts, beams or joists, a board that flexes under weight, a leaning railing, or rot visible at a fastener. Stop and get a qualified inspector or structural professional before doing anything further.
Time matters more than hole count. One fresh hole in year one is trivial. The same hole reused for six or seven seasons can be a weakened post, because galleries can extend up to 10 feet over time and each generation removes more wood than the last.
Woodpeckers make it worse. A bird prying open a gallery to reach larvae tears out a much larger section of the board than the bee ever removed, which is why bee holes with woodpecker damage around them can look far more destructive than the bee activity alone would explain.
What Causes Carpenter Bee Damage in Wood?
The bee chews, it does not eat. Female carpenter bees bore a hole roughly an inch deep, turn sideways and carve perpendicular tunnels four to six inches long, then divide those into six to eight egg chambers. Each egg gets sealed off with a plug of chewed wood pulp. Adults feed on pollen and nectar, and larvae live on the stored provision, so the wood is building material rather than food.
That also means there is no hive and no queen. Carpenter bees are solitary, each female provisions her own tunnel, and the only social structure involved is the overwintering pair that shares an old gallery until spring.
Reuse is what turns minor damage into cumulative damage. A mated pair overwinters in an existing tunnel, emerges in spring, and the female excavates fresh chambers branching off the same entry. The following generation does it again. Galleries that started as one clean hole become a branching network of polished tunnels year after year.
How to Tell Carpenter Bees from Bumble Bees and Honey Bees
Confusing carpenter bees with bumble bees, mason bees or honey bees sends people chasing the wrong problem, since none of those nest in wood.
| Feature | Carpenter bee | Bumble bee | Honey bee |
|---|---|---|---|
| Size | Large, around half an inch | Large, stocky and fuzzy | Smaller, roughly a third of an inch |
| Abdomen | Mostly bare and shiny black | Dense fur, banded yellow and black | Fuzzy, striped, less shine |
| Behavior near wood | Hovering in front of a hole, darting at the surface | On flowers, clumsy in flight | Foraging, often in numbers |
| Nesting habit | Solitary, tunnels in wood | Colony in soil or an old rodent hole | Colony in a hive or wall cavity |
| Sting risk | Females can sting near the nest; males cannot sting | Females can sting | Workers can sting |
A shiny, mostly hairless black abdomen is the fastest field test. Mason bees are the reverse case: they also nest in holes, but in masonry rather than wood, and their entry points are mortar joints in a wall, not round holes in a board.
What to Do After You Identify Carpenter Bee Damage
Work through this in order, and take your time with the first two steps.
Document it. Photograph each hole, the debris below it and the whole board in context. Take one photo now and another a week later. If the pile grows or the edges change, you have proof of current activity, and that documentation matters if an insurer, a buyer or a contractor ever asks.
Date the damage. Fresh pale frass plus bees at the entrance means active work. Weathered grey holes with no debris and no traffic mean an old gallery nobody is using. Treat those differently.
Seal the entry points before spring. Fill each hole with exterior wood filler or two-part epoxy, then sand, stain and paint over it so the surface reads as sealed wood. Plugging the entrance stops the next generation from reusing the gallery, which is the single most effective thing a homeowner can do. It does not kill bees already inside the tunnel, so avoid drilling or pouring anything into an open hole you have not confirmed is empty.
Replace what is compromised. Boards with multiple galleries, deep splits or crumbling edges are cheaper to replace now than to patch later. Match existing material where you can, and keep untreated replacement wood primed and painted from the start.
Make the wood less appealing. Paint or stain exposed surfaces, seal end grain, and avoid leaving stacked untreated lumber near the house in a sunny spot. Bees pick the driest, most weathered surface in the area, so covering it changes the choice they make.
Call a professional when activity is heavy and spread across several structures, the damage sits in load-bearing wood, you cannot safely reach it, or a bird has opened up the galleries. A licensed pest professional can confirm the species, treat active galleries and tell you which boards still have structural strength left.
Skip insecticide sprays and dusts around the entrance. They rarely reach the bee inside a sealed gallery, and outdoor spraying near an active hole puts you closer to a defensive female than any benefit is worth.
Frequently Asked Questions
How can I tell active carpenter bee damage from old damage?
Fresh damage comes with pale, coarse sawdust directly beneath the hole, clean dark edges on the opening, and bees moving in and out during warm weather. Older holes have weathered, grey edges, a faded interior and no debris under them. Check the same spot twice about a week apart in warm weather. New or larger frass piles between the two visits mean bees are still working there.
Do carpenter bees eat wood?
No. Carpenter bees chew wood to build and line their nesting tunnels, not for food. Adults feed on pollen and nectar, and the female packs each egg chamber with that provision before sealing it with chewed wood pulp. The tunneling you see is construction rather than feeding, which is why the galleries hold larvae that never consume the structure the way termites consume wood.
Are carpenter bee holes dangerous, and should I fill them?
Mostly they are a maintenance issue rather than an emergency. A few holes in a railing or fascia board rarely affect strength, though repeated tunneling can hollow out a post or beam over several seasons. Fill holes with exterior wood filler or epoxy, then stain or paint over them before spring. Plugging stops future reuse but does not kill bees already inside the tunnel.
How long does it take for carpenter bees to destroy wood?
It accumulates slowly, one generation at a time. Fresh holes appear each spring and the same galleries get reused and extended year after year, sometimes reaching ten feet. A single season usually means cosmetic pitting only. Real weakening tends to show up after several years of heavy reuse on the same board, especially in softwood posts, railing caps and fascia.
Does homeowners insurance cover carpenter bee damage?
It varies by policy, because most homeowners policies treat insect damage as ongoing maintenance rather than a covered peril, which often excludes gradual carpenter bee tunneling. Damage tied to a covered event, such as a storm that exposes wood and lets bees move in, may be handled differently. Photograph the timeline and ask your insurer what documentation they need before you start repairs.
Conclusion
Start by walking the wood closest to your house with binoculars and looking for the four signs together: round holes about half an inch wide, coarse pale sawdust beneath them, yellow-brown staining around the opening, and bees hovering at the surface in warm weather. A hole with no fresh debris and no traffic is an old gallery, not an active infestation.
If you find mud tubes, hollow-sounding boards or blistered paint, you may be dealing with termites instead, and that is a call for a professional. If the pattern is unmistakably carpenter bee damage, photograph it, seal the holes before spring with exterior filler and a coat of paint, replace boards that have been worked repeatedly, and get a structural look at anything load-bearing before you patch it.